For my next project, I decided to build a classic Landrover. A friend of mine at the office talks often about fond memories of driving around in a classic Landrover owned by his uncle. This vehicle was old and a bit beat up, meant for working hard, rather than comfort. I liked this as an idea for a next project, because it gave me a chance to practice detailing and weathering. I am also pretty fond of this vehicle, as it has that classic SUV look, in that it is more “utility” than sport, and looks like the kind of vehicle that you would put through its paces, rather than use to drop off kids at soccer and do a run to the grocery storey.
My intent is that this project is going to be a gift, but I’m going to post about it here because let’s face it, this is 2024 and no one reads blogs anymore.
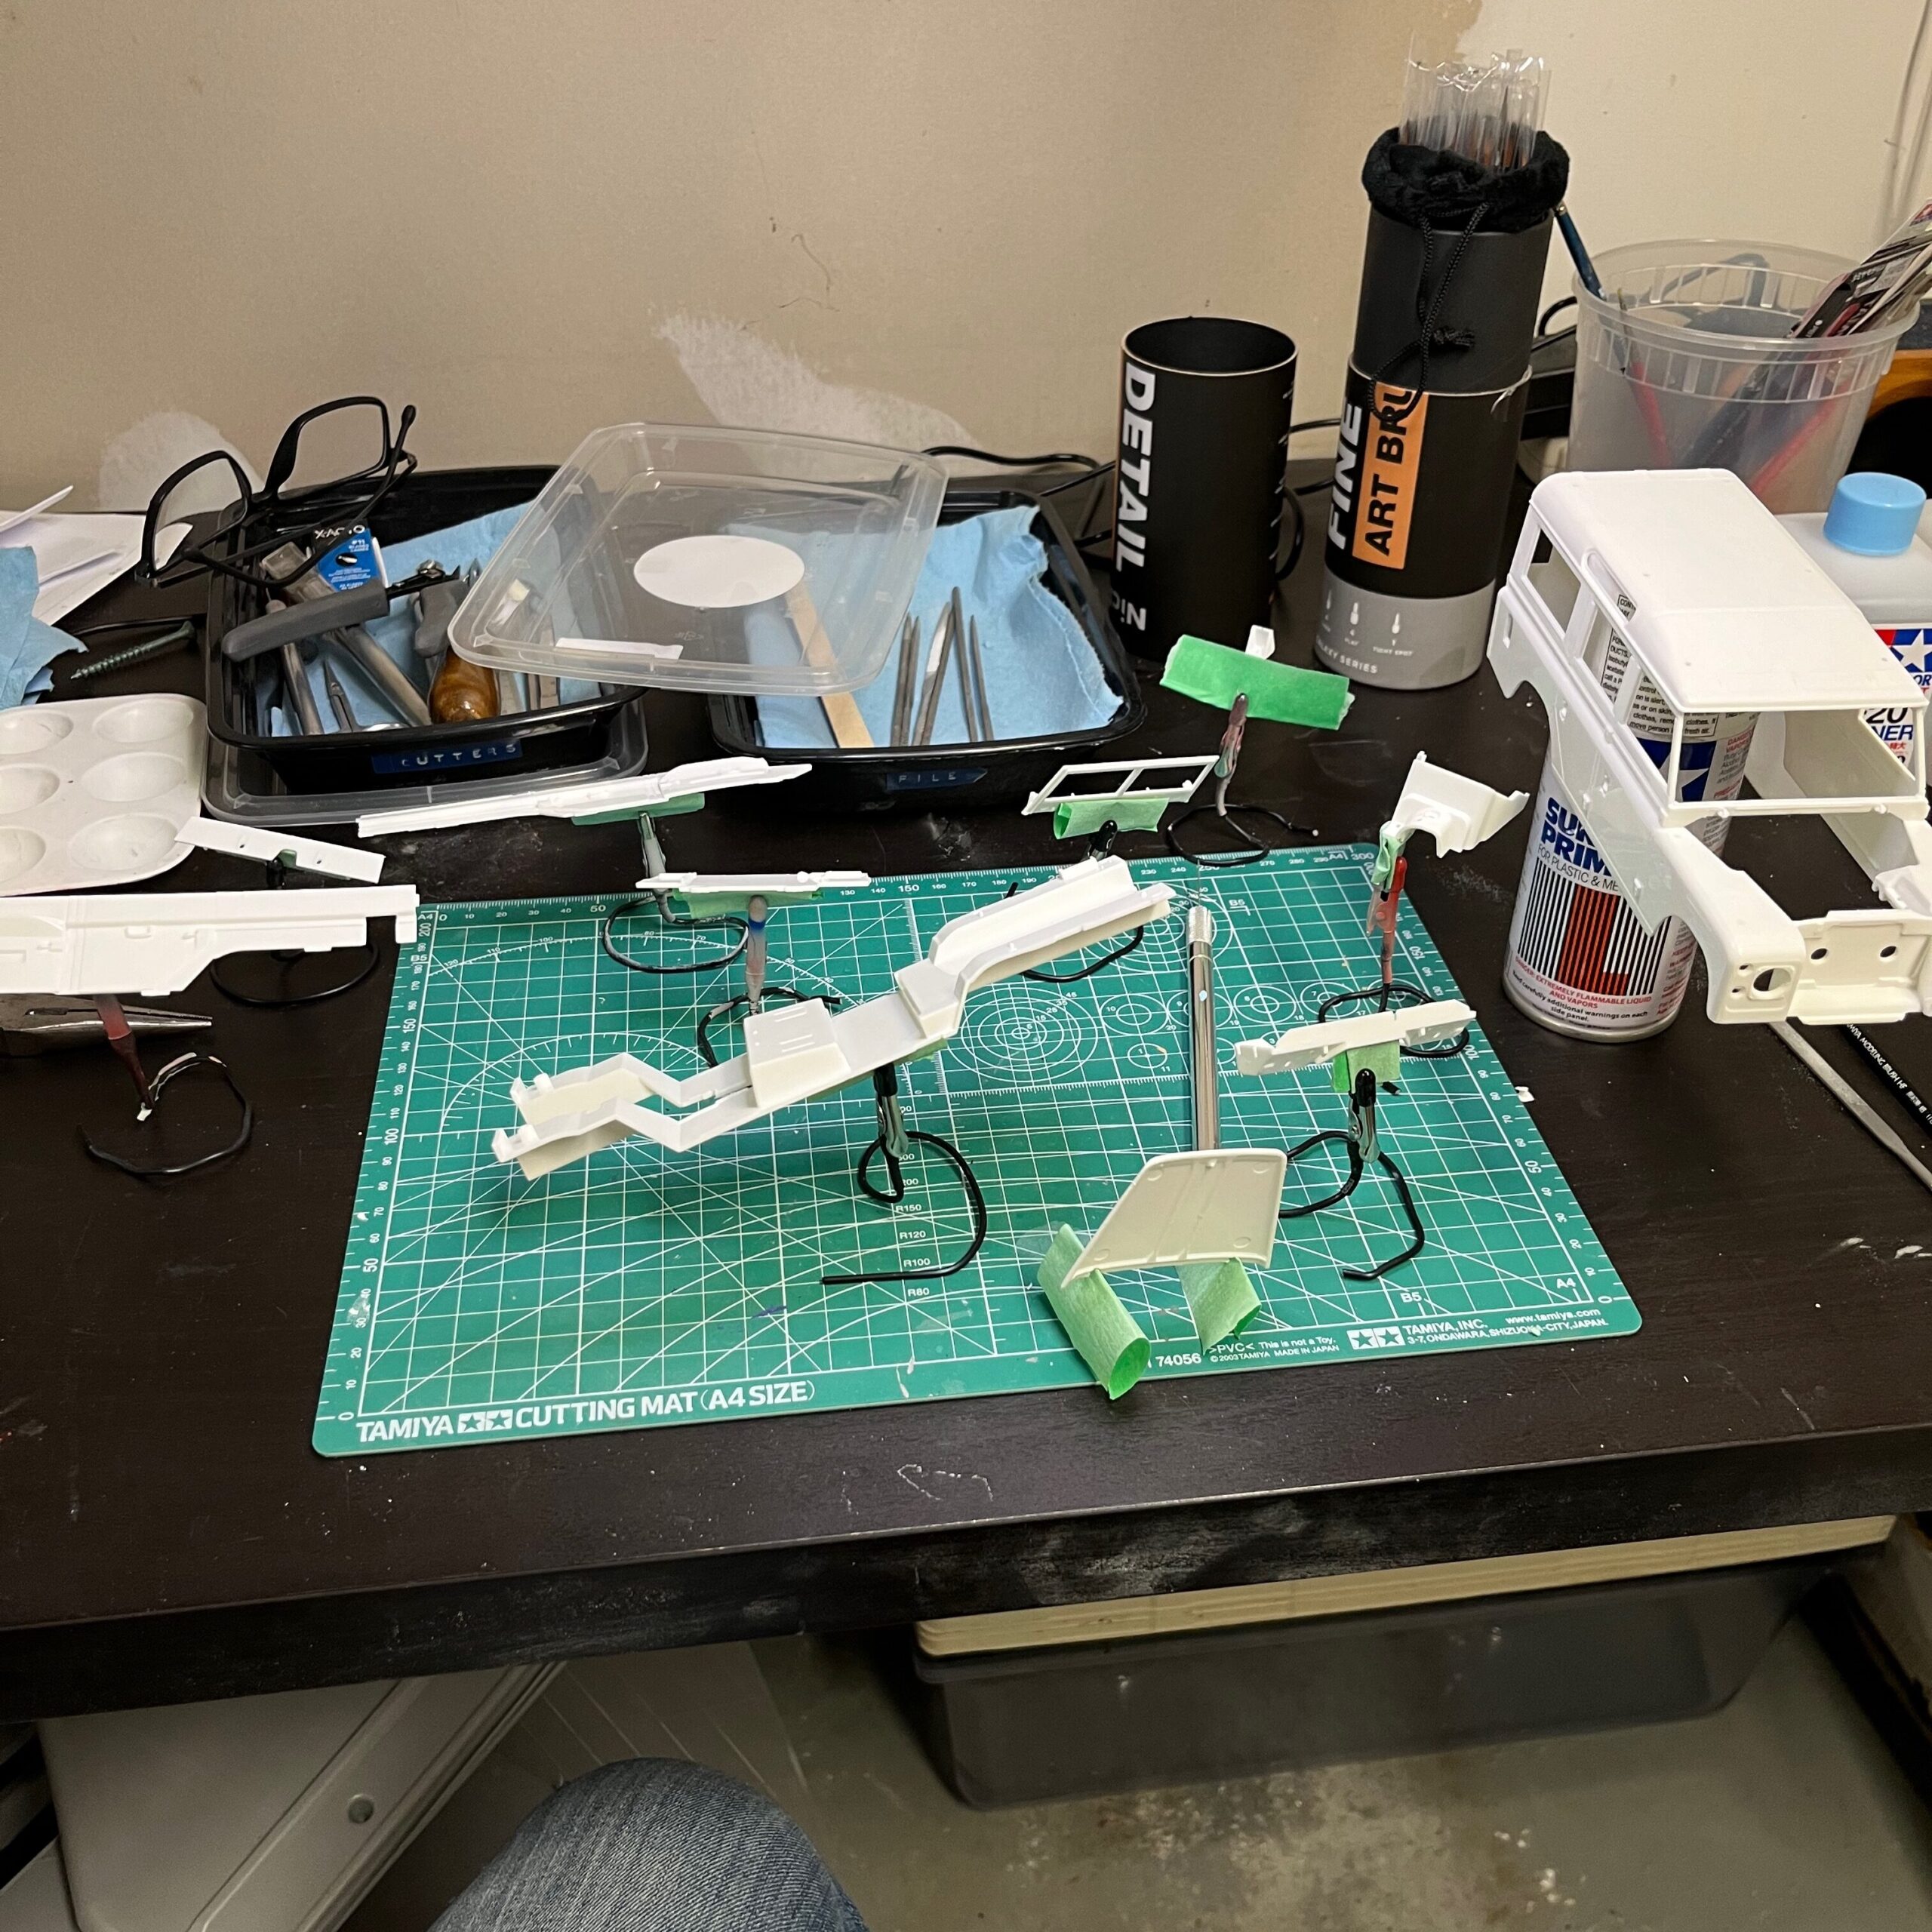
Over the last few projects, I picked up a number of these little clamps with wires attached to them on Amazon for pretty cheap. I find that using some painter’s masking tape I can hold almost any part to them for painting.
I planned on trying out a chipping technique once the model was painted, with the idea of showing rust under the chips. So my thinking was to prime it with a rust-coloured red primer. This kit was quite good. There were very few mold lines that had to get cleaned up, and all of the pieces fit together quite well.
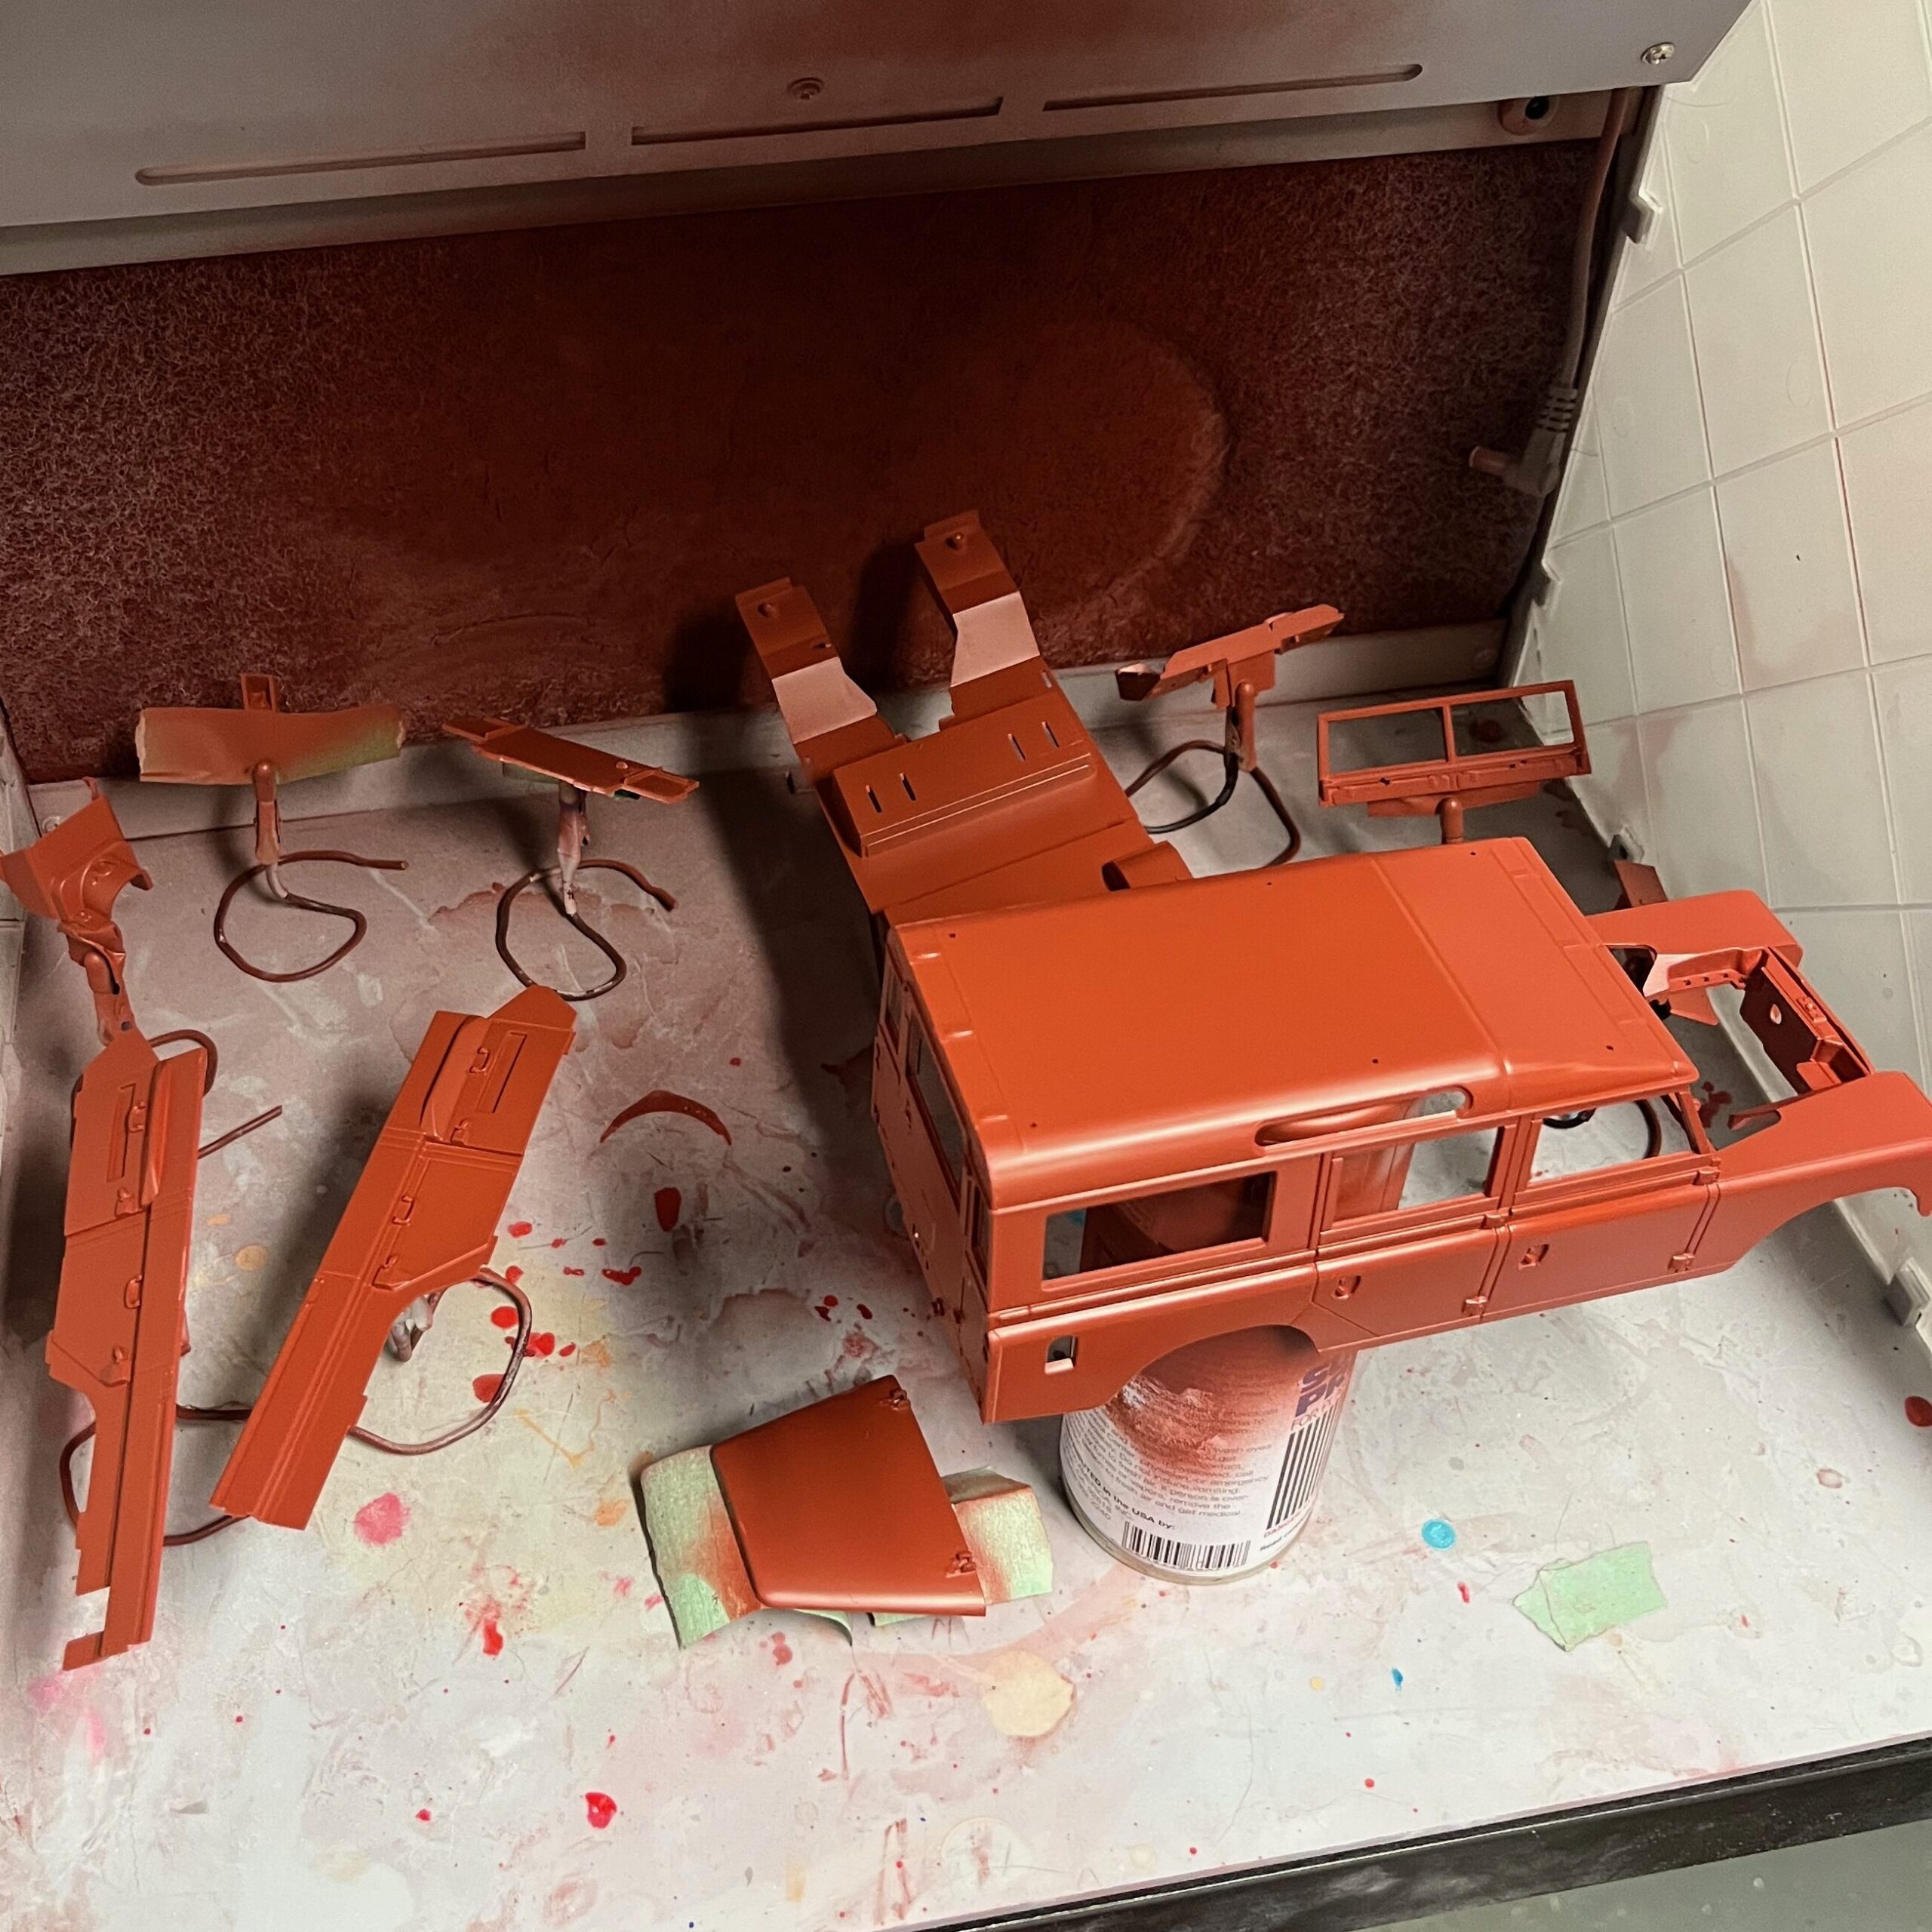
After looking more carefully at the reference photos, though, this chipping approach didn’t make as much sense as I thought, so I ended up abandoning it. I think the red primer still did a decent job and ended up making the final model a little warmer. Of course, that may just be my imagination.
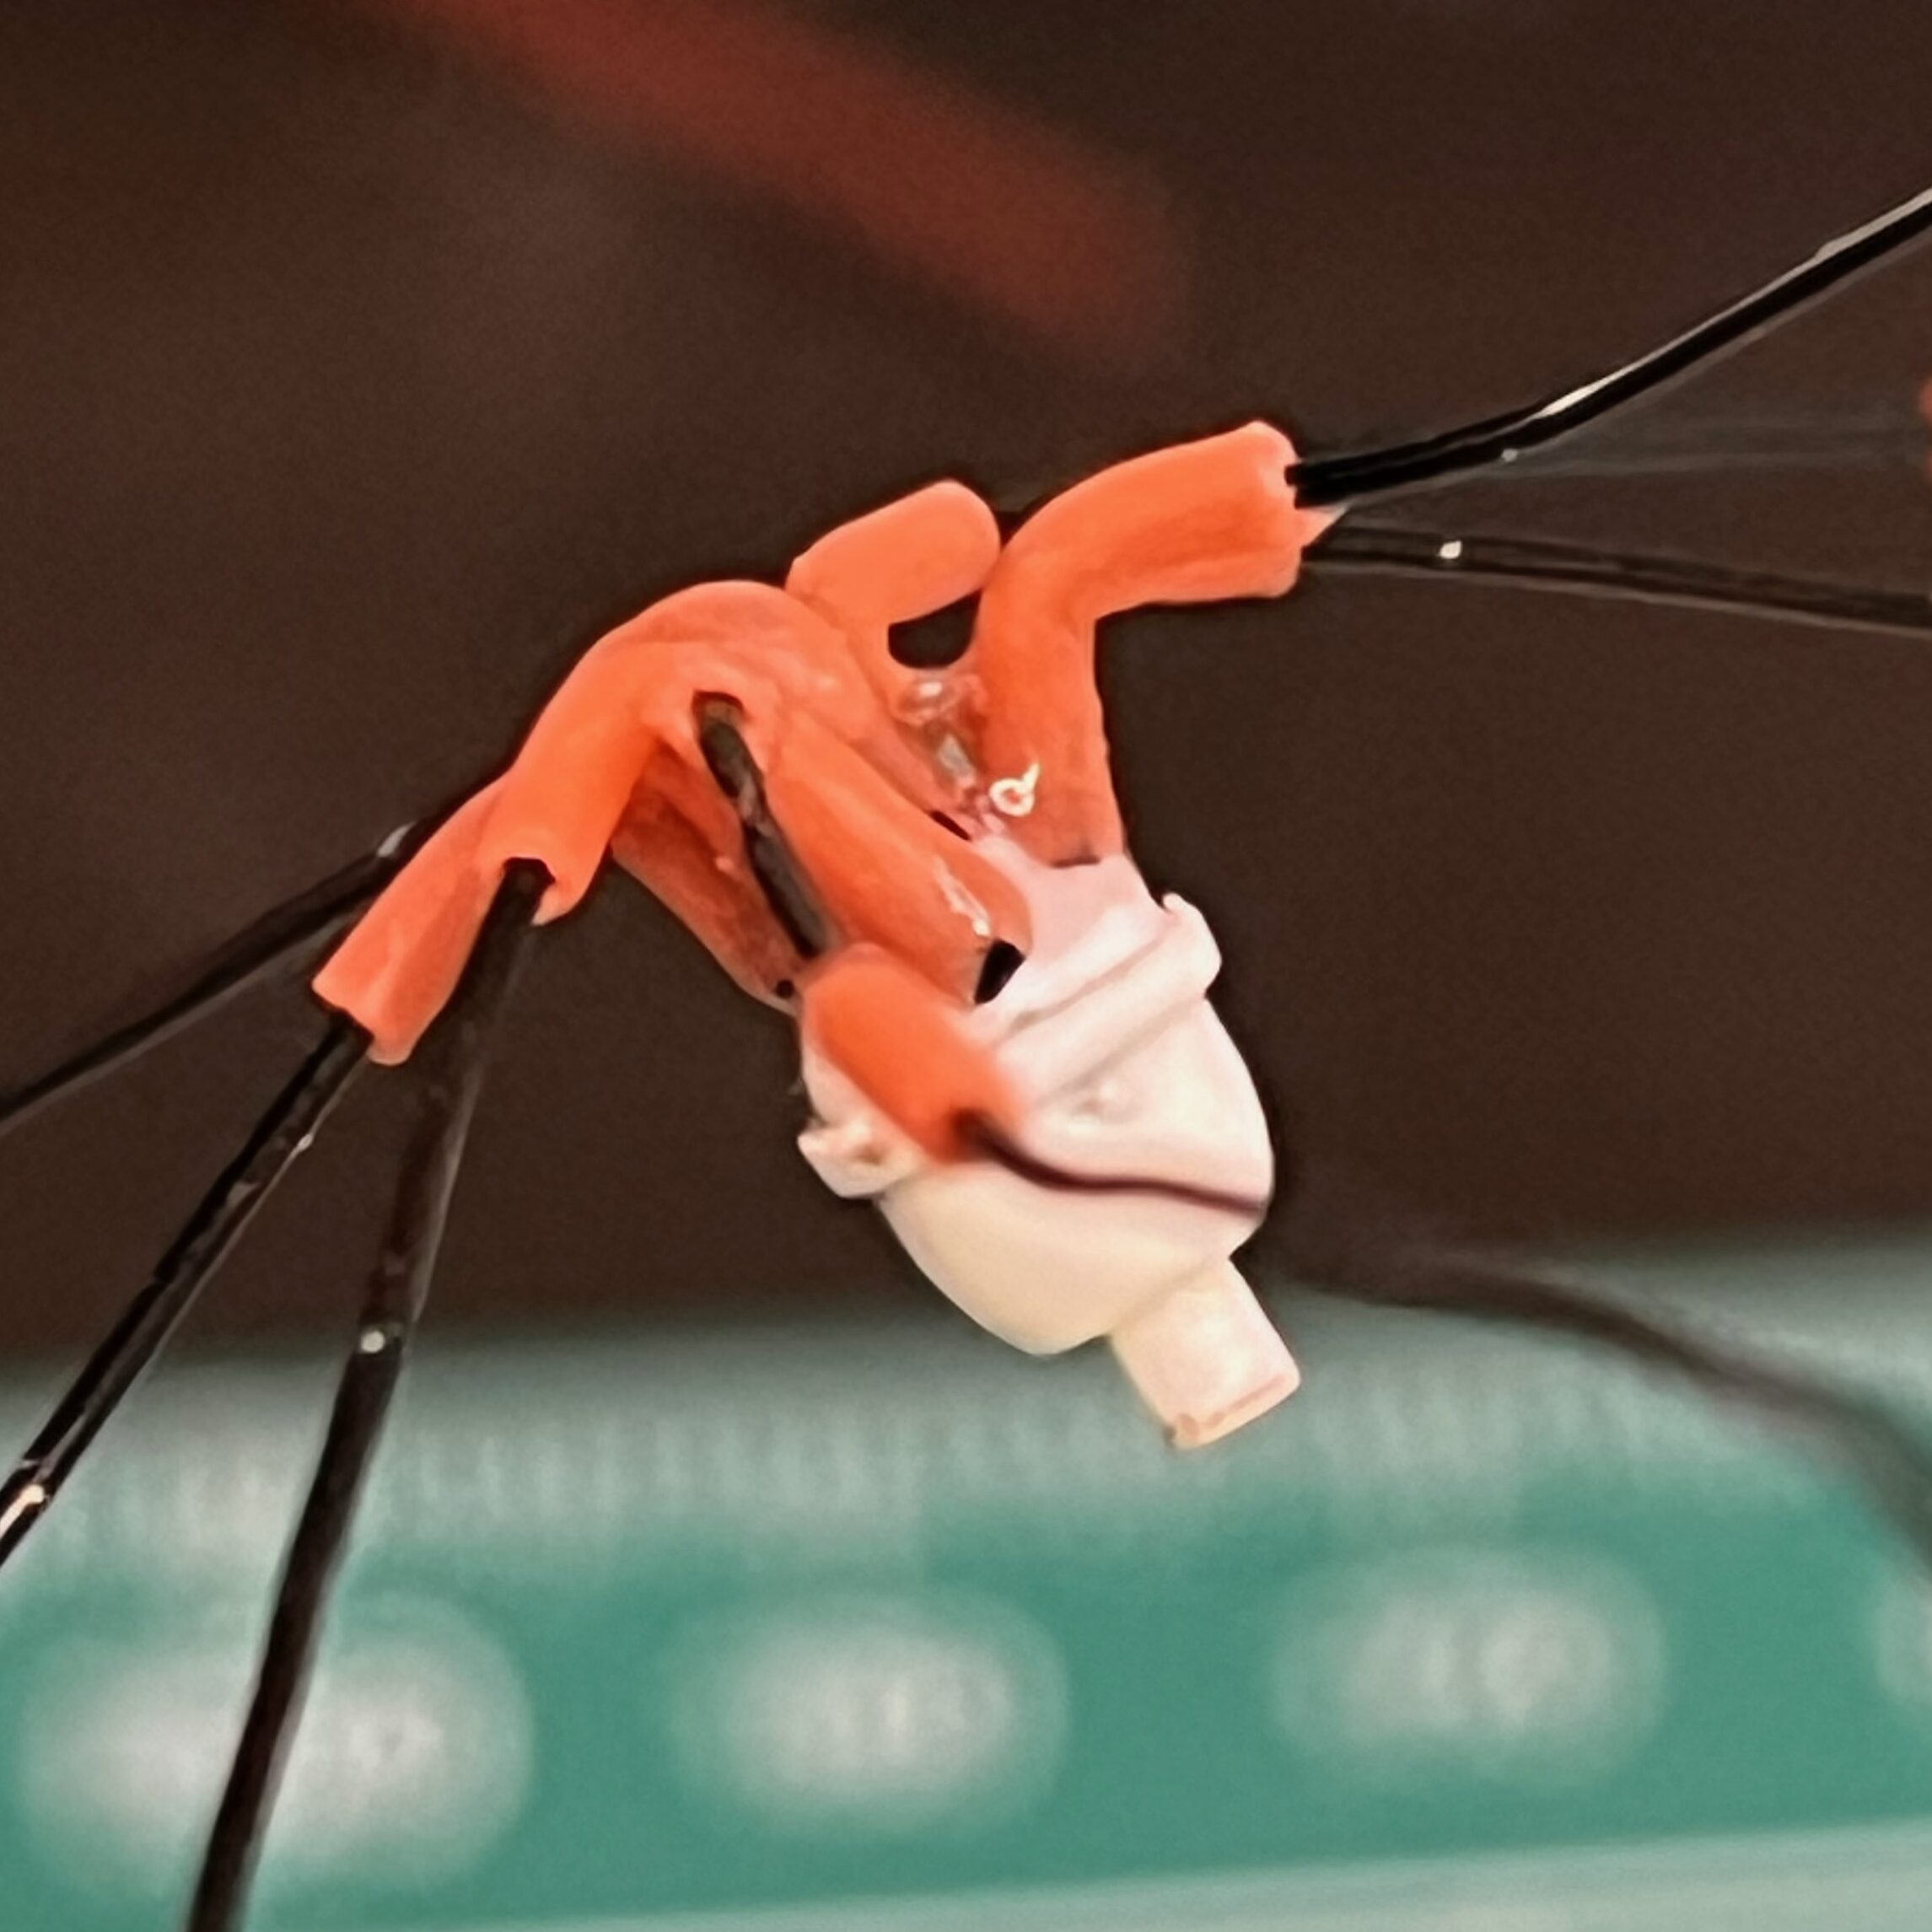
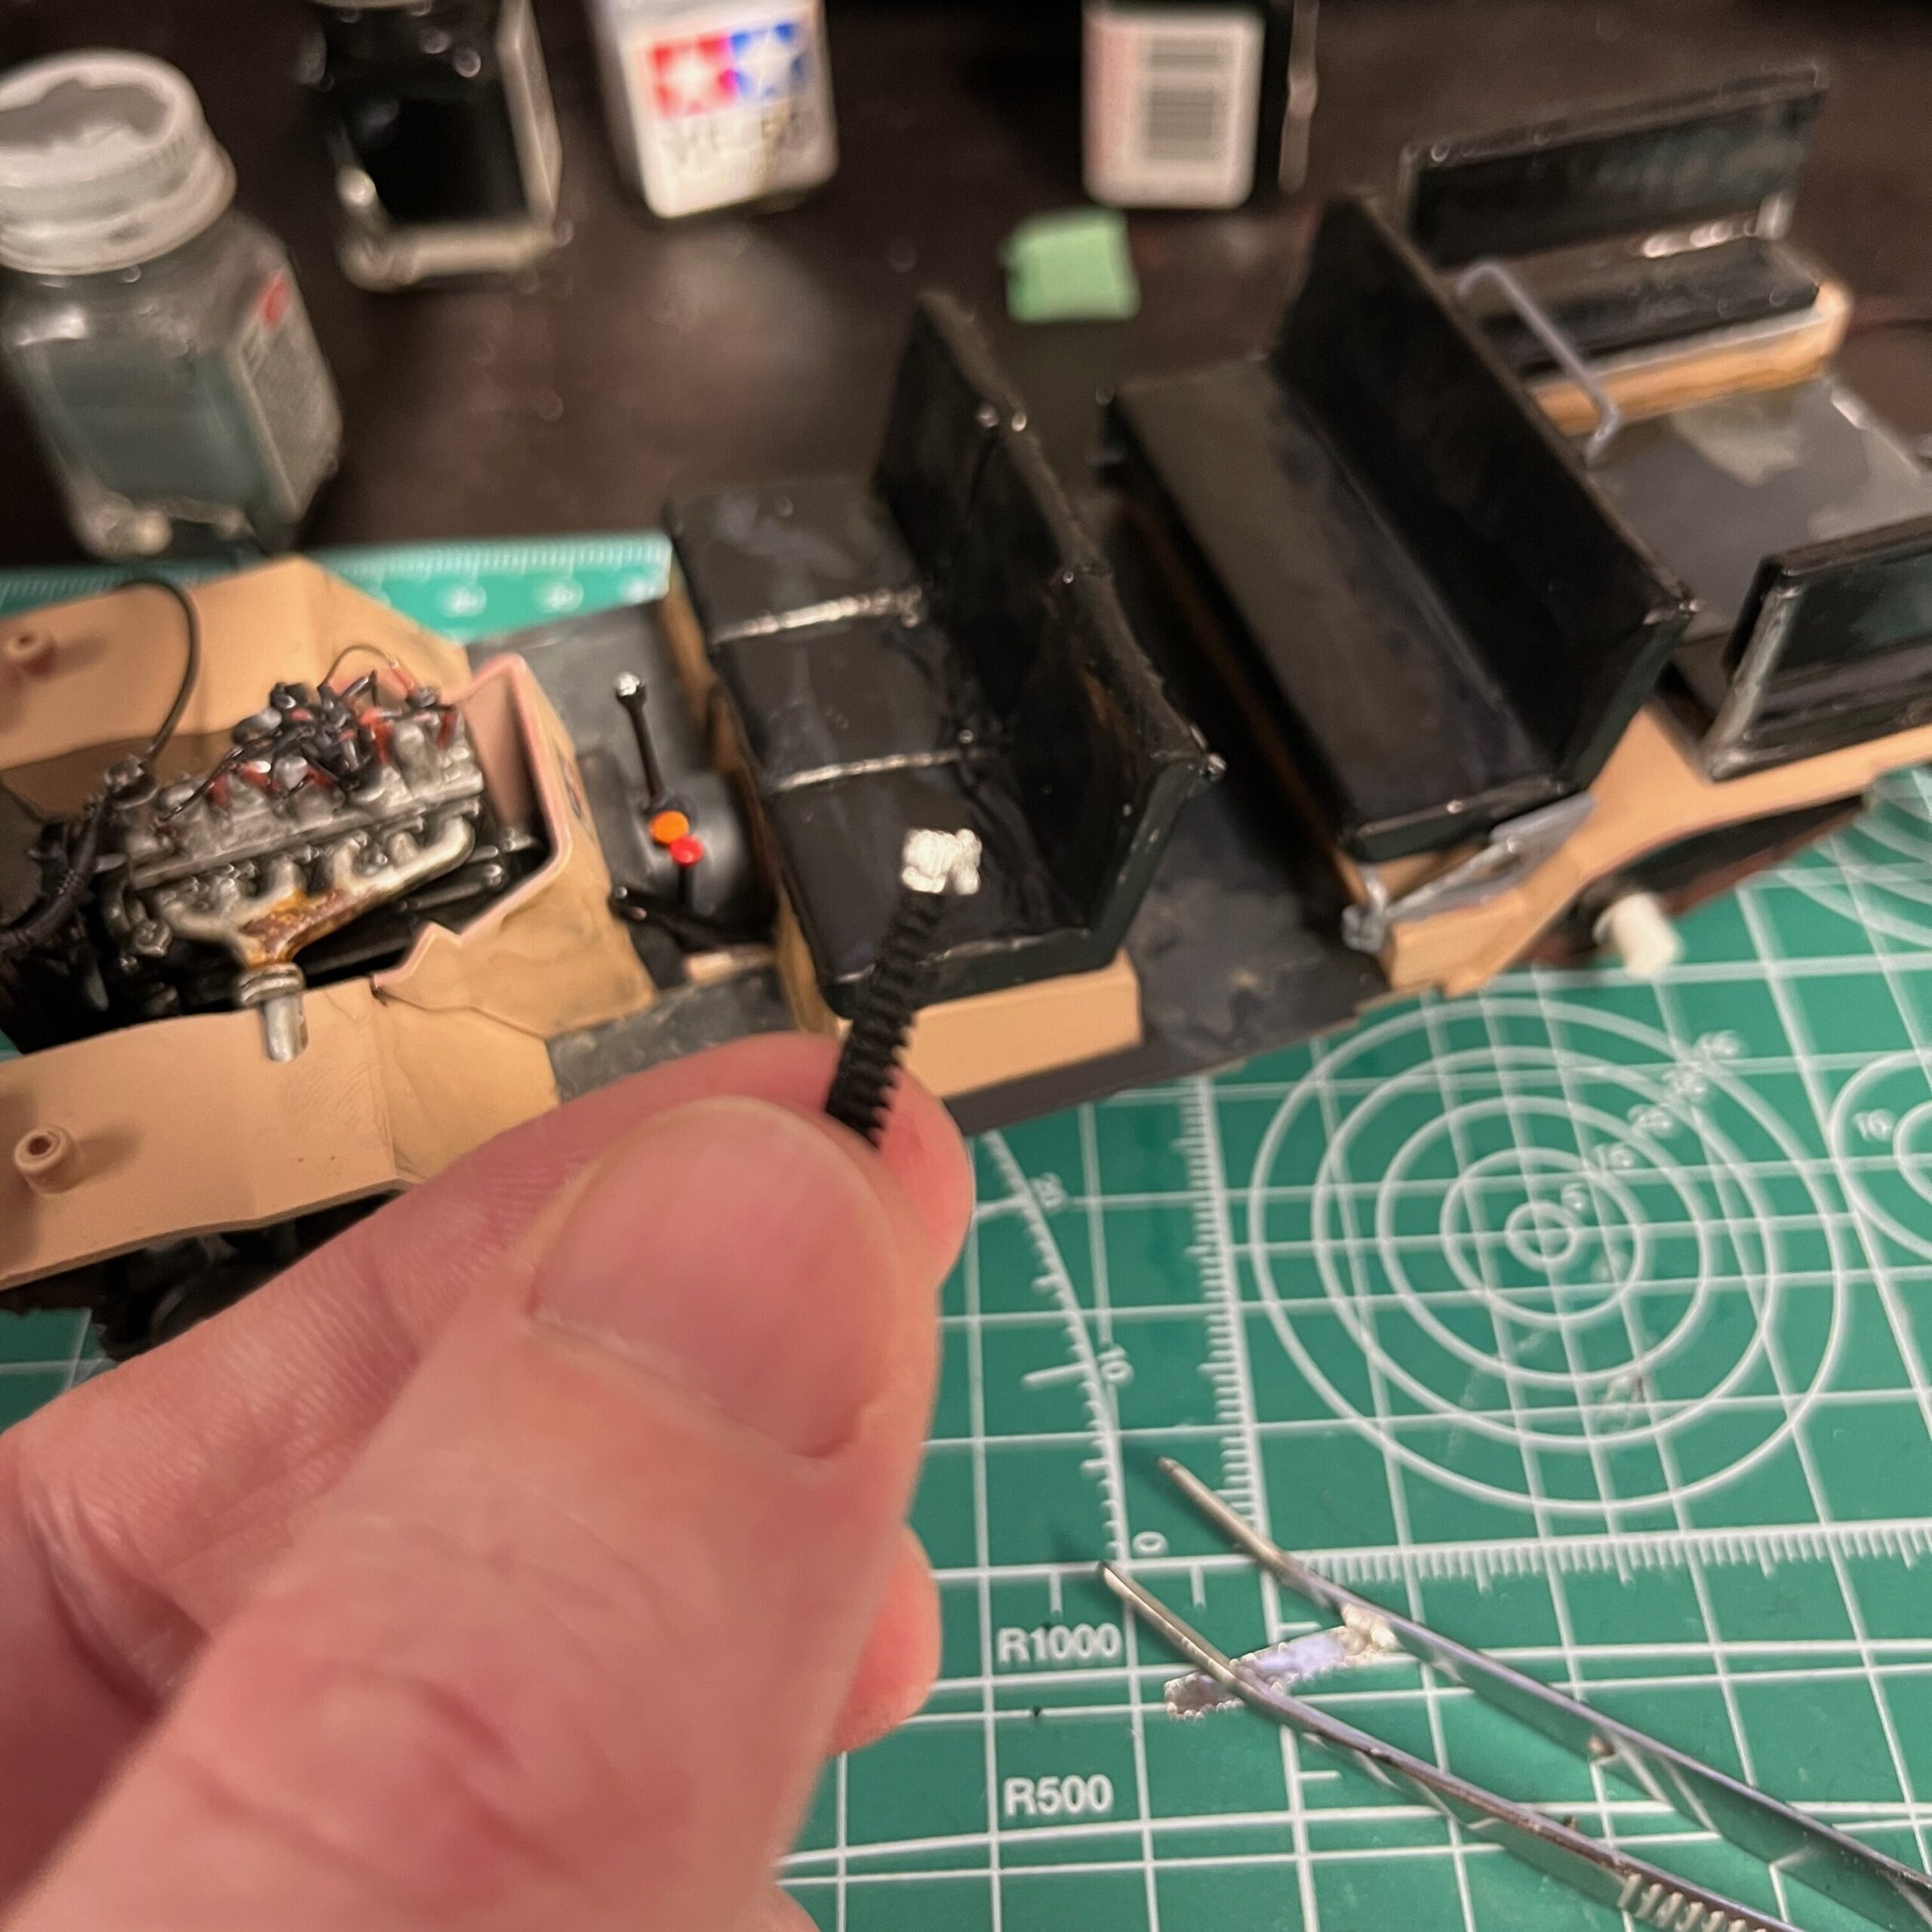
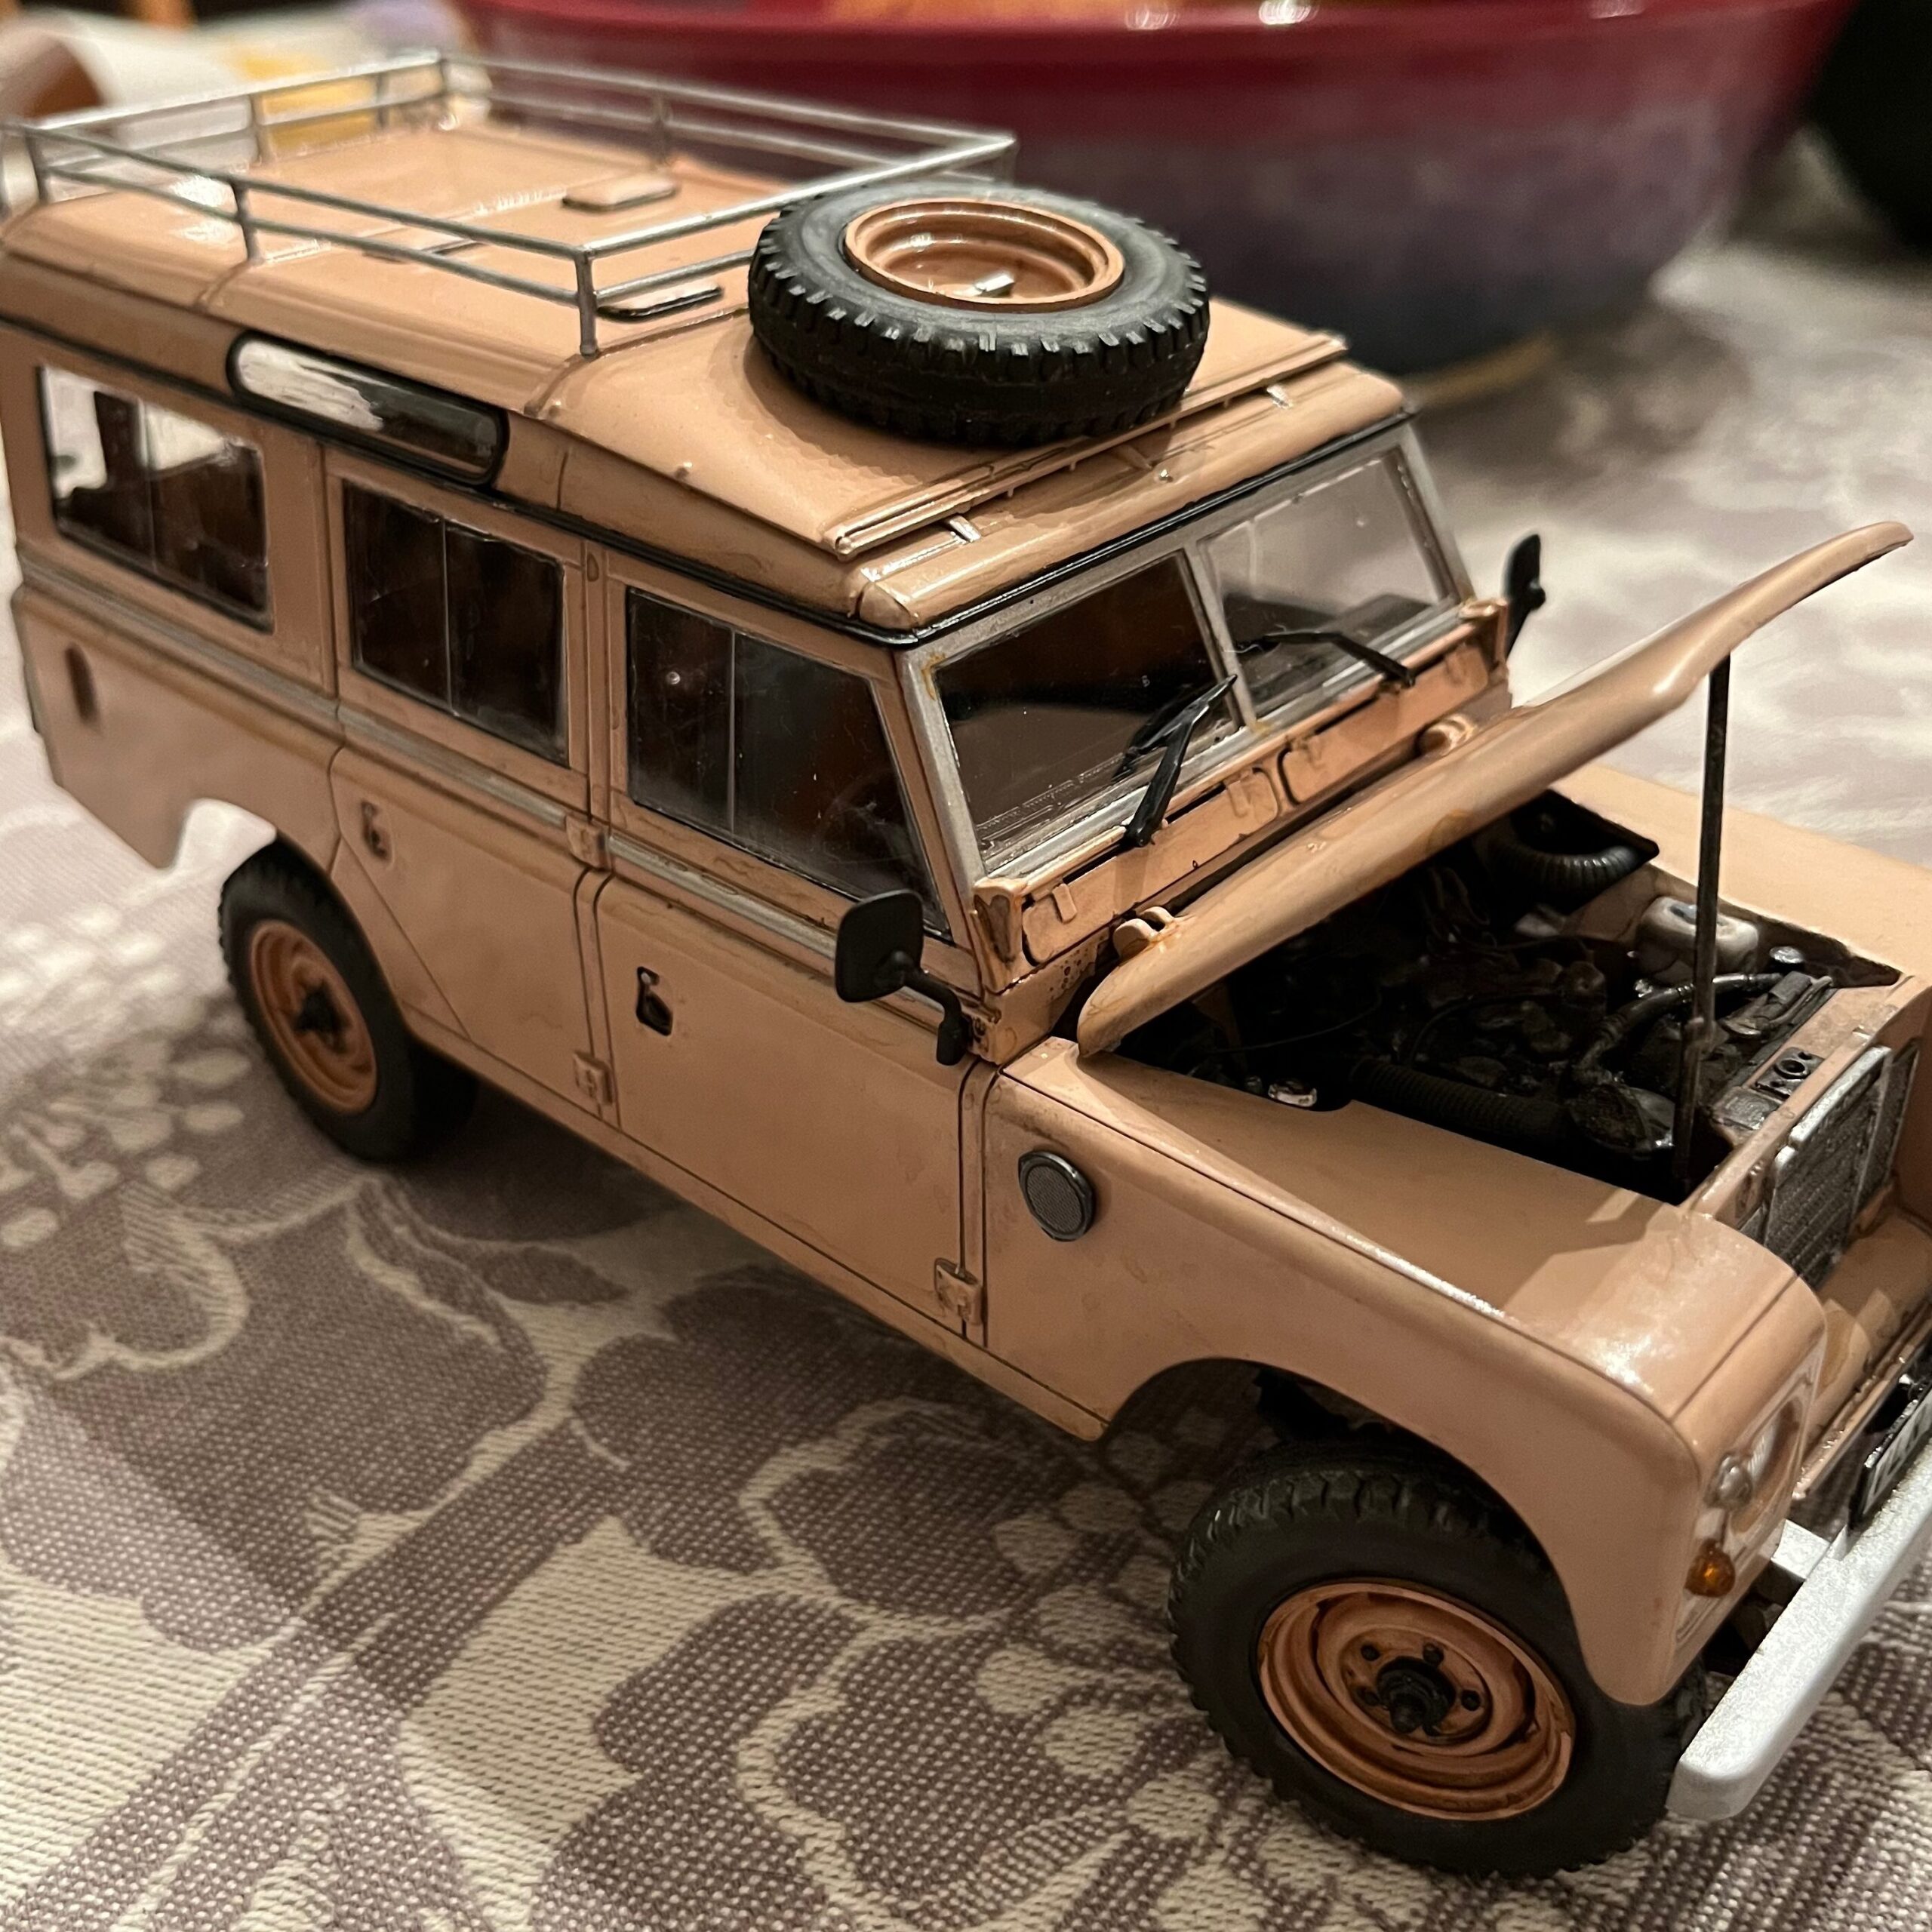
After the Porsche, I wanted to do a better job at detailing the engine, and specifically the spark-plug wires. The idea was to use the insulation of some old networking cable, and use the same narrow-guage bracelet wire. I would use the insulation as the boot on the wire, and use tweezers to insert bends into the wire to look more like the way the spark-plug wires look in the engines. I also drilled out the distributor cap so that the wires would be glued both into the engine block and the distributor.
This was incredibly fidgety work, and took several hours alone, but in the end, it turned out exactly as I had hoped.
When finally plugged into the engine, the detailed effect looked really nice.
I noted in the reference photos that there’s a hose that runs from what I think is the carburettor to an air hose that would have to be finished up much later. I used one of the wires from inside an old phone line for that and drilled the whole into the engine and glued it in, with plenty of extra once the final assembly was done.
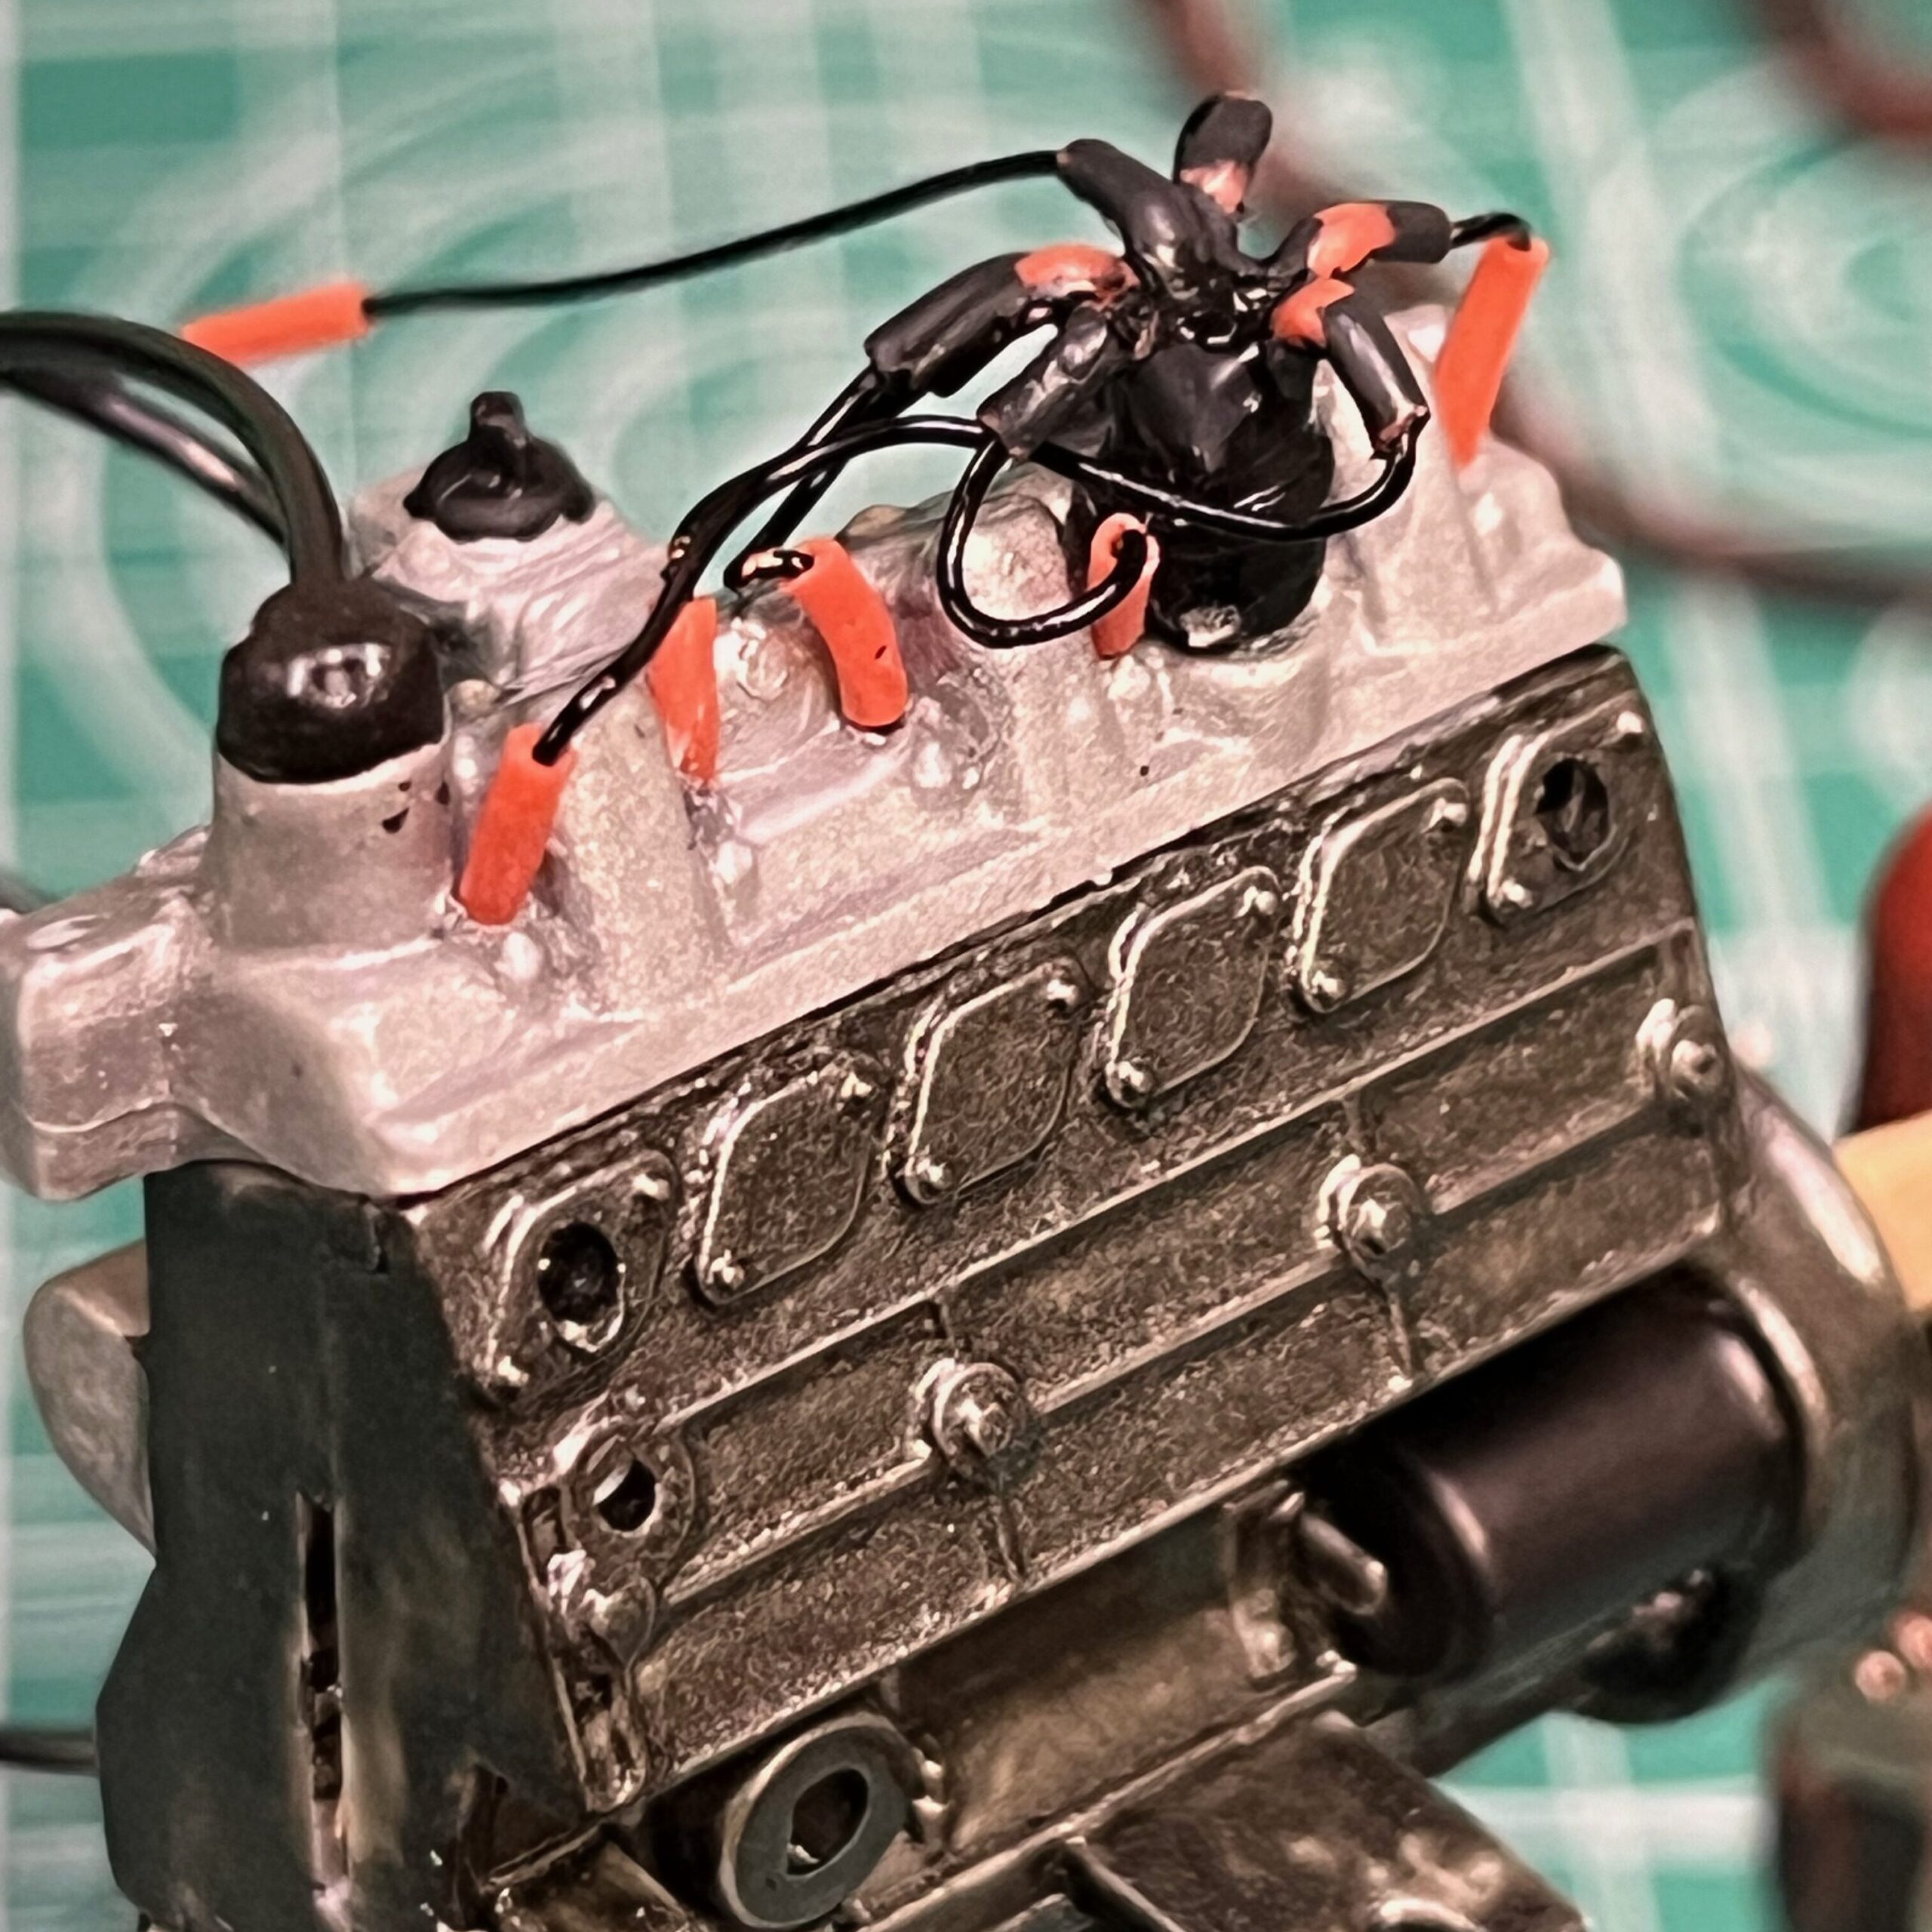
I had painted the plugs at the distributor a rubber-black, but in the process of assembly, some of the paint was worn off. I ended up leaving it, because it made it look more used, and would contribute to the general weathering I planned to do later.
In the reference photos, the chassis appeared to be galvanized steel. I did some googling to see if anyone had some ideas, and the salt technique, which some folks use for chipping, seemed to be what a few folks had used to do something similar.
I tried this with the frame, using a base coat of gunmetal, then a spray with aluminum. The idea is to then repeat this with a flat grey. Ultimately, I didn’t like how it turned out after the aluminum. The result didn’t look right for the scale. This may have been because the salt that I used had grains that were too large.
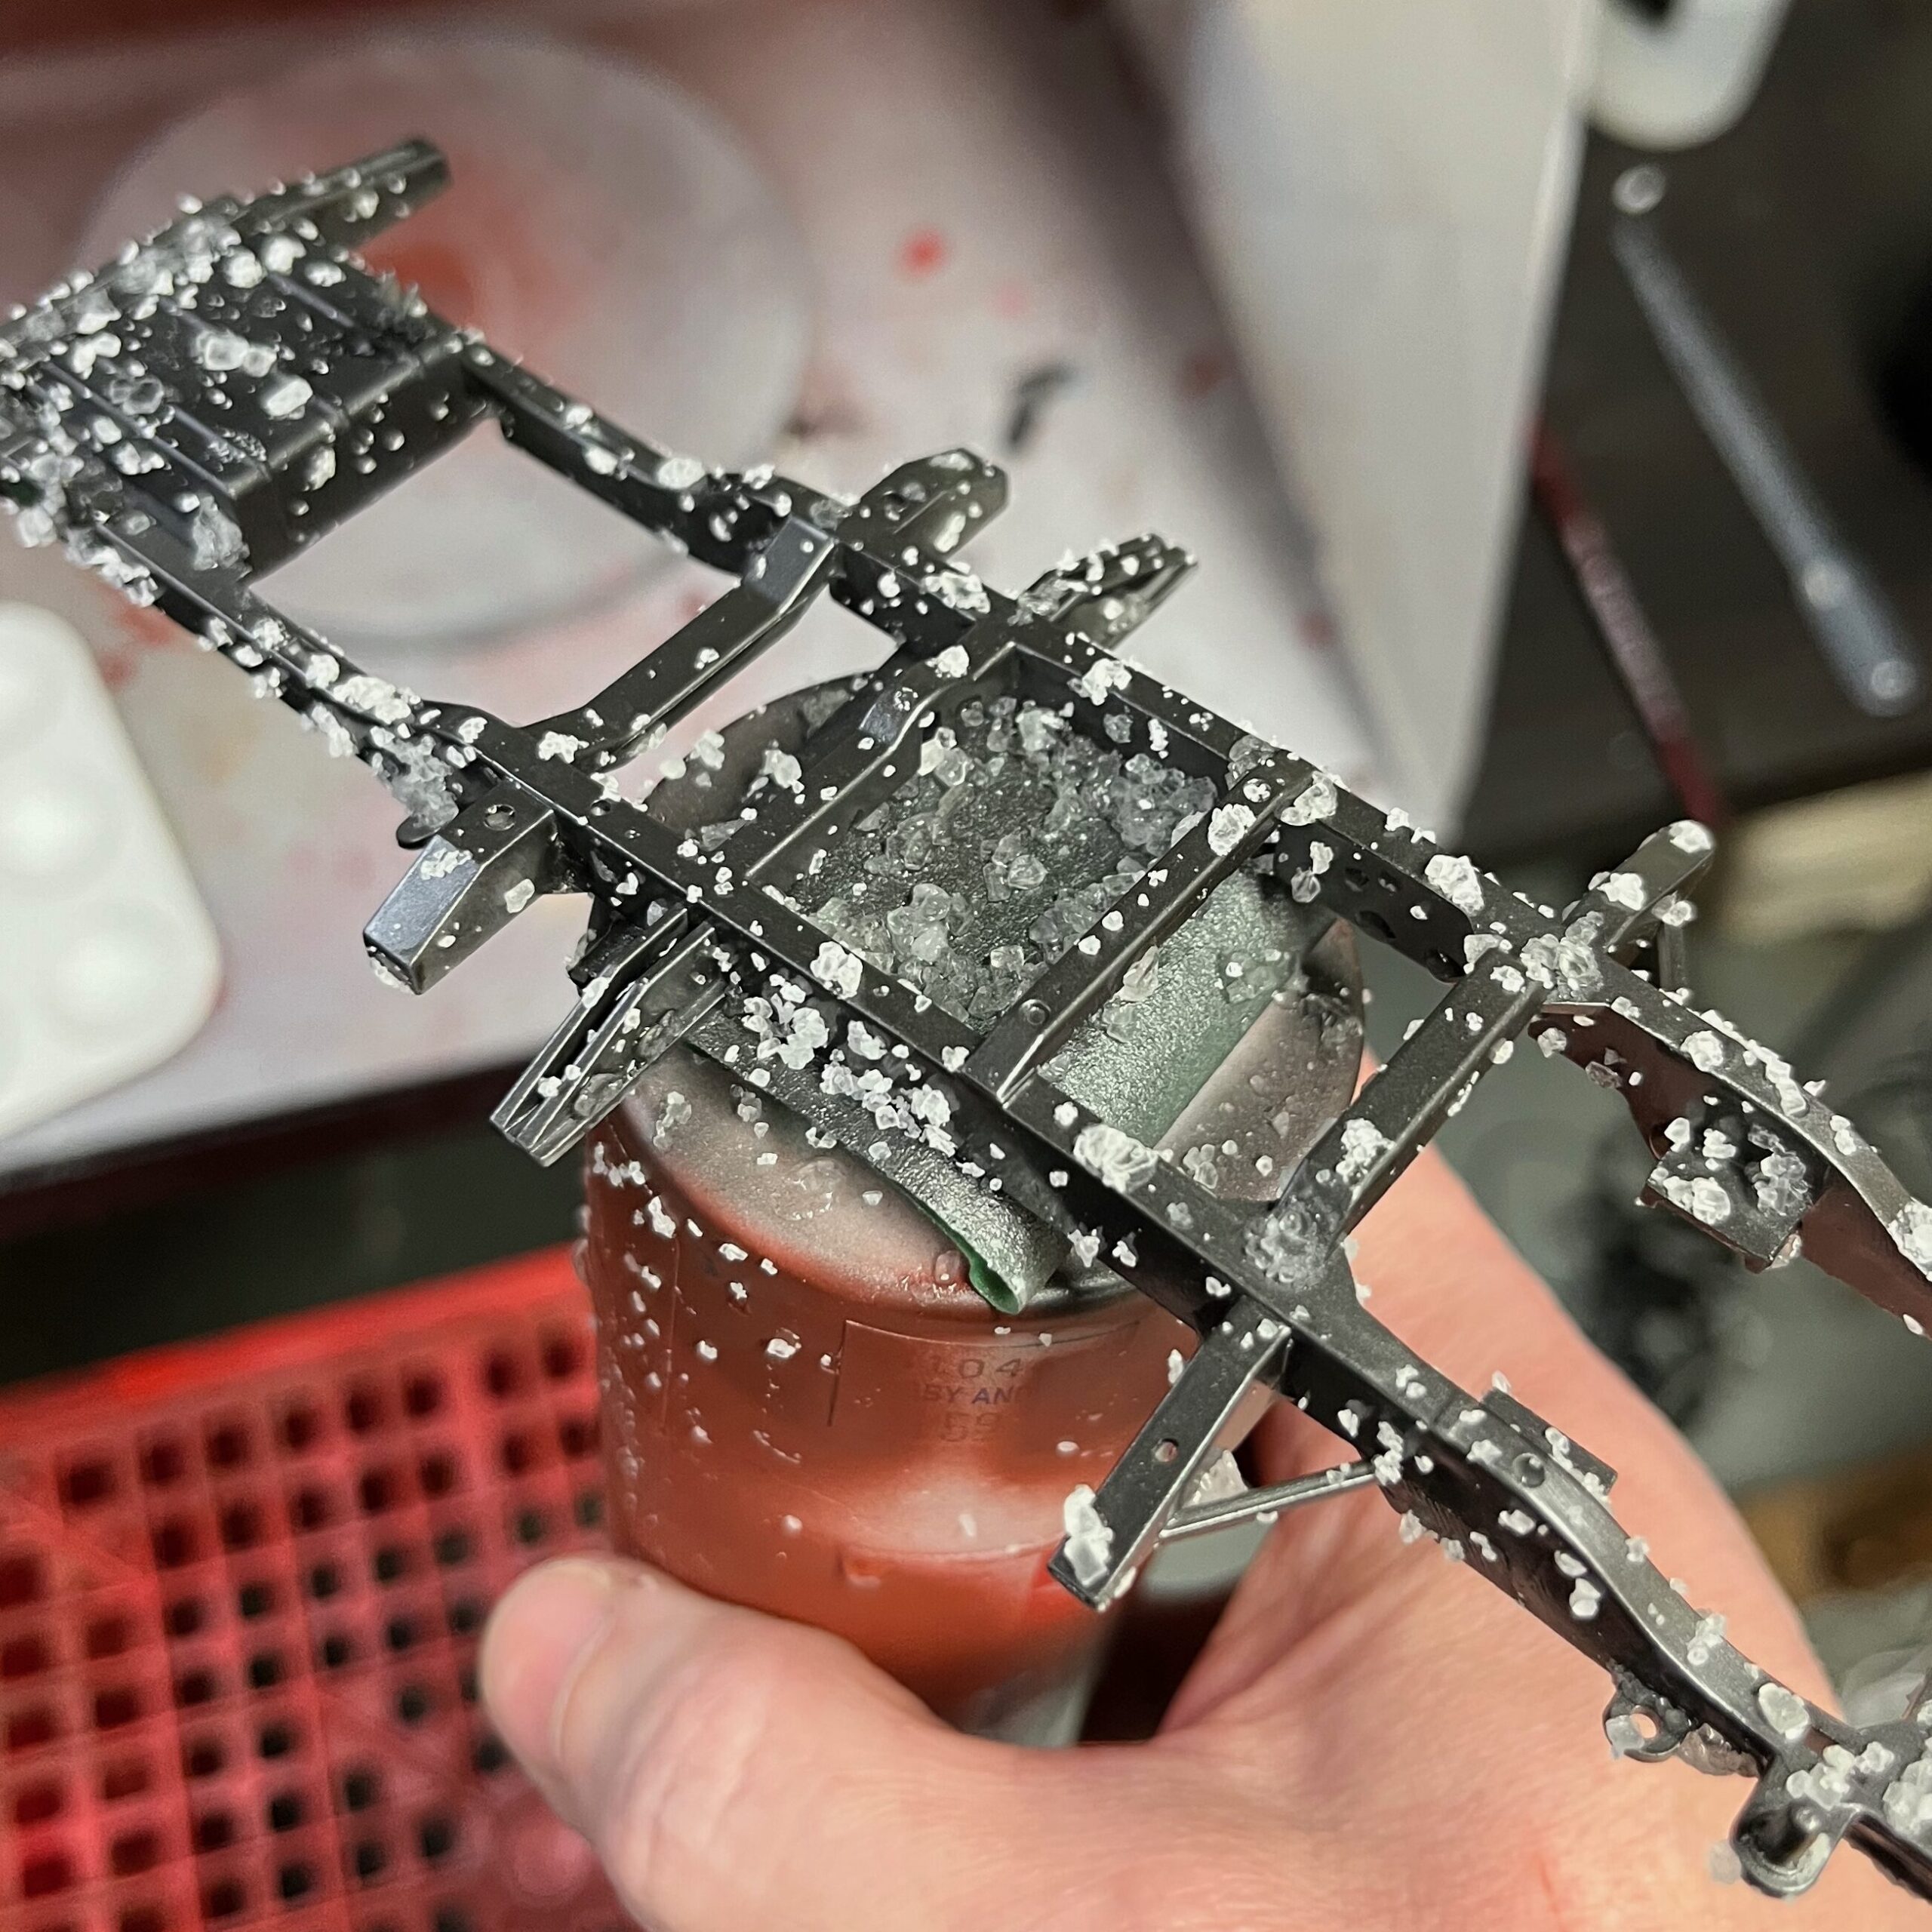
So instead of the final top coat with the flat grey, I used a sponge to dab acrylic flat great over the entire frame. This had the right look, but I don’t think the acrylic was the right approach, since it ended up very quickly building up depth. Since this was all on the undercarriage and I planned on weathering this, I just moved on and didn’t spend a lot of time trying to sort this out. I find that generally aluminum paint looks pretty good at this scale.
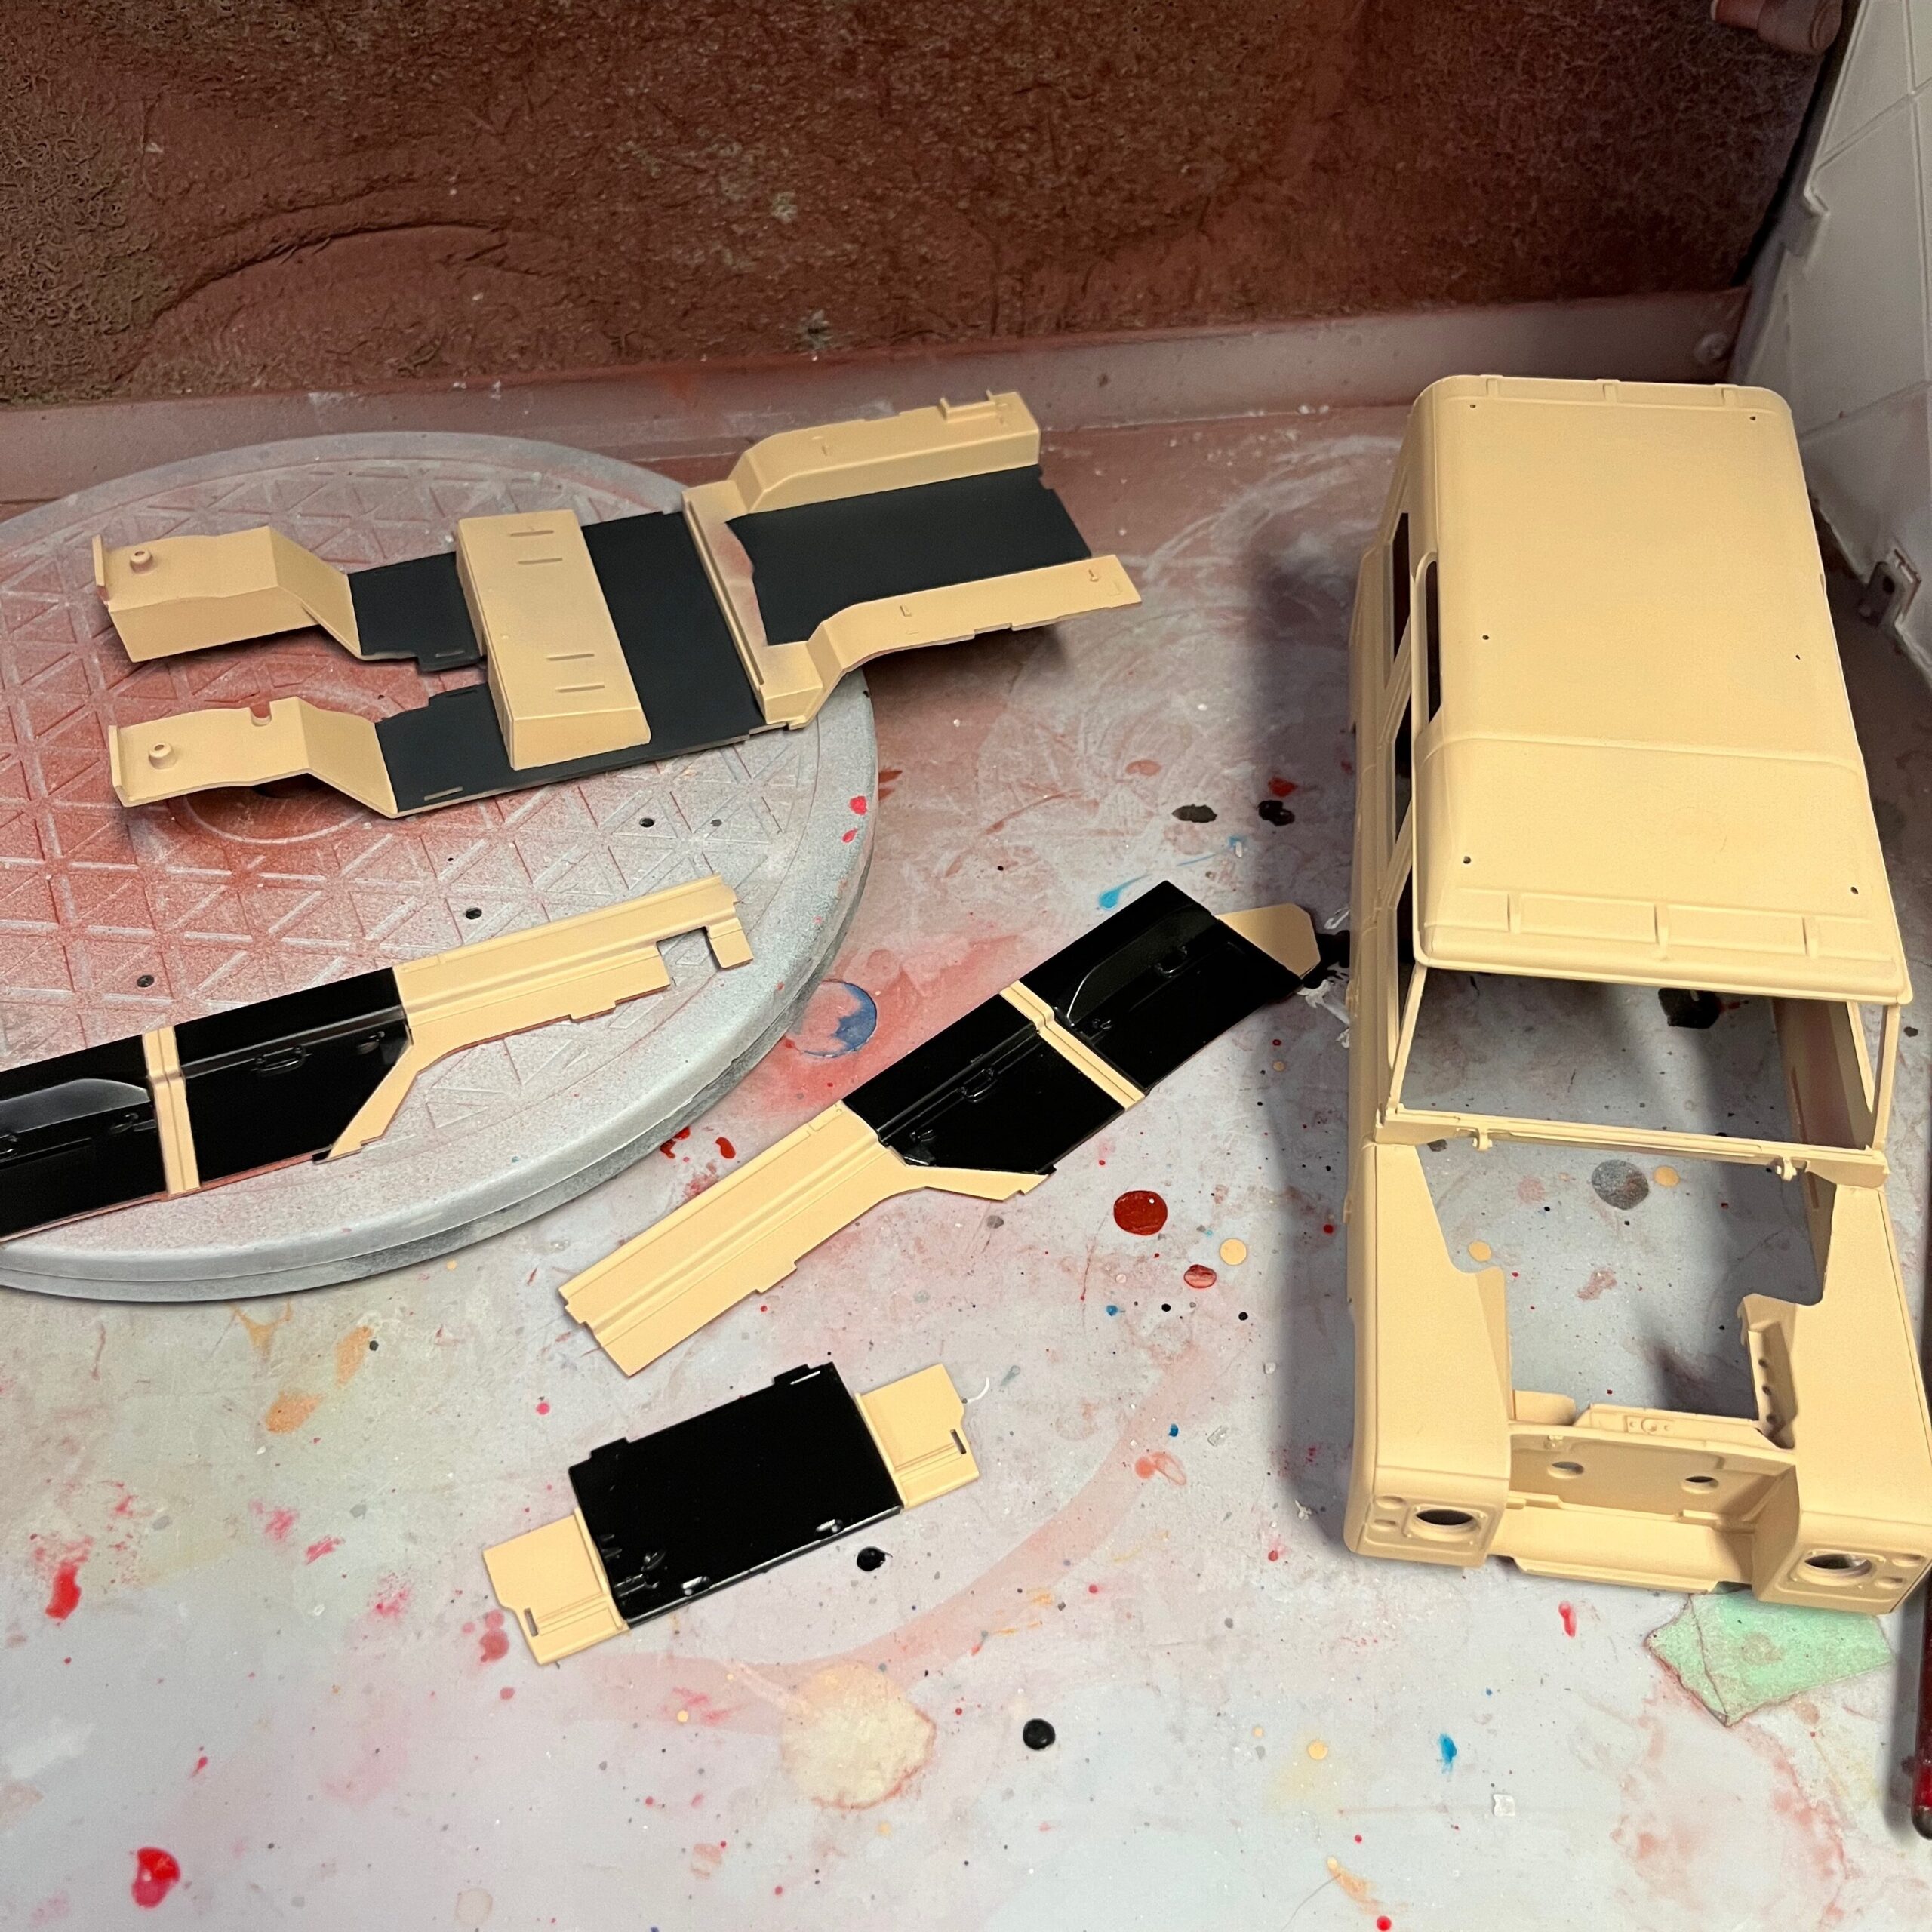
For the body colour, I was going for the kind of desert-yellow colour that I see on a lot of the older reference vehicles. I had a lacquer that was a light brown that looked pretty close, but not exactly close. The flat makes it look very military, but I had some gloss varnish to bring it up a bit. The idea is that it shouldn’t be too shiny anyhow, since I’m going for utility vehicle, not luxury SUV.
The reference photos showed that on the interior, most of the vehicle is body colour with exposed body panels, and a few places insulated by panels over the painted steel. I masked off and used a semi-gloss black, which looks pretty close to vinyl that you’d see on older interior panels.
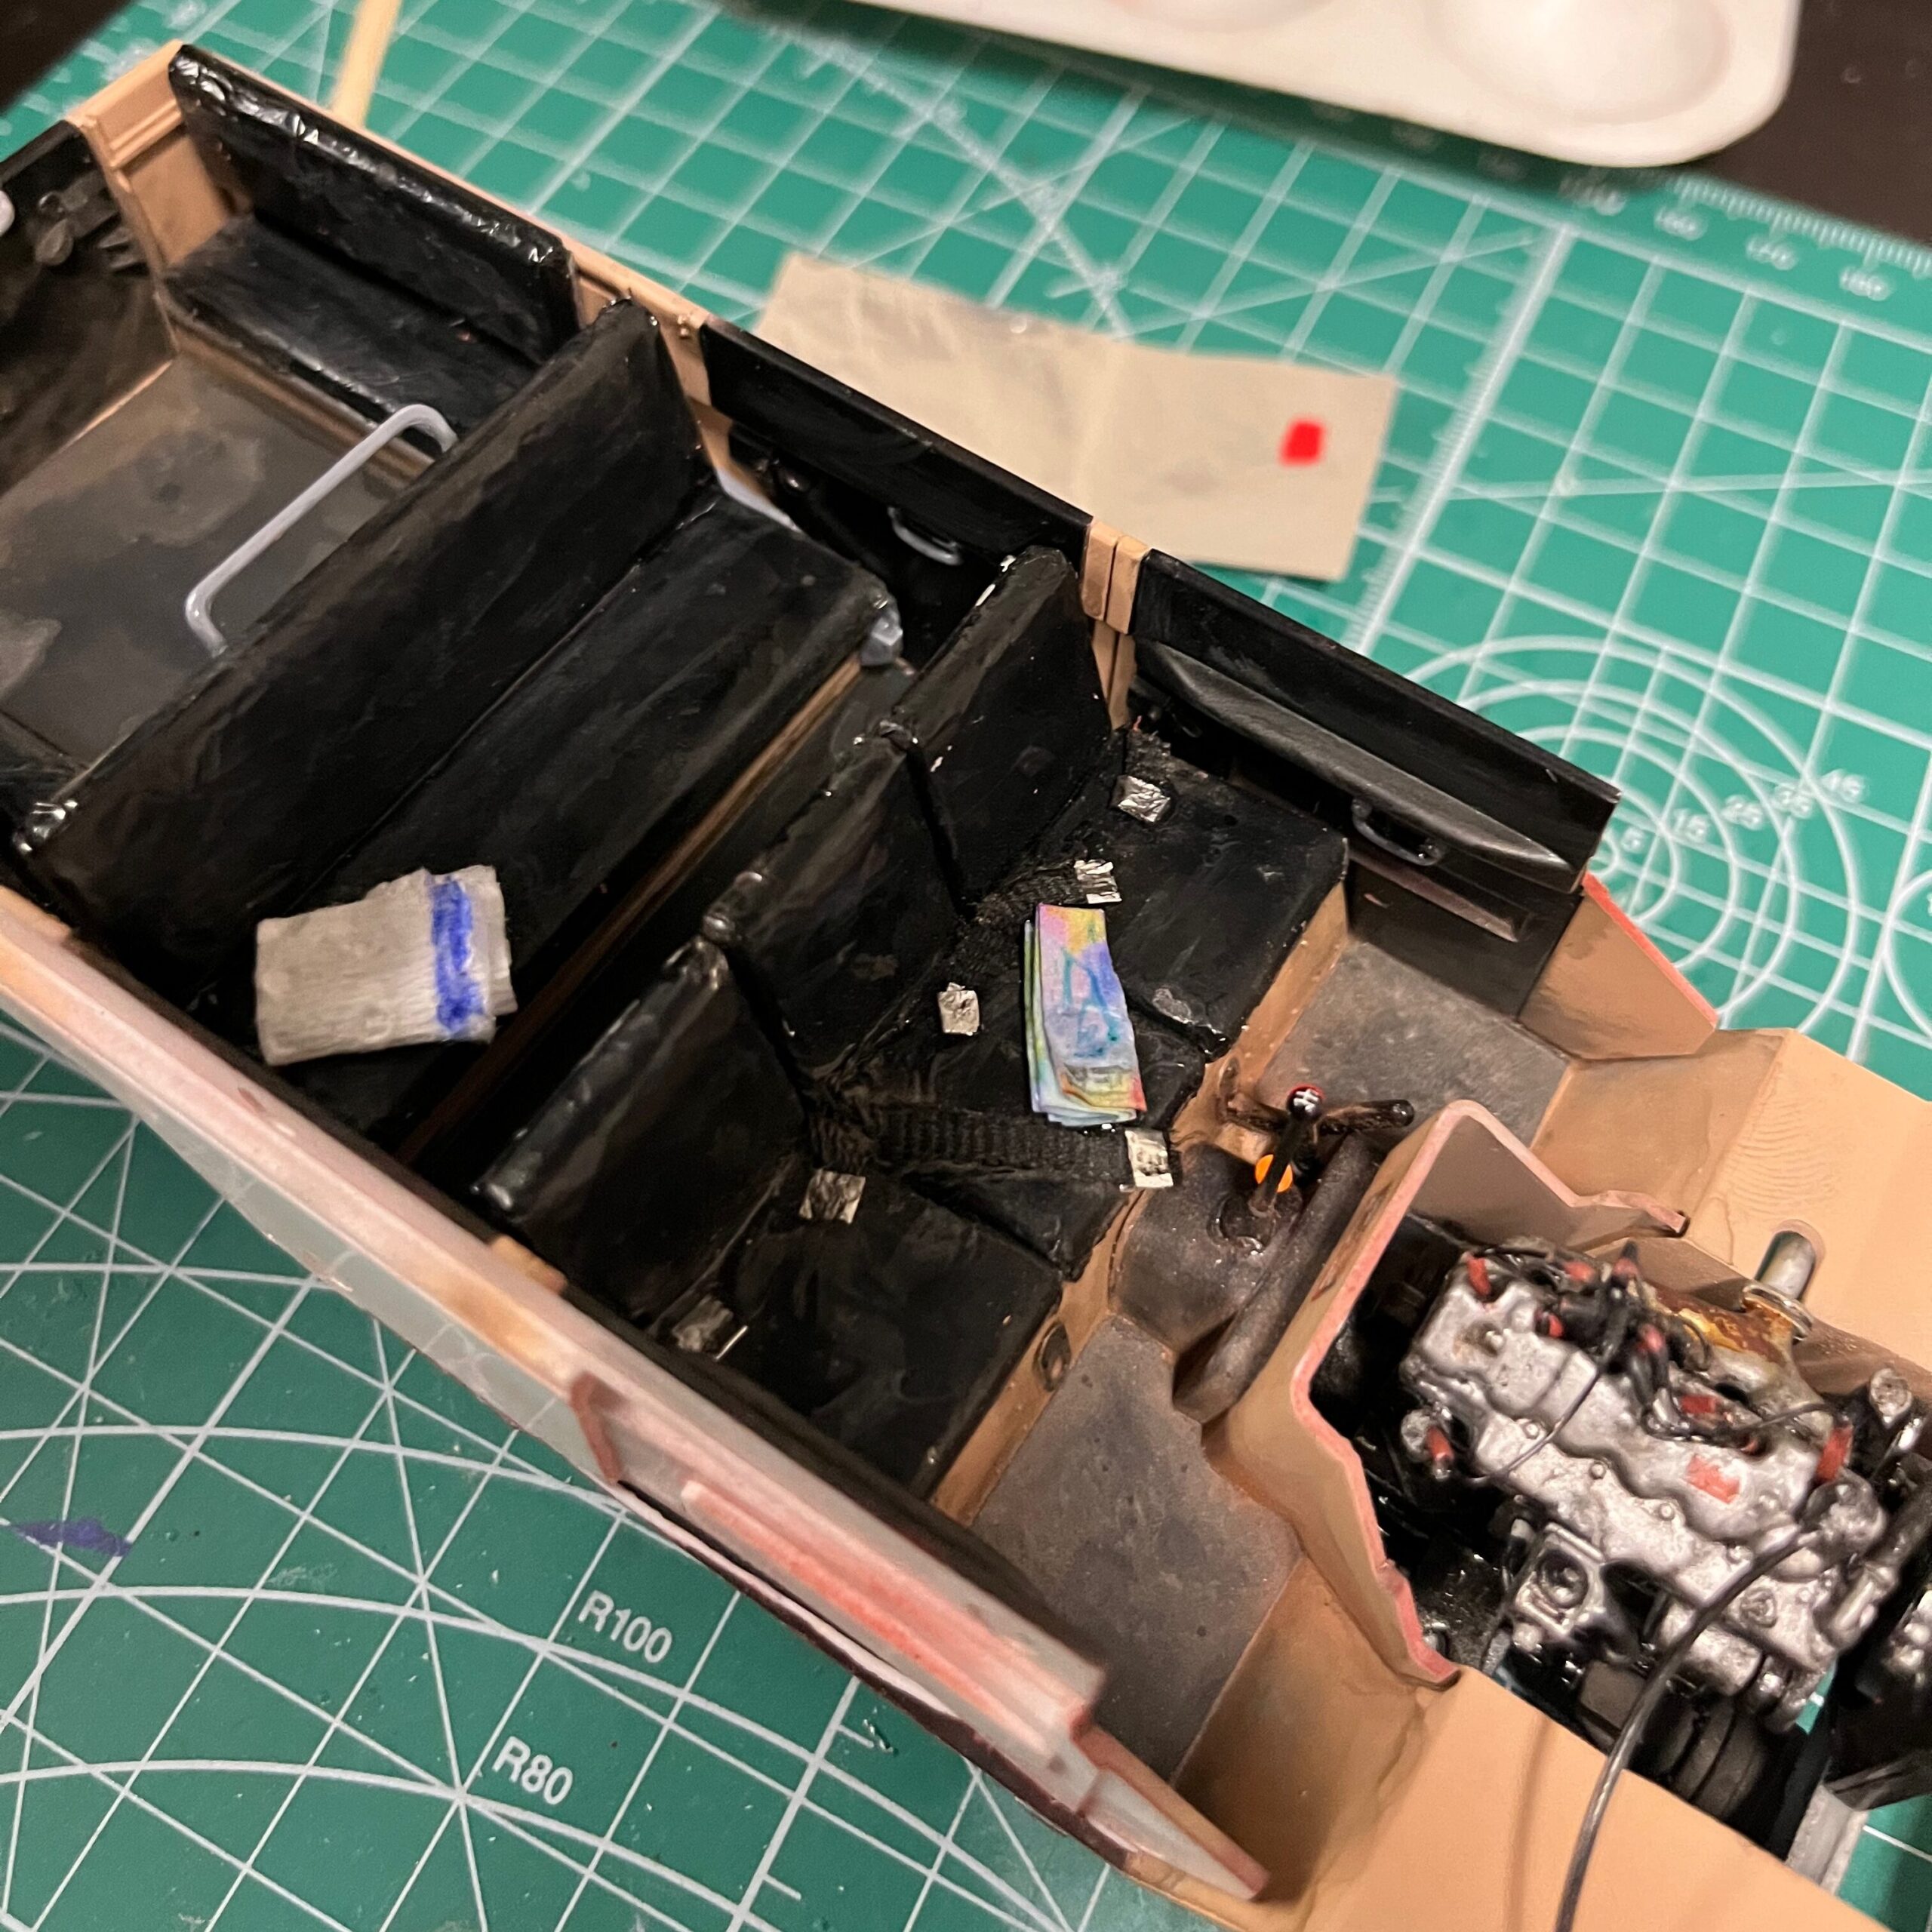
I had painted the seats a flat rubber black, which matched pretty closely what the reference photos showed colour-wise. The problem was that the seats were too smooth and the texture was all wrong. These didn’t look like used seats. I used some tinfoil and superglue to wrap the seats and create a texture that was much closer to what used seats would look like.
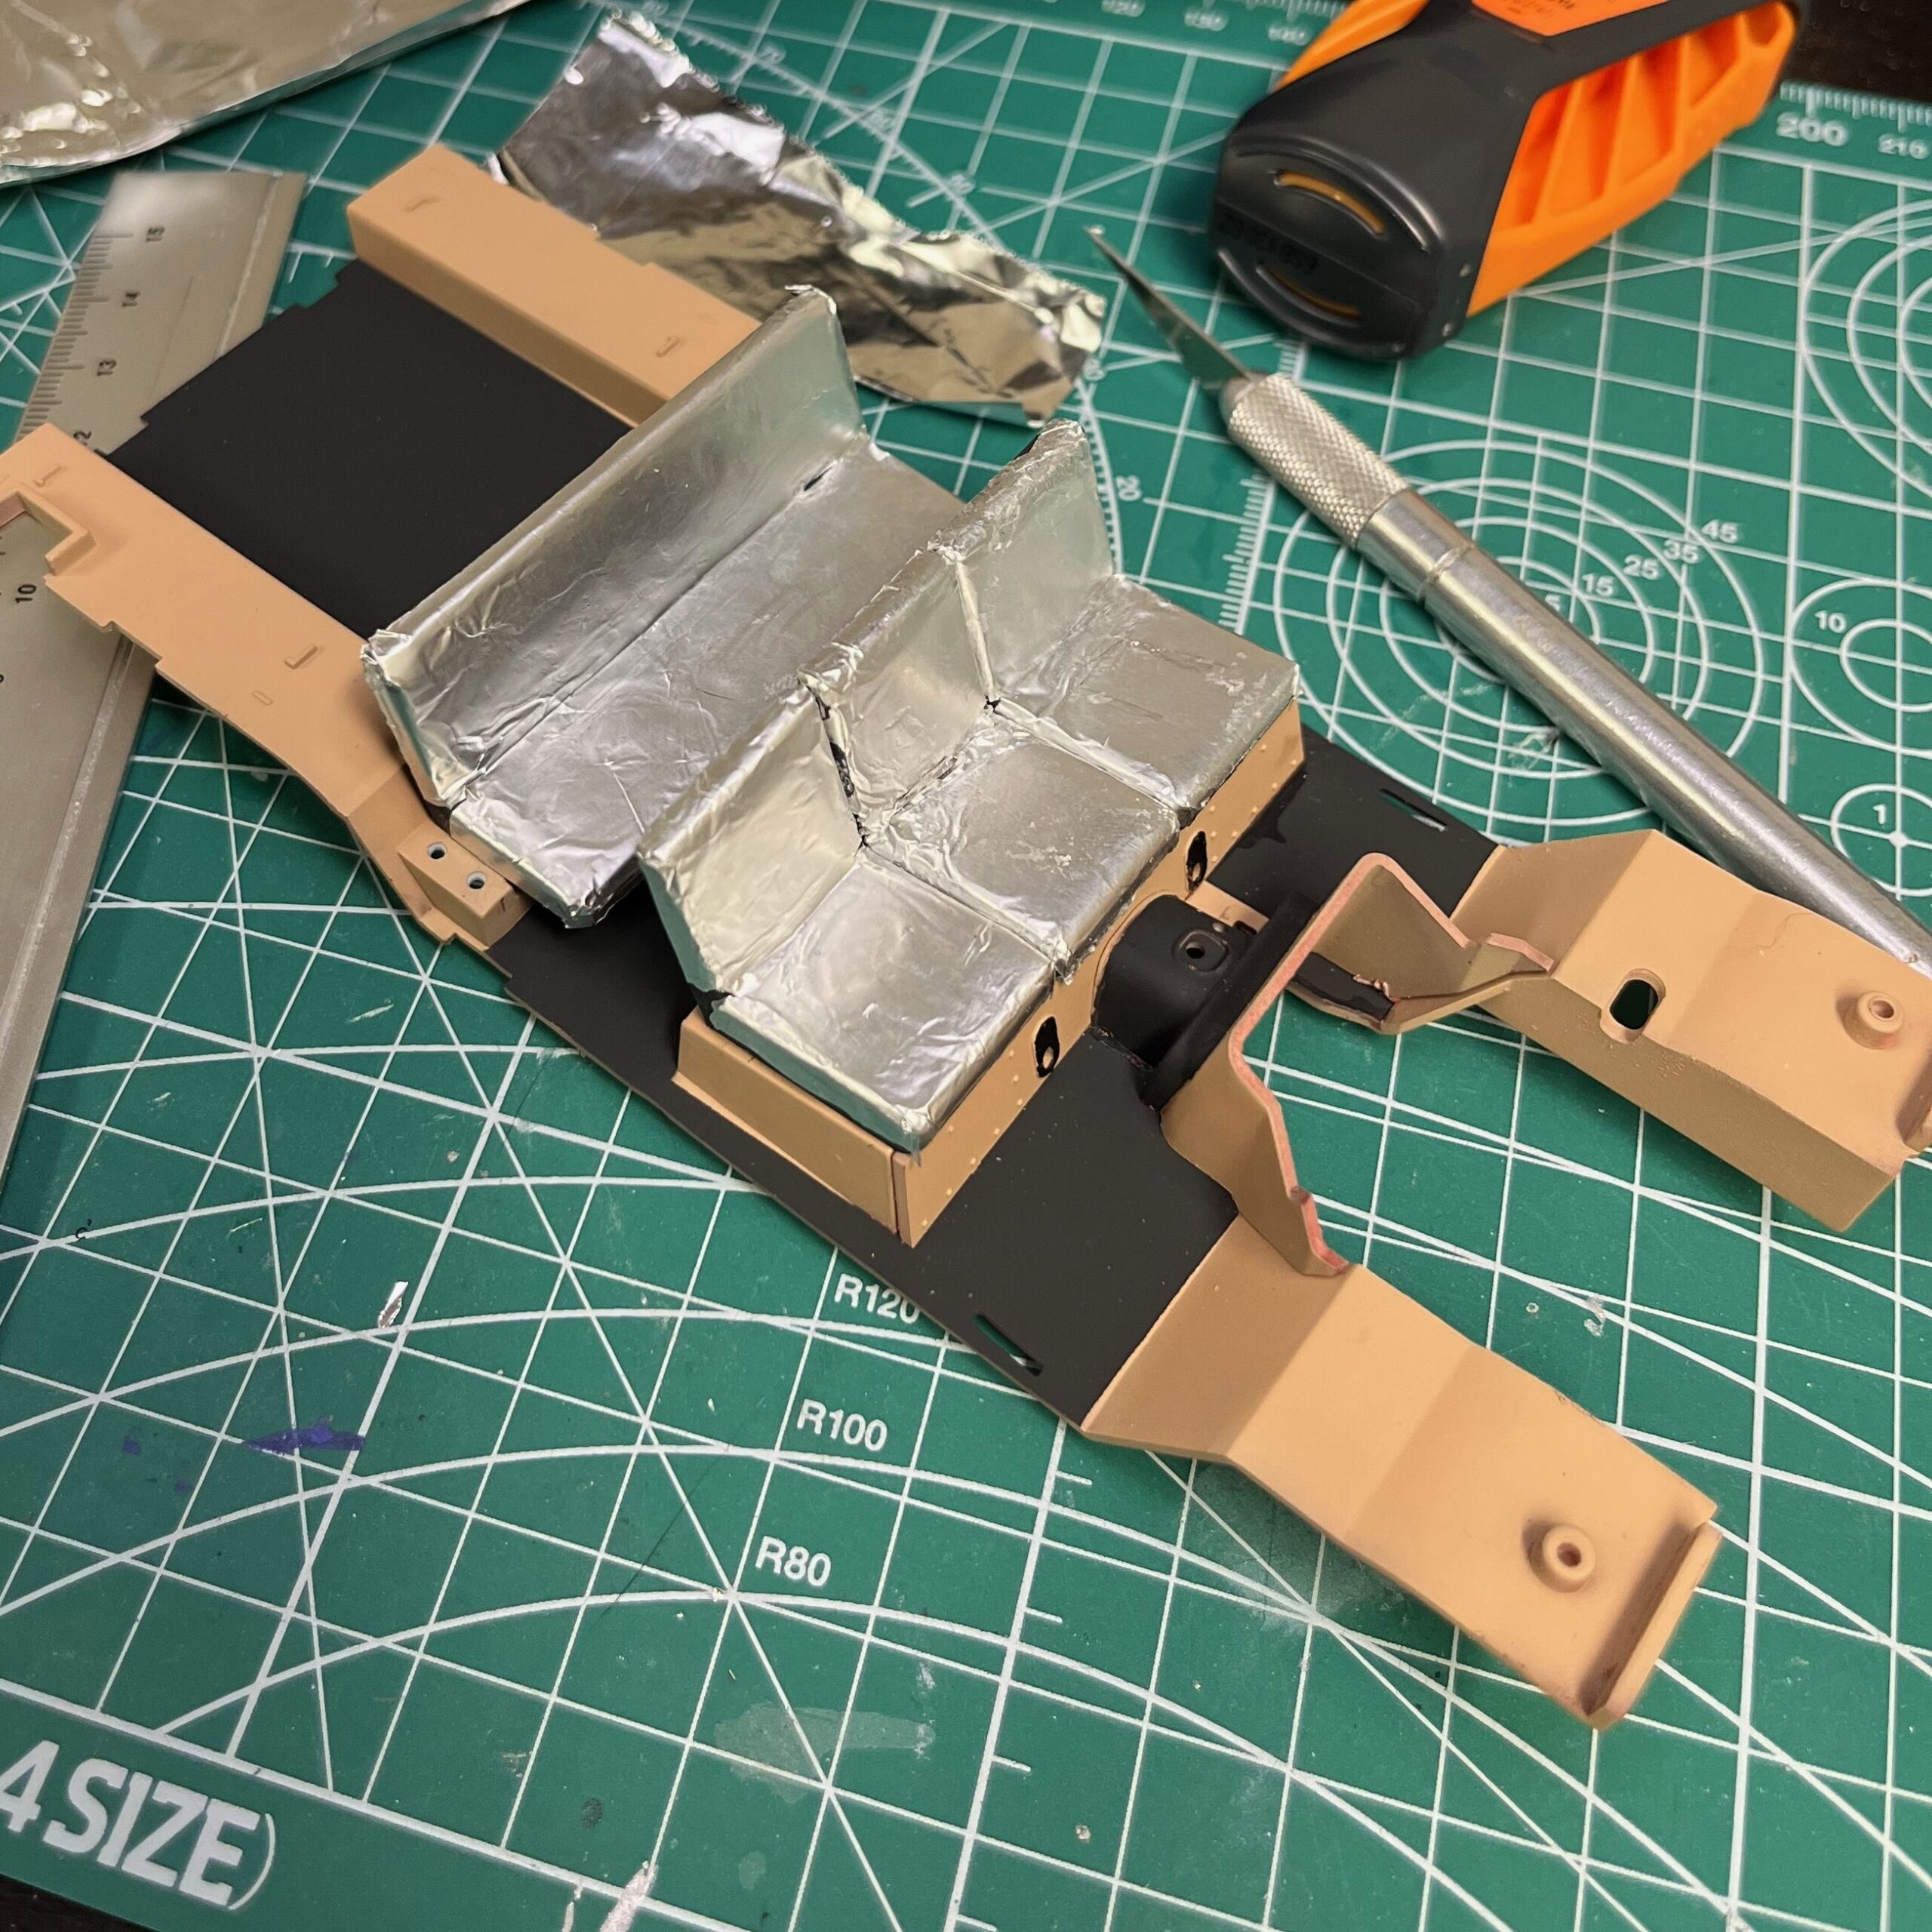
Once these were painted, they looked much closer to what I wanted. For the floors, I used the basic rubber-black, since the reference I was using had these rubber floors installed. The whole thing looked very clean, but I’d deal with that later.
I used the semi-gloss black on the seats to try to get some of the shiny-ness from used vinyl, figuring I might try to dry brush some flat around the edges to dull things a bit. I also fashioned some seat-belts with aluminum foil and some ribbon left over from gifts. The ribbon was too wide, and the next time round I’d probably try some narrower pre-made ribbon, since when I cut it it left one side a bit frayed.
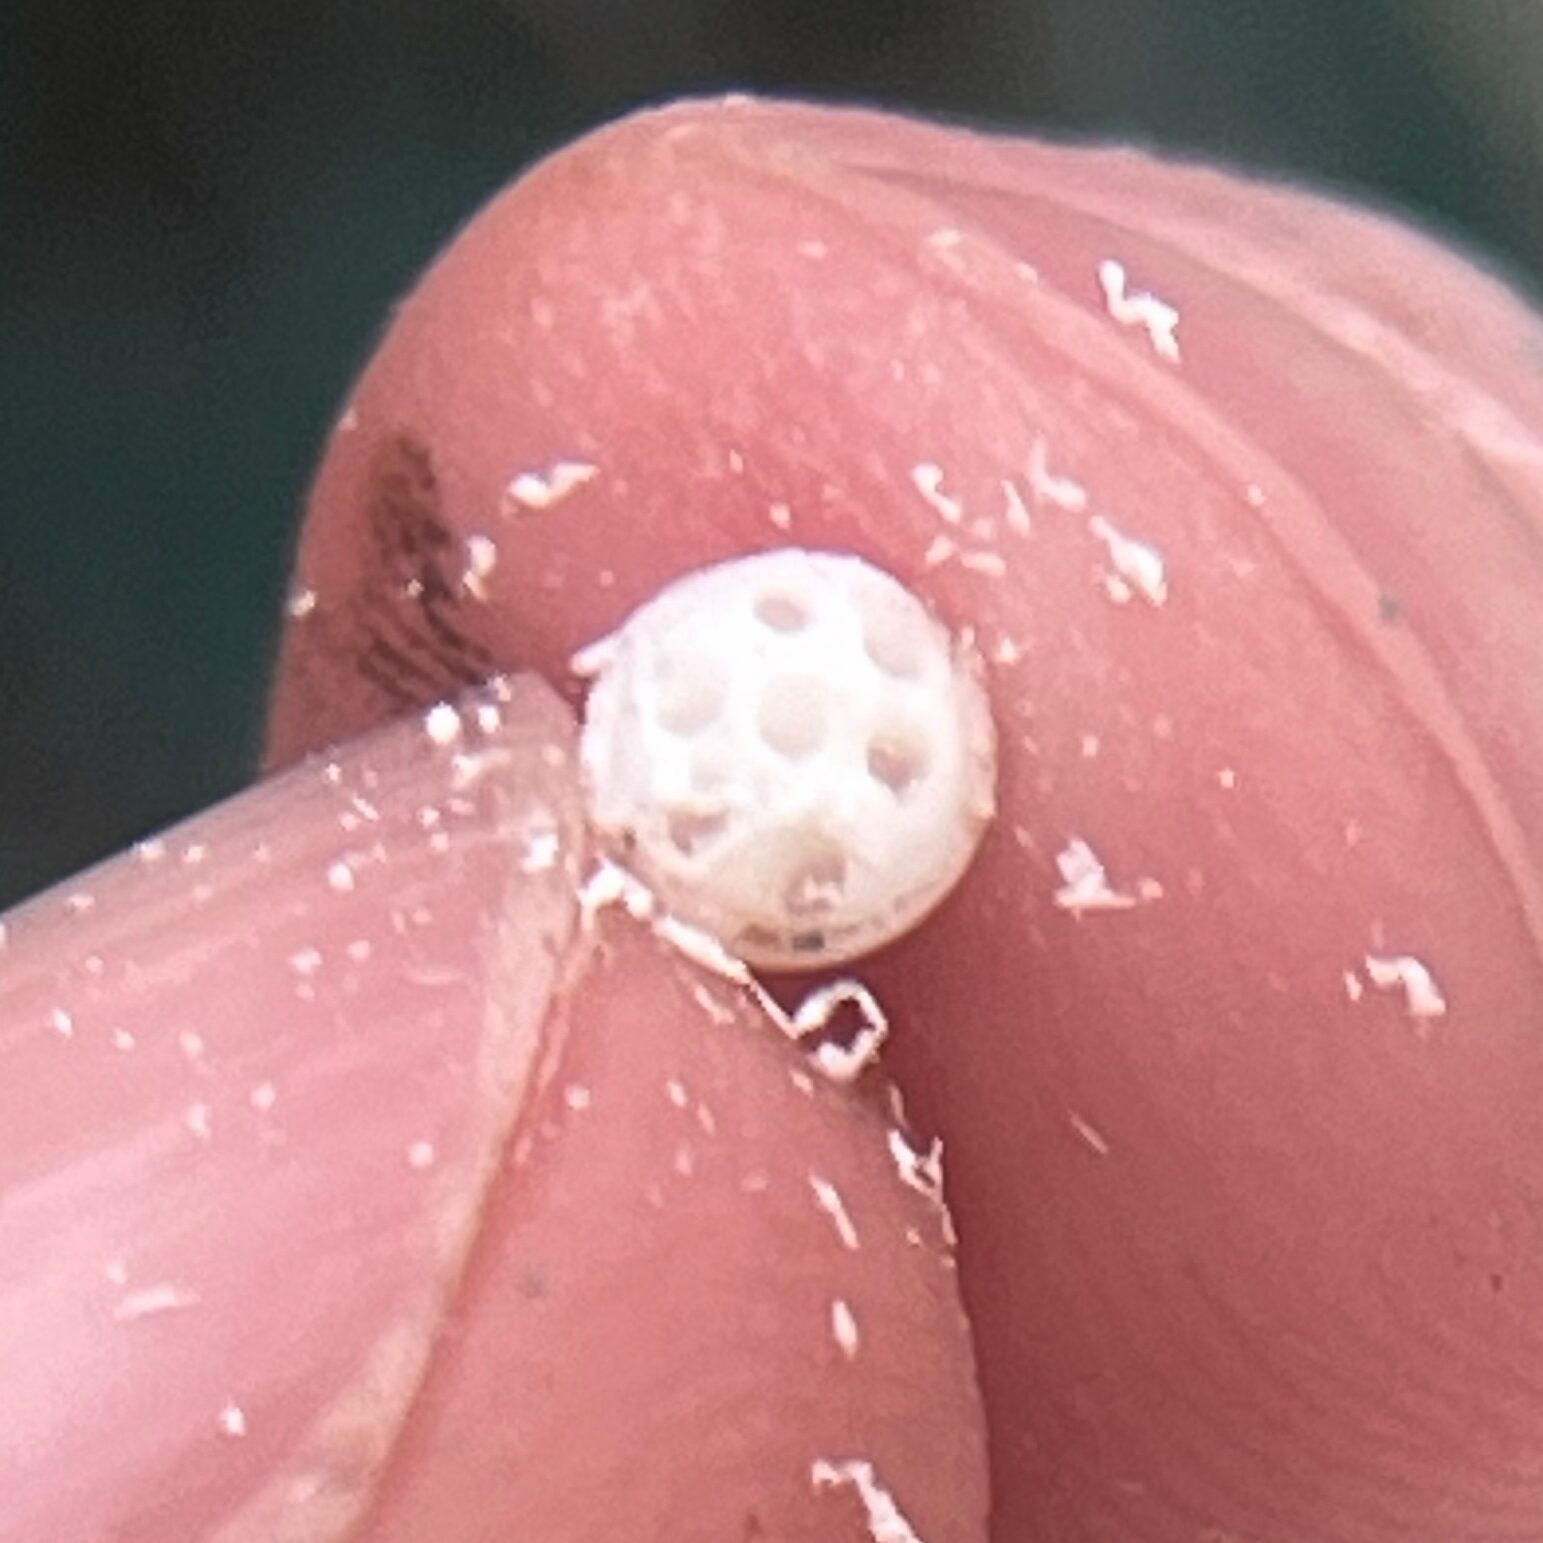
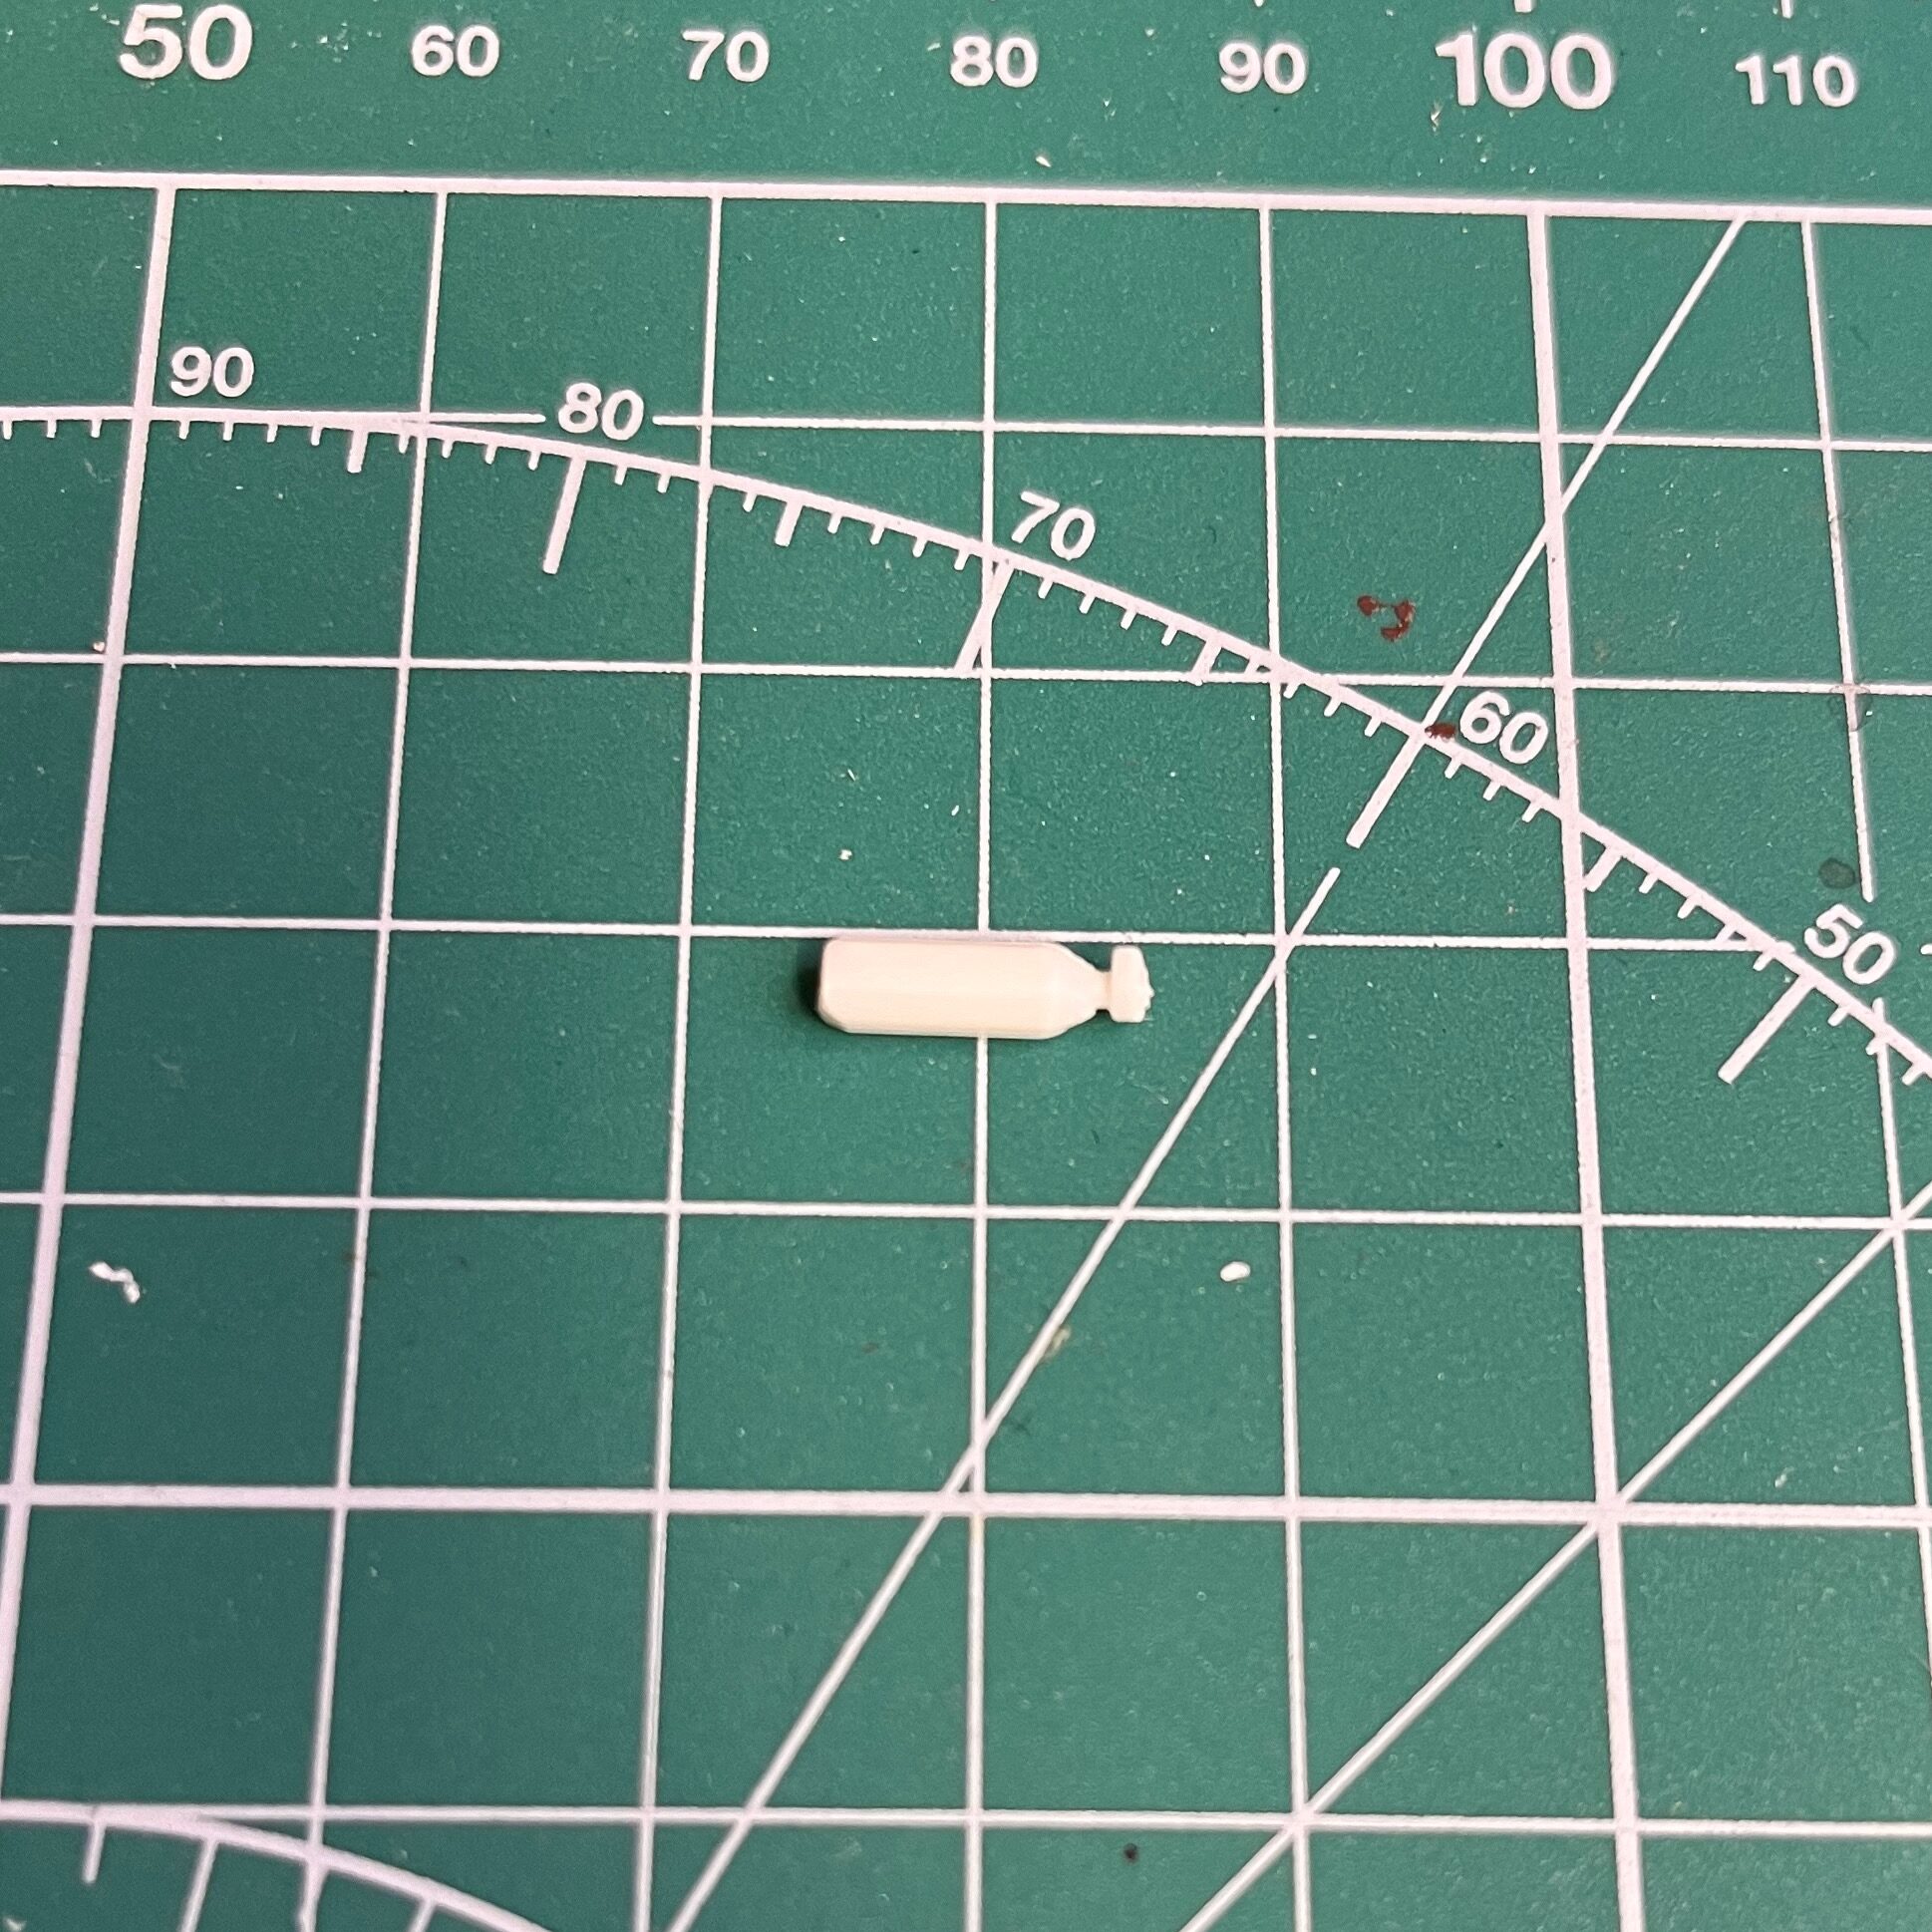
Once the interior was assembled, I thought it looked a bit spartan. I cut up an old glove to make a tarp that I shoved under the back seat and glued into place. I folded up a bit of paper towel and drew some lines on it to serve as a towel on the back seat. I also manufactured a fire extinguisher out of some sprue and stuck that into the shelf in the front along with a painted square to serve as some official documents. Most of it will be difficult to see once fully assembled, but it was a lot of fun. I also made a map out of folded up paper to sit on the front seat.

I used a couple of watered down paints and washes to muddy up the floor and the interior, as well as some dark brown panel liner to add some assorted grime. I’m quite happy with how the interior turned out. I did a couple of similar passes on the engine to make it look more used. I also used one of the Artist Spouse’s old make-up containers to dust the interior to give it a more used look.
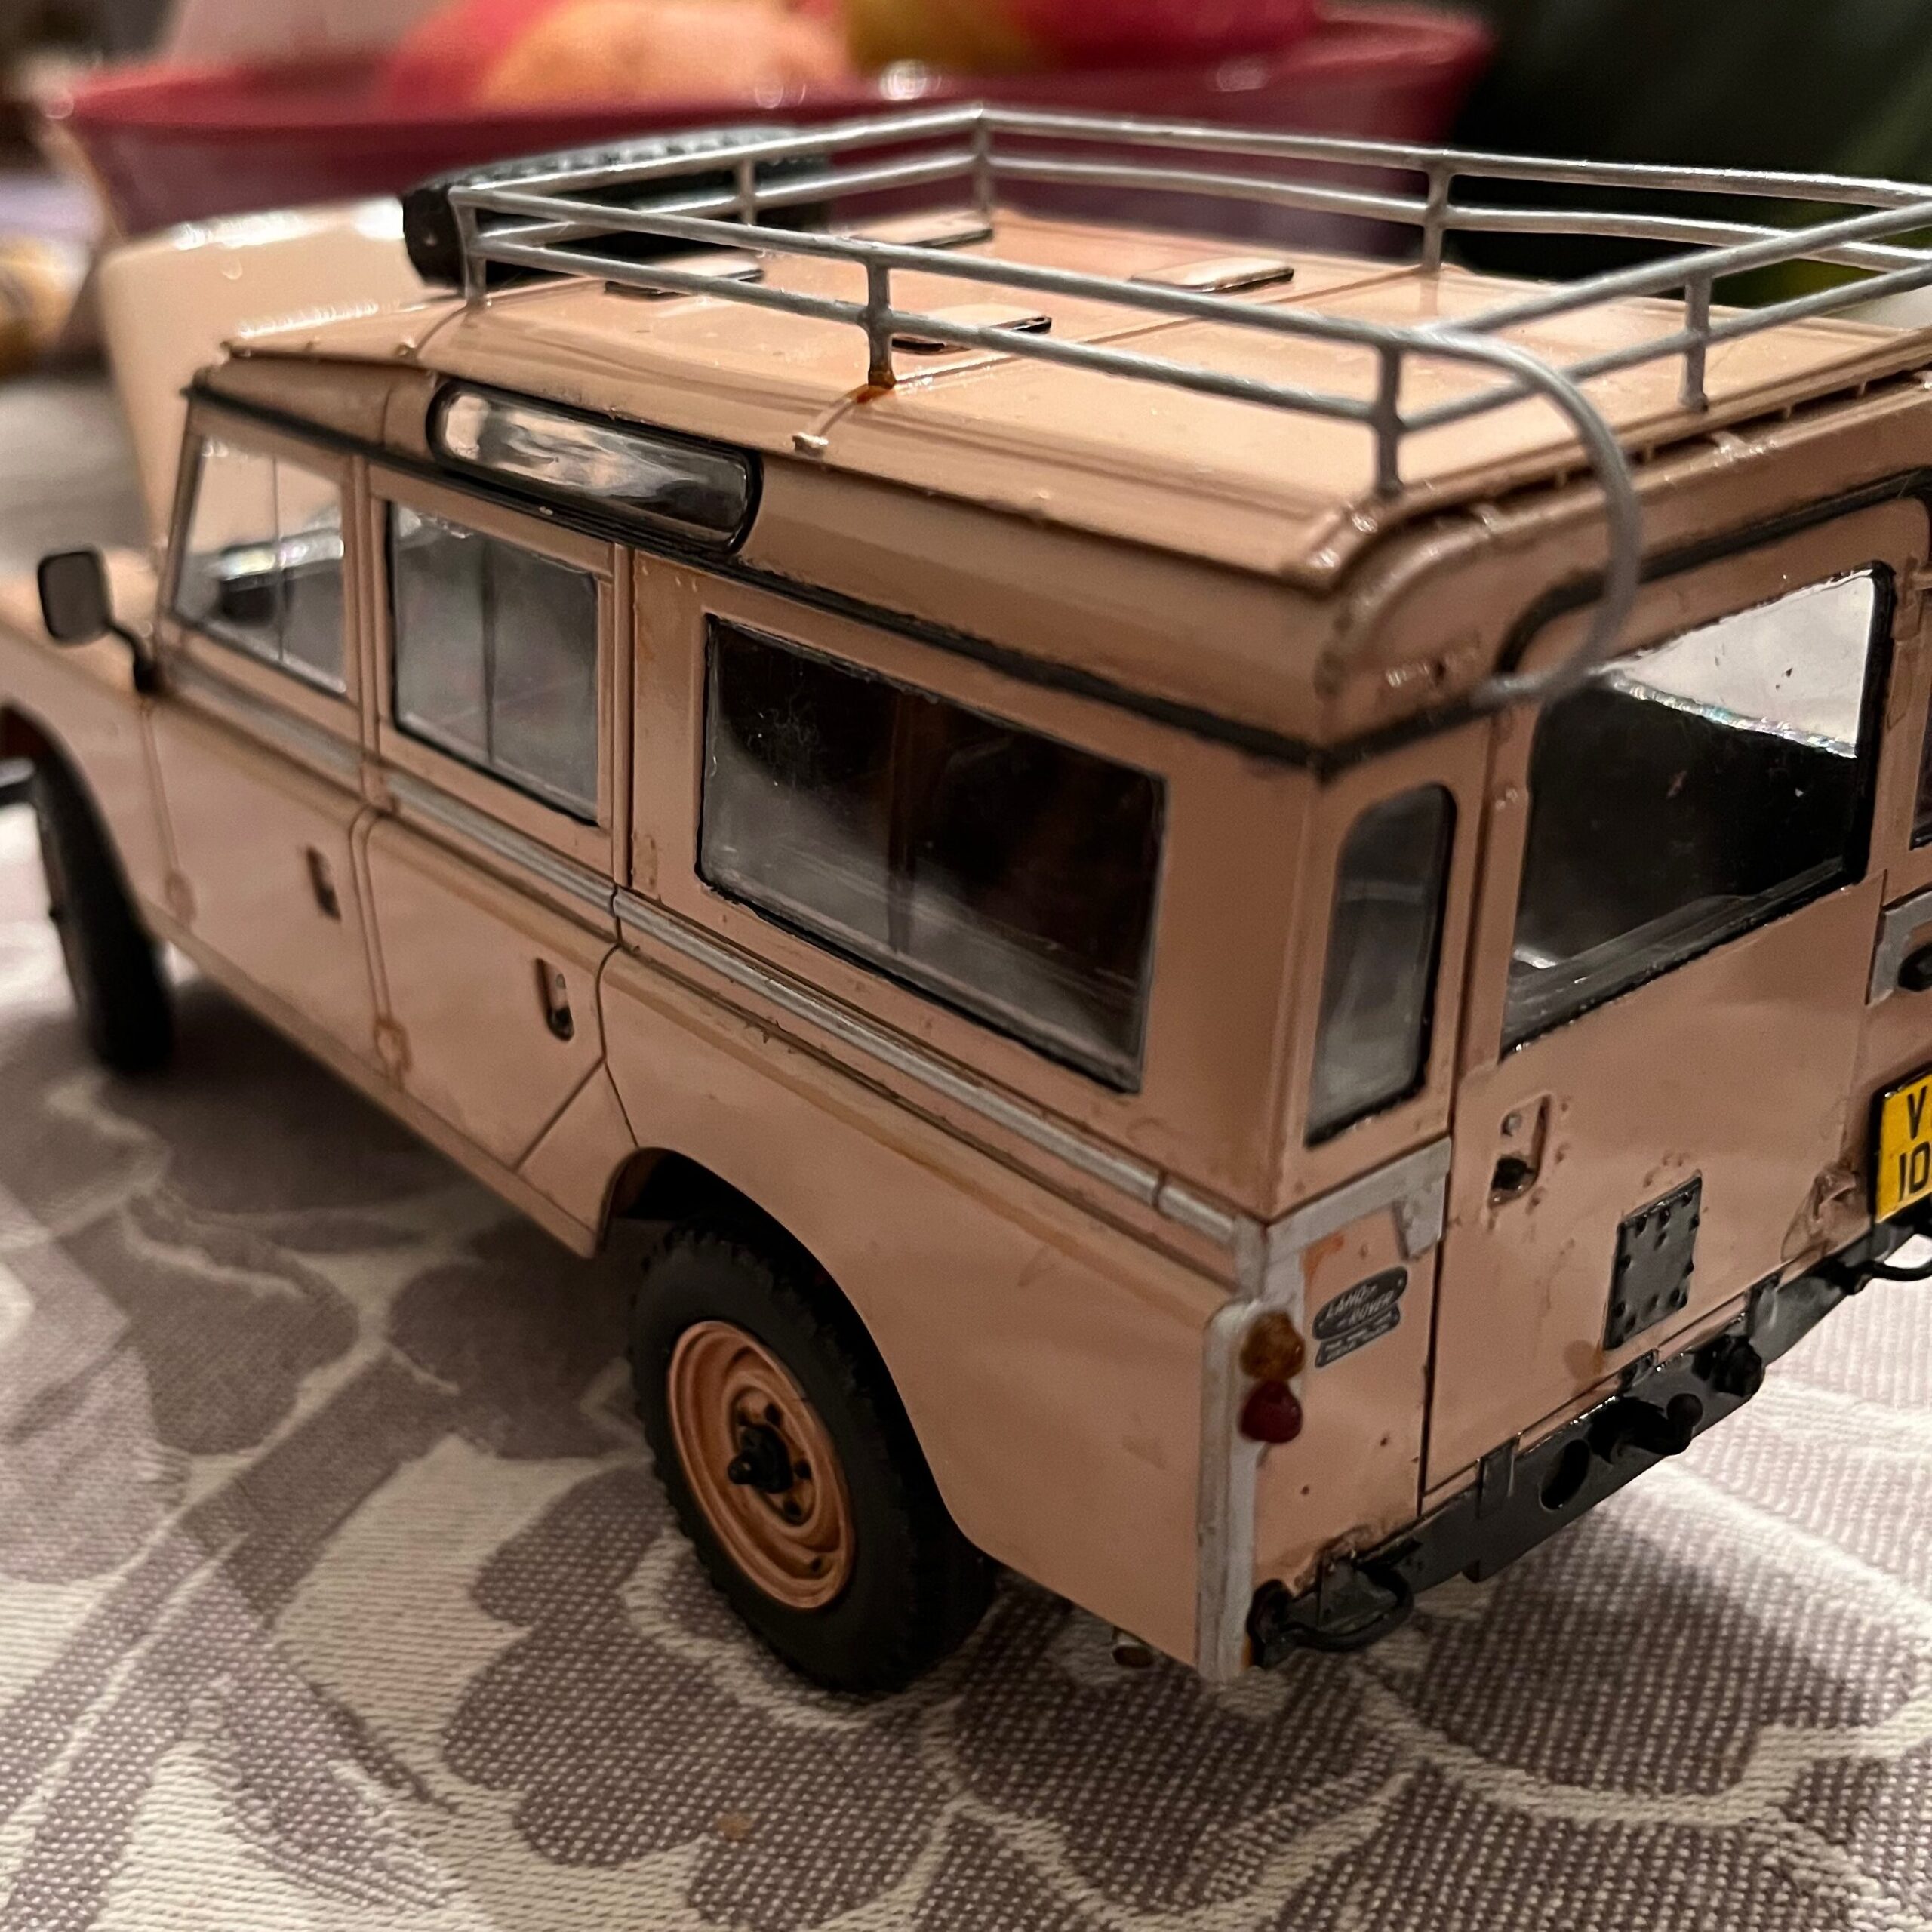
I did a single light coat of gloss varnish using the Al Klad gloss over the entire body to seal it in and reduce some of the flat matt look and make it look more like a production model than a military one. Then I masked off an did an aluminum coat on the trim to match the reference photos. I used the same aluminum to paint the roof rack.
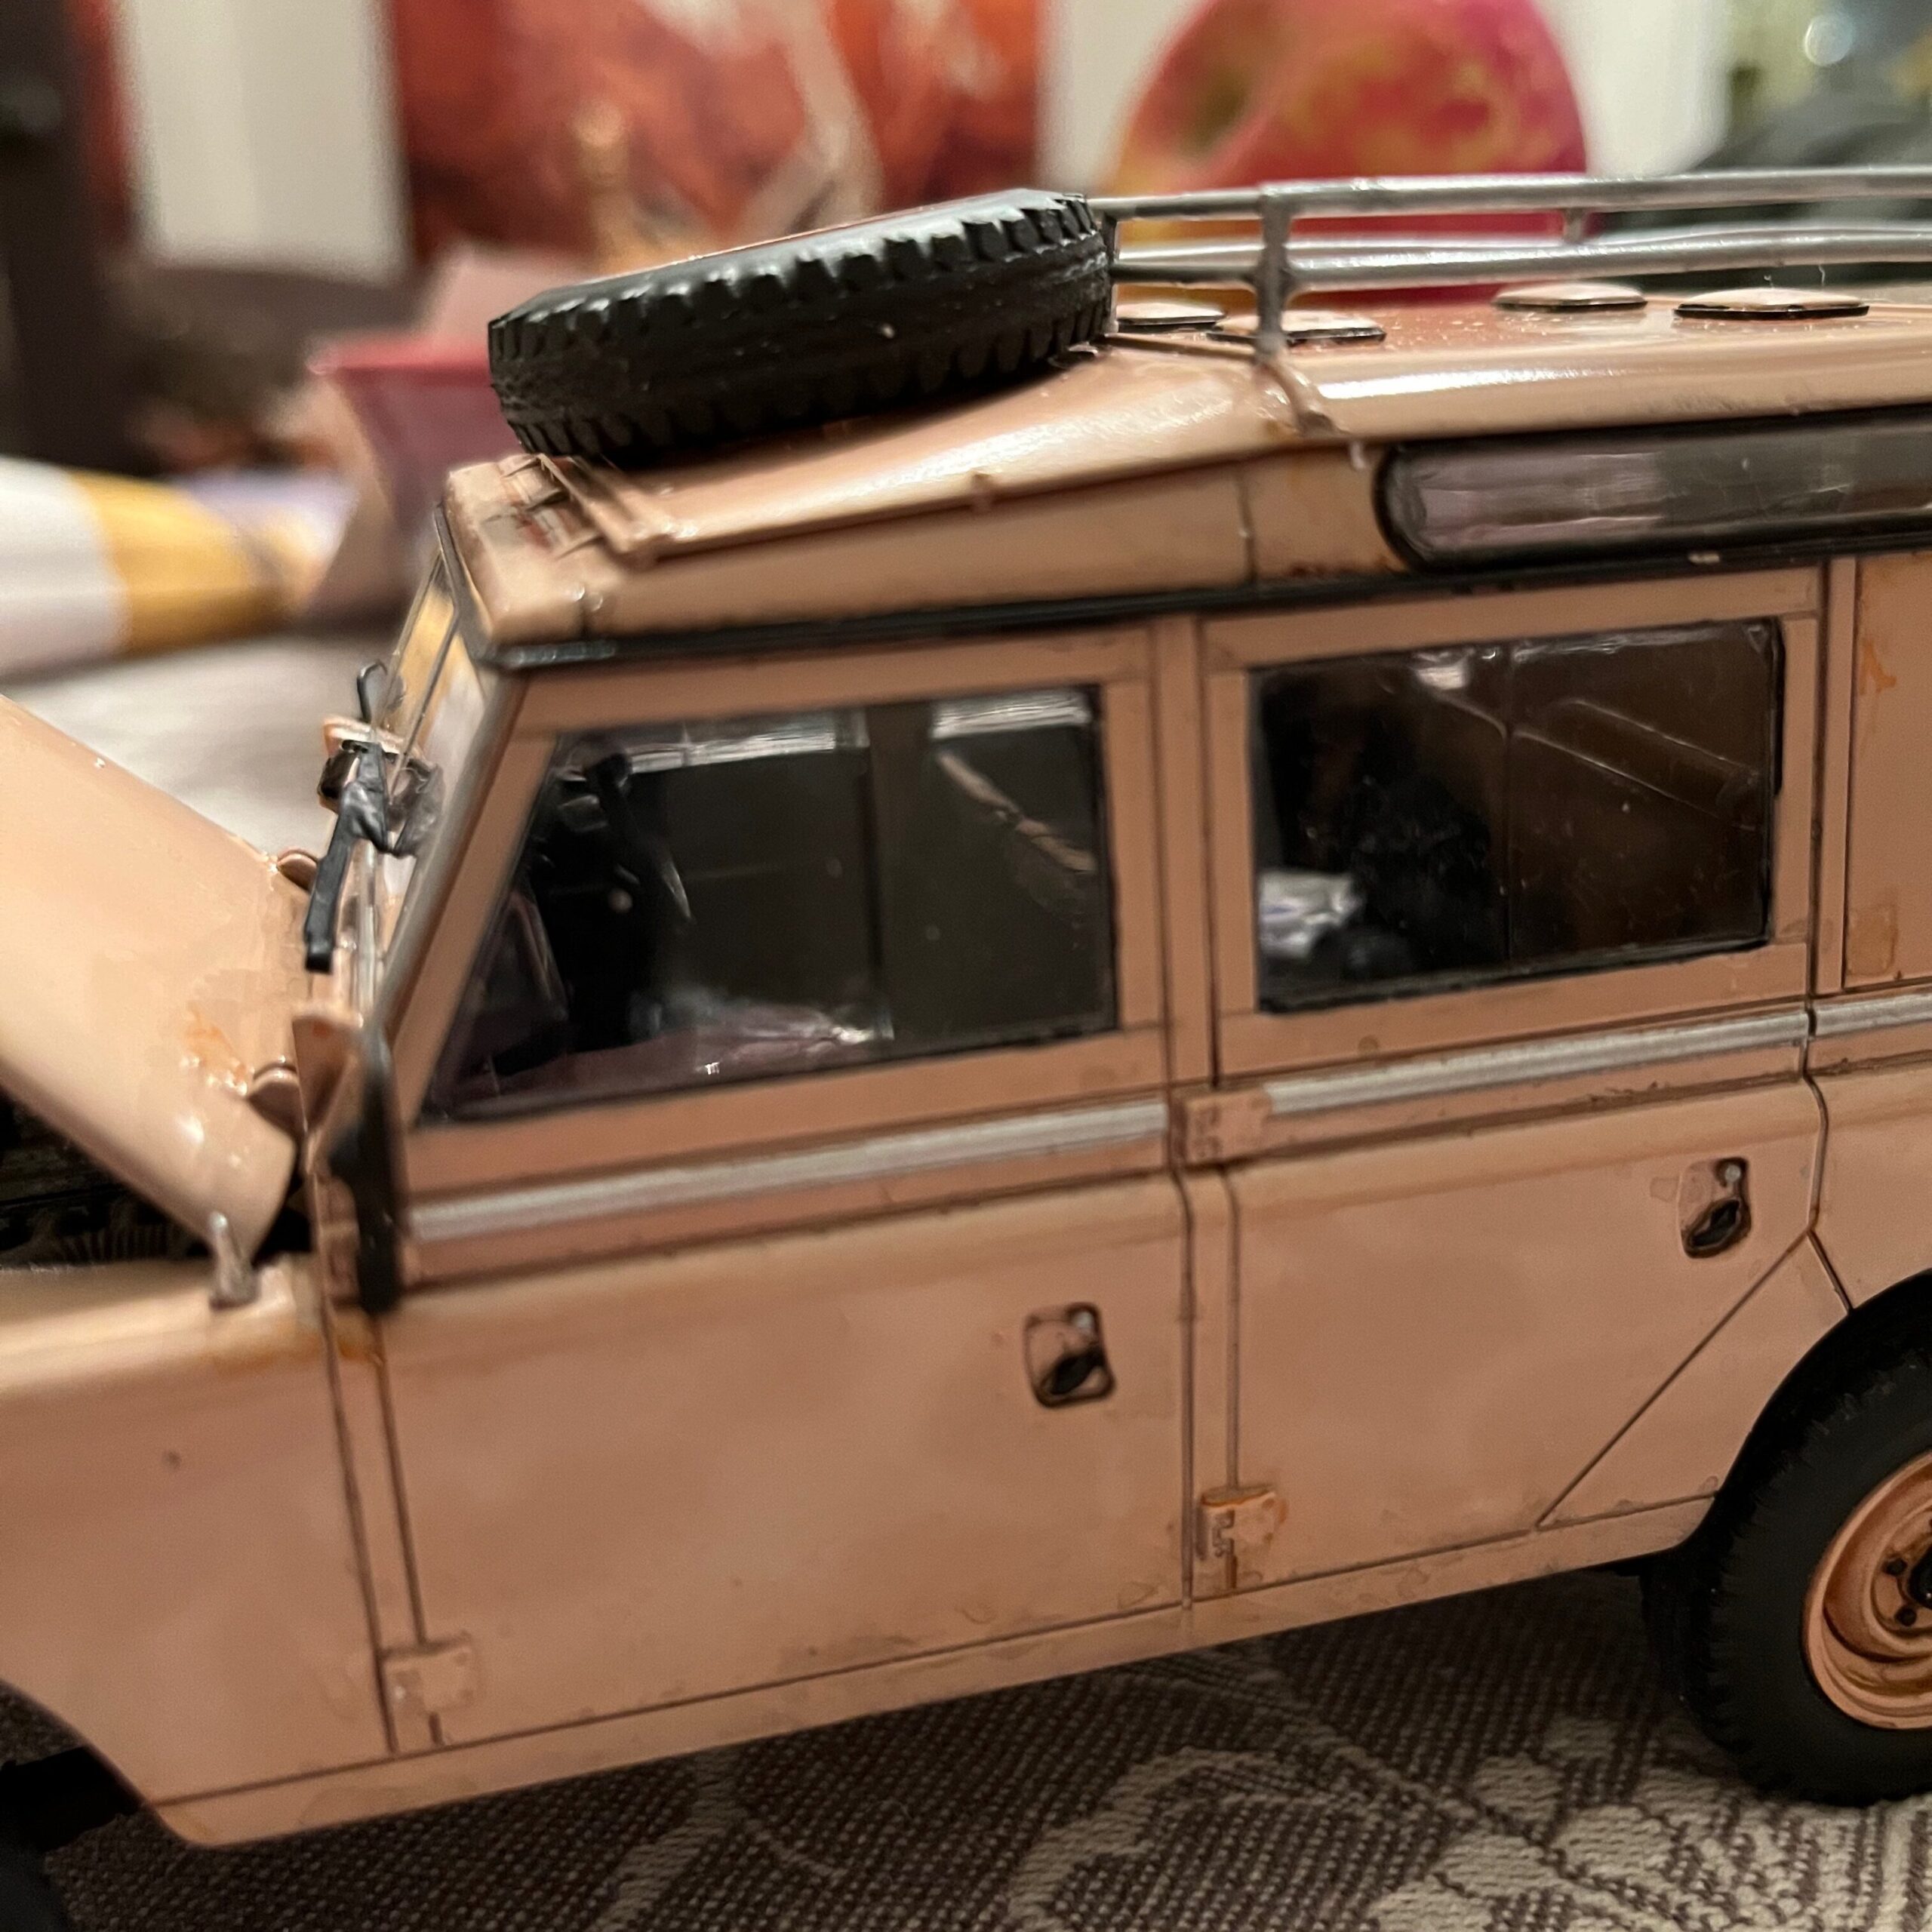
The roof rack was a bit fidgety, so I placed it carefully into the drilled holes (most of which had to be widened first) before painting and glued the corners so that it had its final shape. I then removed it from the roof to paint and glued it back into place once dry.
For the final weathering, I used dark brown panel liner on the panel lines and in the wheels to accentuate the lines. Then I used some black wash in the wheel wells and on the lower part of the model to darken things up. I then went over the entire model with a highly watered down mix of half and half black wash and rust wash. This was mostly removed with a damp brush.
The insude of the engine and hood took a black acrylic wash watered down and mostly wiped away with a damp brush.
I then took a rust-coloured pin was and added some rust details around corners and in a couple of key places that reference photos showed these beasts tend to gather rust spots.
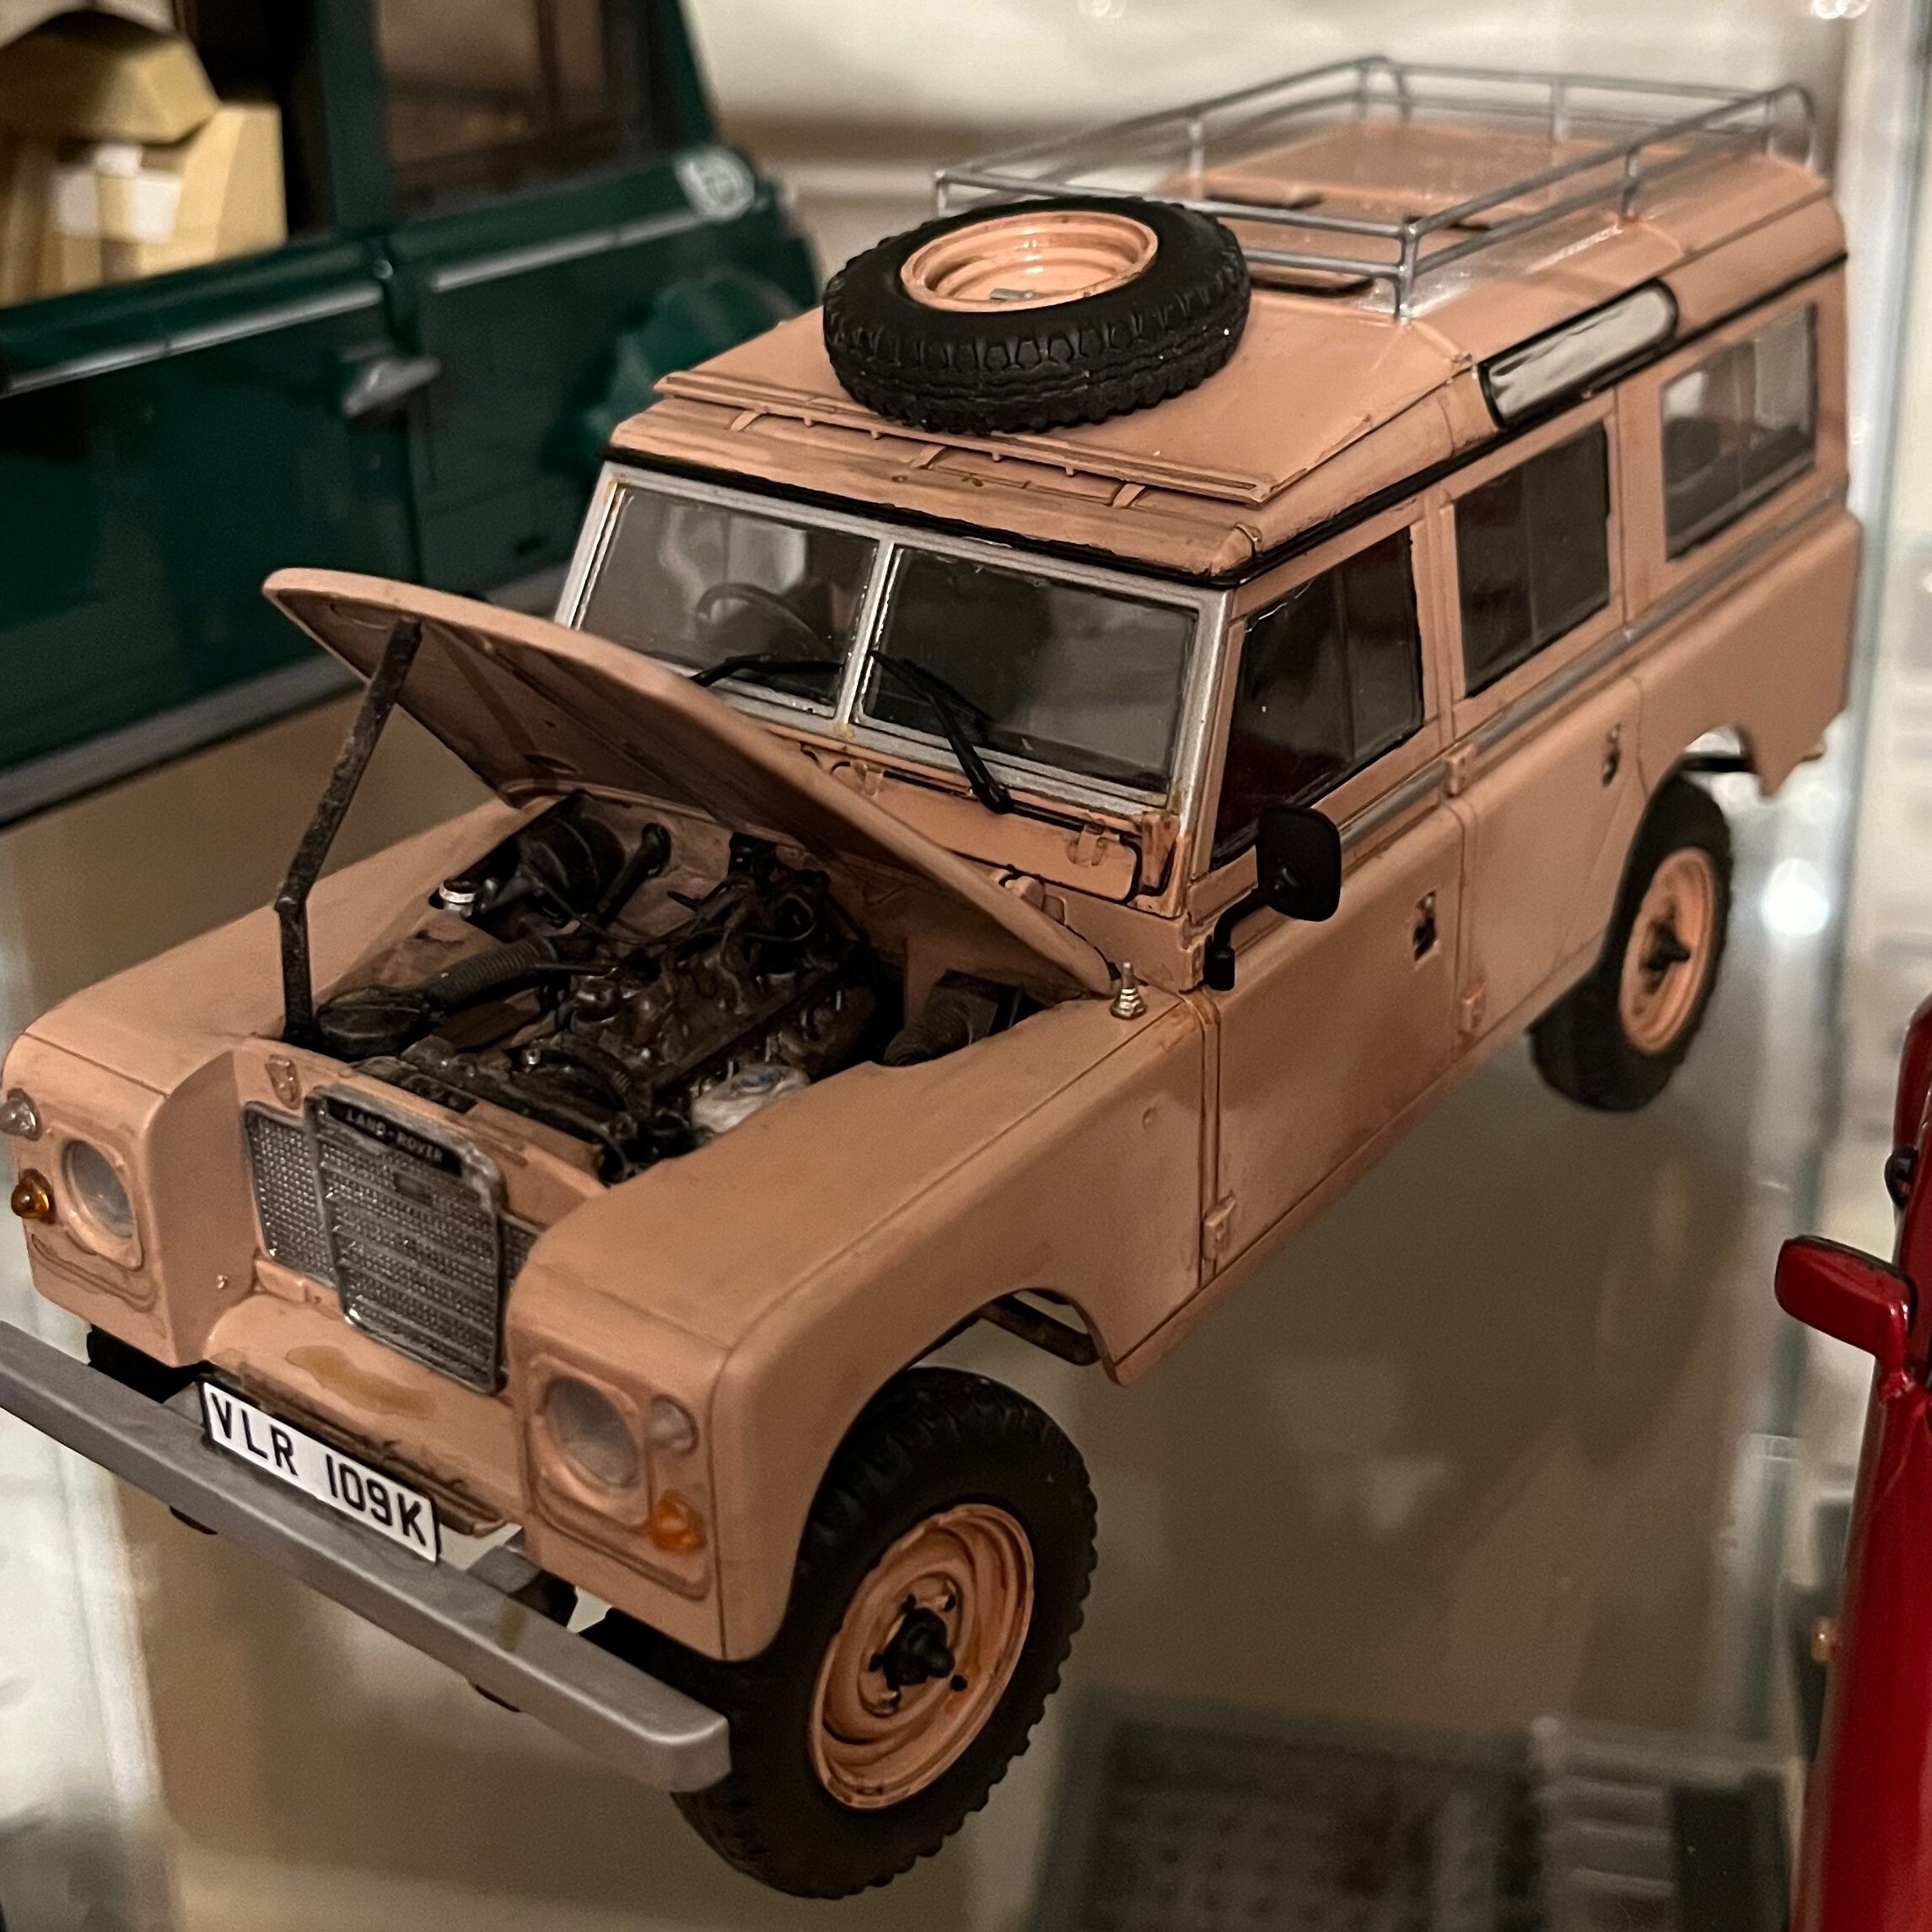
The end result looks a lot like a used Landrover, and is not bad for my 5th project.
I’m pretty happy with how this turned out. I may revisit to do a bit more weathering in the future before I finalize it and give it away, but I think it ended up pretty close to what I had in mind when I started this project. I learned a lot doing it, and it was a lot of fun to do the weathering and detailing. It’s probably the most fun that I’ve had on a project so far.