After the first practice bug, I was going to try my hand at some detailing techniques that I’d heard about, like trying to add wires to the engine, and adding weathering. My goal was to build the entire model during the 1-week that I had off between Christmas and new years, as opposed to the Westy (which took 3 months of evenings and weekends) and the practice bug that took 3 weekends and evenings.
The engine detailed turned out okay. Not great, but okay.
I used some very narrow guage wire that I found in the bracelets section at Michaels for the wires themselves and drilled the holes directly into the plastic. I used reference photos from bringatrailer.com to look at how the wires were run. If you look at the top over the fan, you’ll see that the 3 cylinders on the right run under the two clamps over the top of the cooling fan to the distributor on the left. I wasn’t very happy with how this all worked out. For starters, the wires just disappear into the engine block on the sides and I tried to glue them directly to the pins on the distributor. It turned out a bit of a mess, and getting the wires to run through the clamps was excessively fiddly (I drilled and then ran each of the three wires).
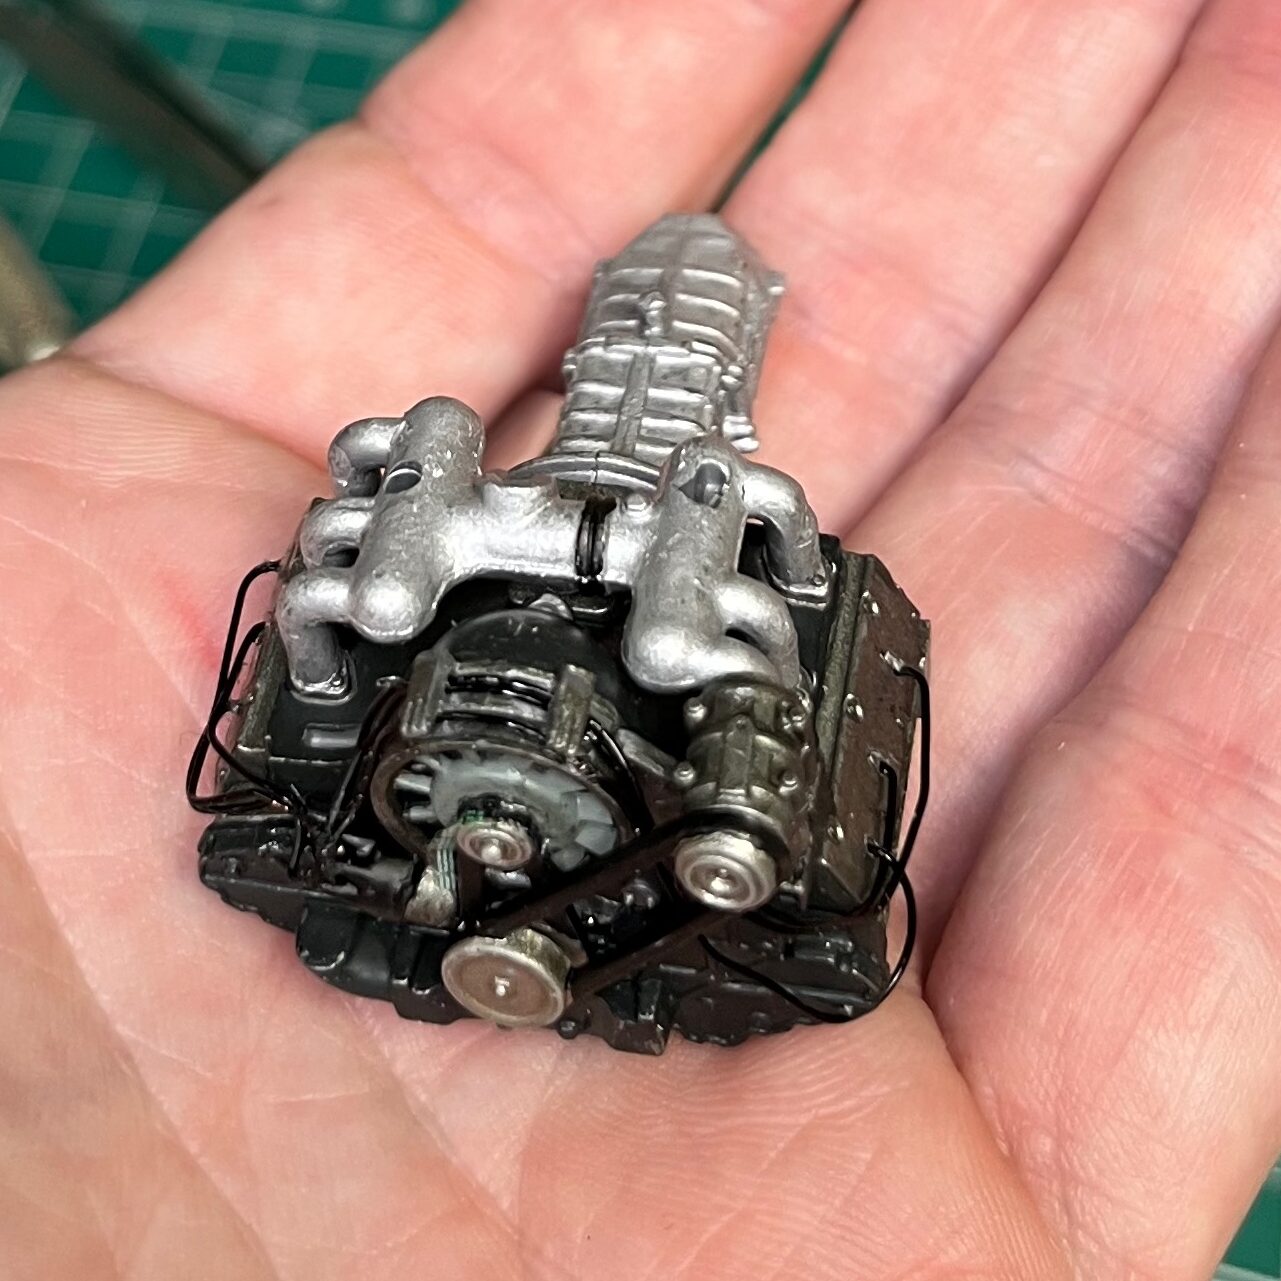
Also, I messed up that decal on the fan belt and never quite got it back on right. It was a bit too stiff to get over the loop and sit properly.
Oh, well. From a distance it still looks pretty decent, and no one is going to get up close to it. Also, the whole reason for these kits is to practice, so I knew they wouldn’t be perfect!
The next decision was what colour to paint the car. I’d heard that plastic disposable spoons were great to trial paint colours, but in December of 2023, disposable plastic spoons, once ubiquitous, are a rare commodity at the grocery store. I tried the bamboo spoons that they sell now, and these did not work.
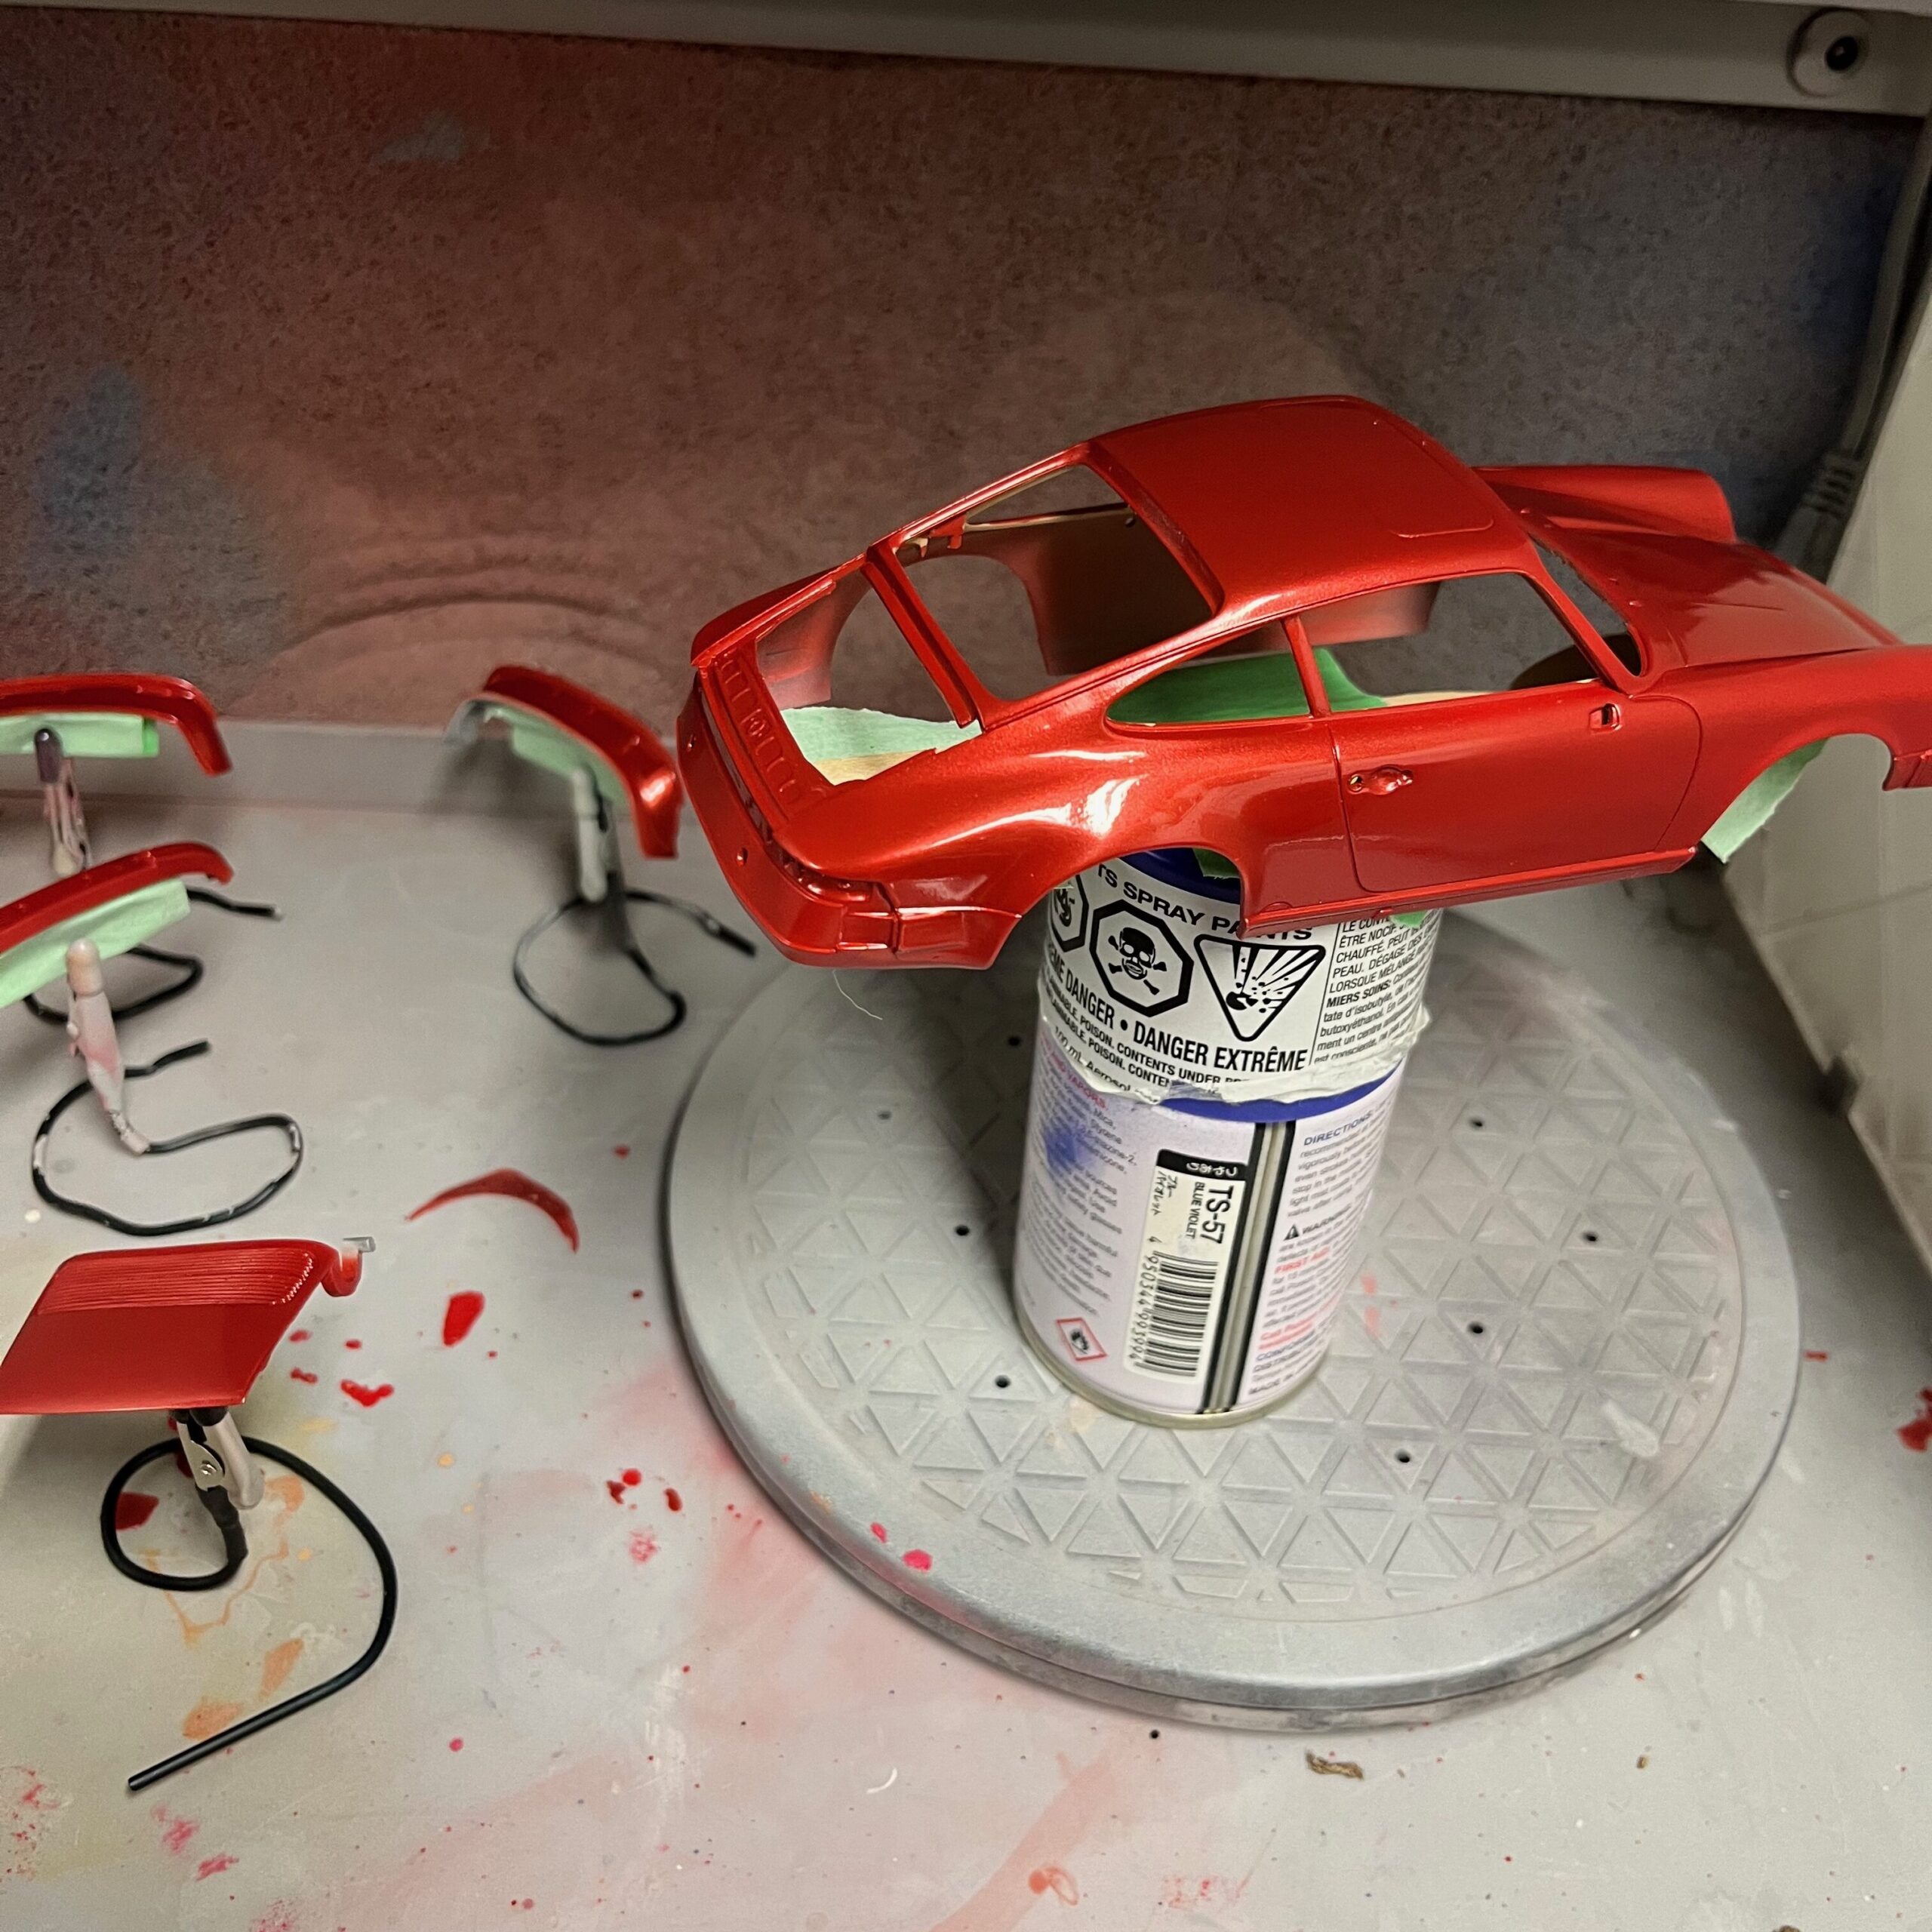
In terms of colours, I had a couple of red lacquers from Tamiya, Italian red, pure red, and a metallic red. The Artist Spouse also had some interference pigments, and I tried mixing some of these in with the reds to see how they would turn out. I was really hoping for a kind of pearl effect like I had on my old BMW – something that looks like a subtly different colour depending on the lighting.
Ultimately, nothing was really working out on the colours that I tried, so I settled on just using the Tamiya metallic red.
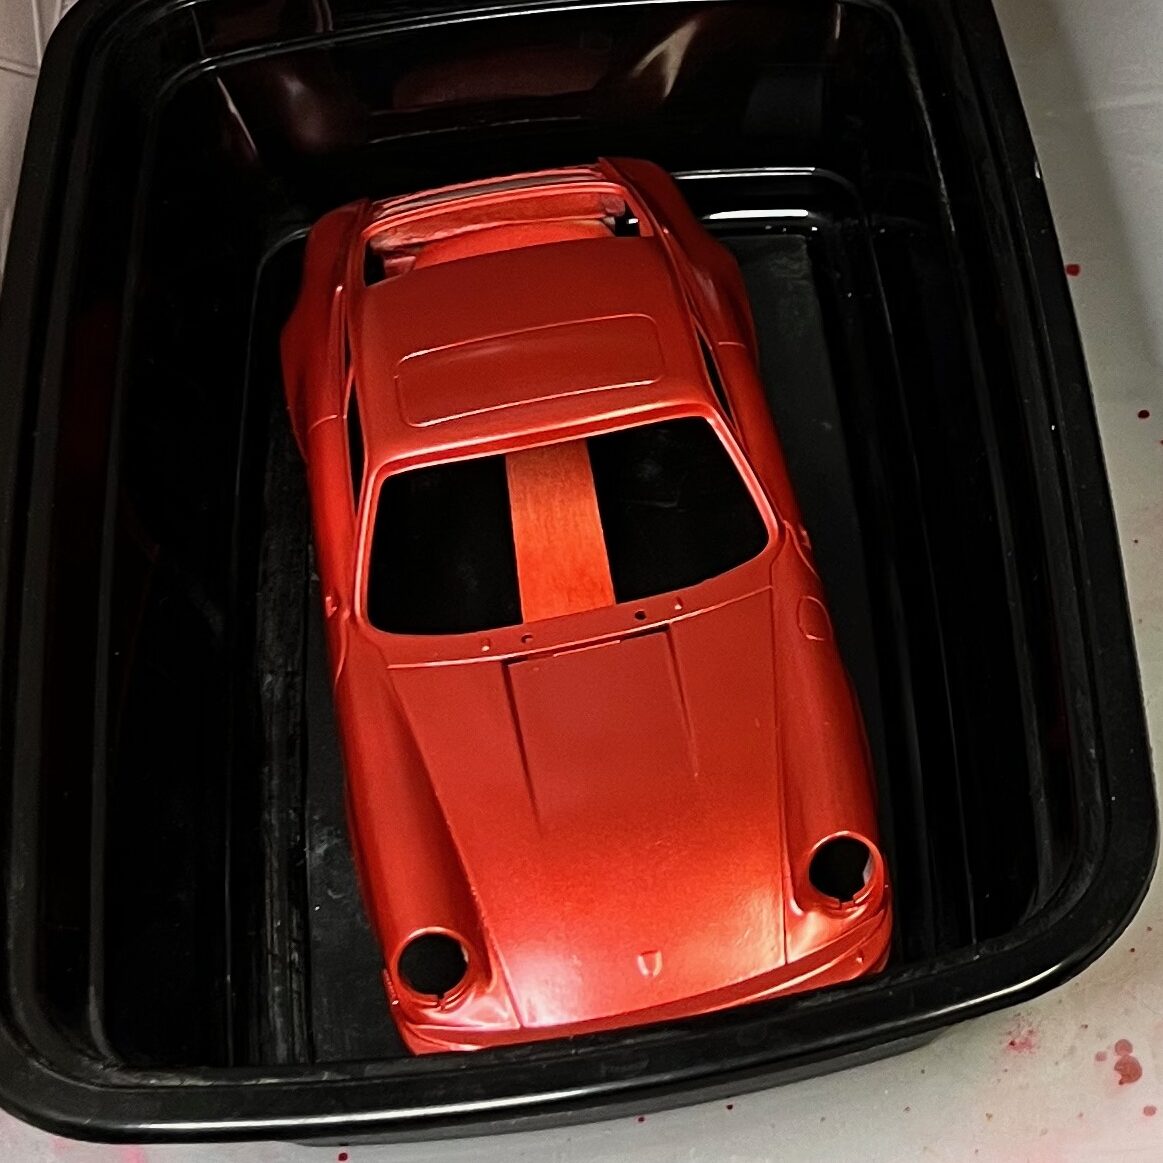
It was a nice colour. Once I painted the body, I stuck it in one of the very, very many old take-out containers that we have been stacking up since the pandemic. That makes a nice holder that also keeps the dust off.
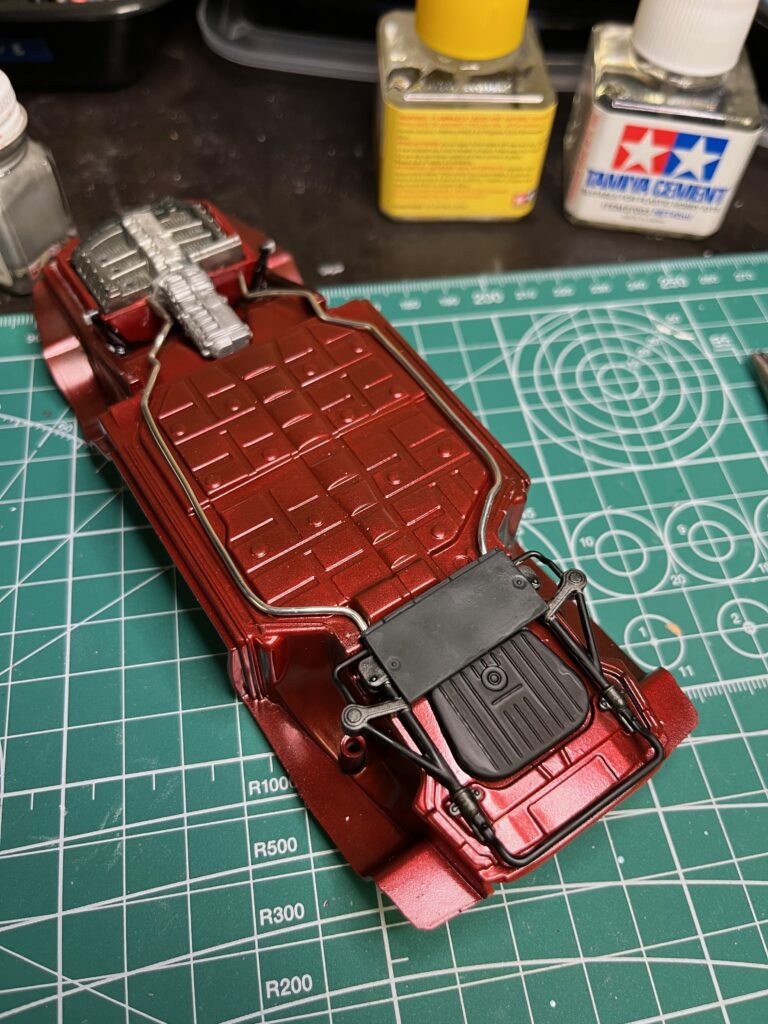
For the under-carriage, the reference photos from bring-a-trailer told me that the undercarriage was painted in the same colour as the reset of the body. I put down a base coat of flat black and then painted over that in the body colour to give it a darker look. That did seem to work, giving a darker coloured underside.
In addition to wiring the engine, the reference photos showed two lines running from the engine to the front. I’m not sure what these are but guessed they might have been fuel lines? In any event, I tried fashioning them out of some wire that I found at Michaels. Not super happy with how they turned out, but the did add a bit of extra detail.
With the bottom assembled, I turned my mind back to the interior. This time, I did the same technique with the sand-powder stuff, but this time, after gluing it down, I painted it the same colour as the interior. I used the airbrush to paint the interior, doors and seats, with the details painted by hand with a fine brush, and then decals applied over top. This turned out pretty good.
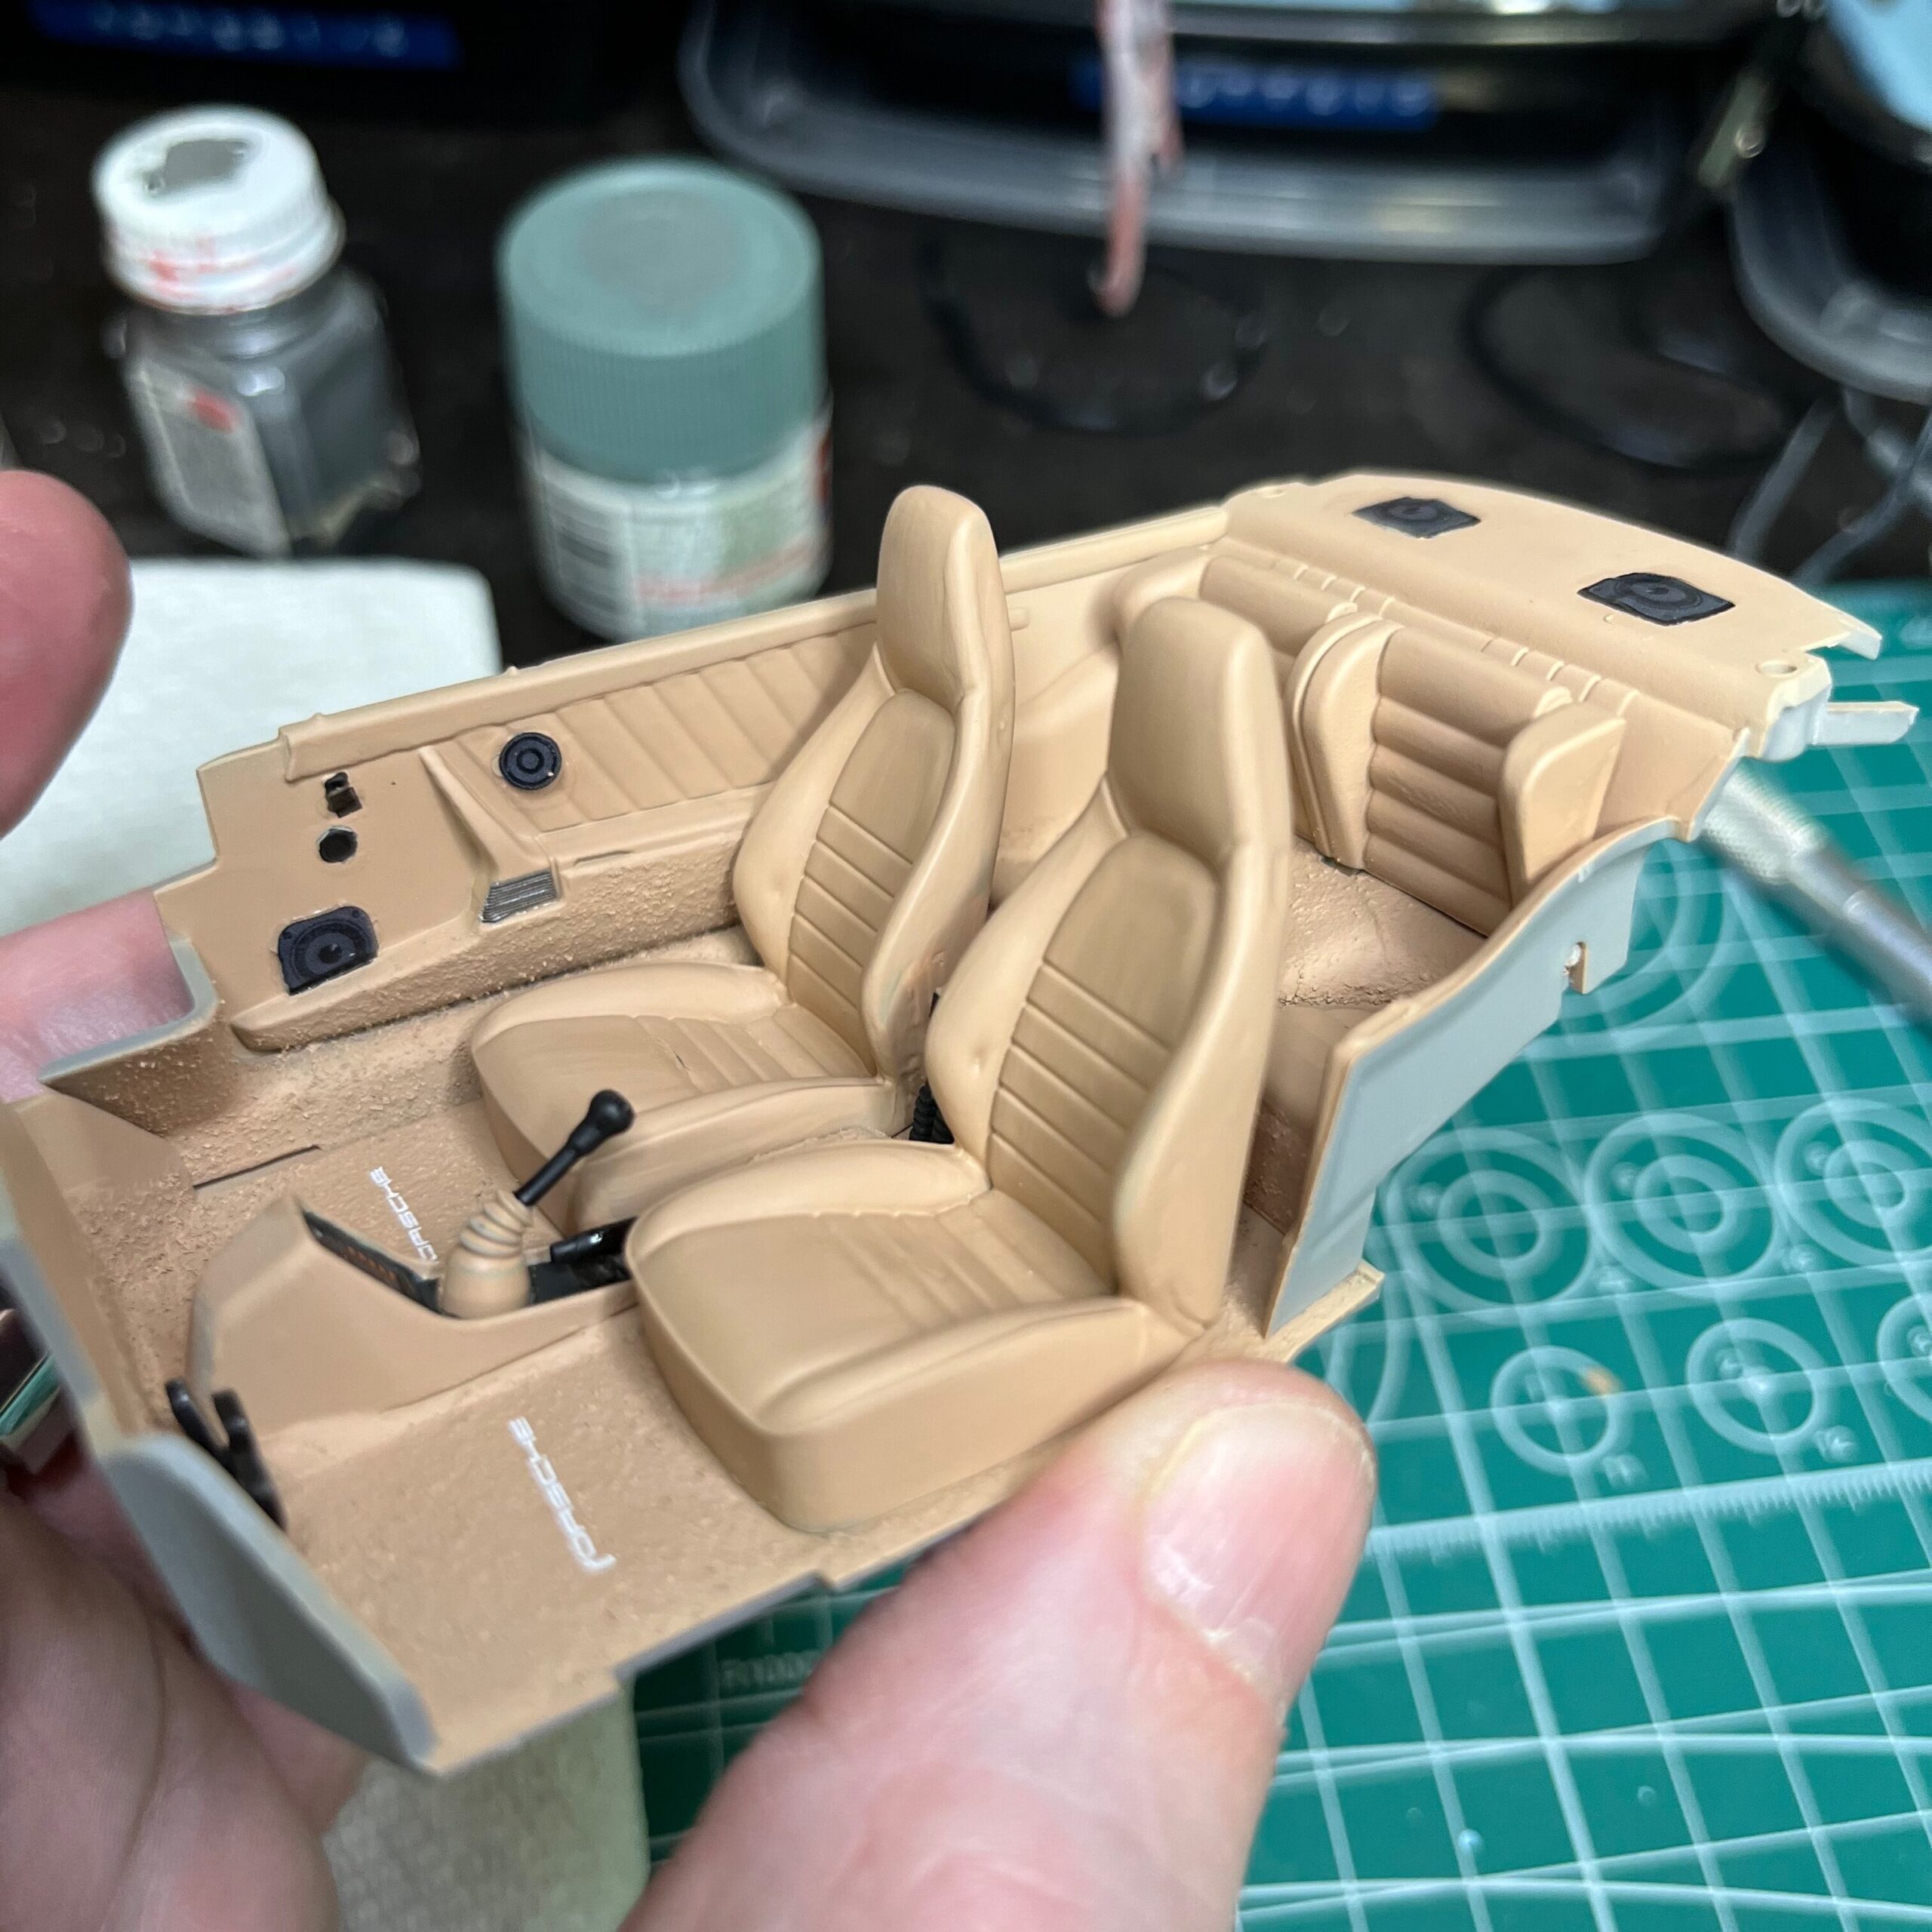
The reference photos all had the steering wheel in the same colour as the rest of the interior, but when I looked at the finished interior, that wasn’t quite right. The Artist Spouse deemed that it should be black and ultimately I had to agree.
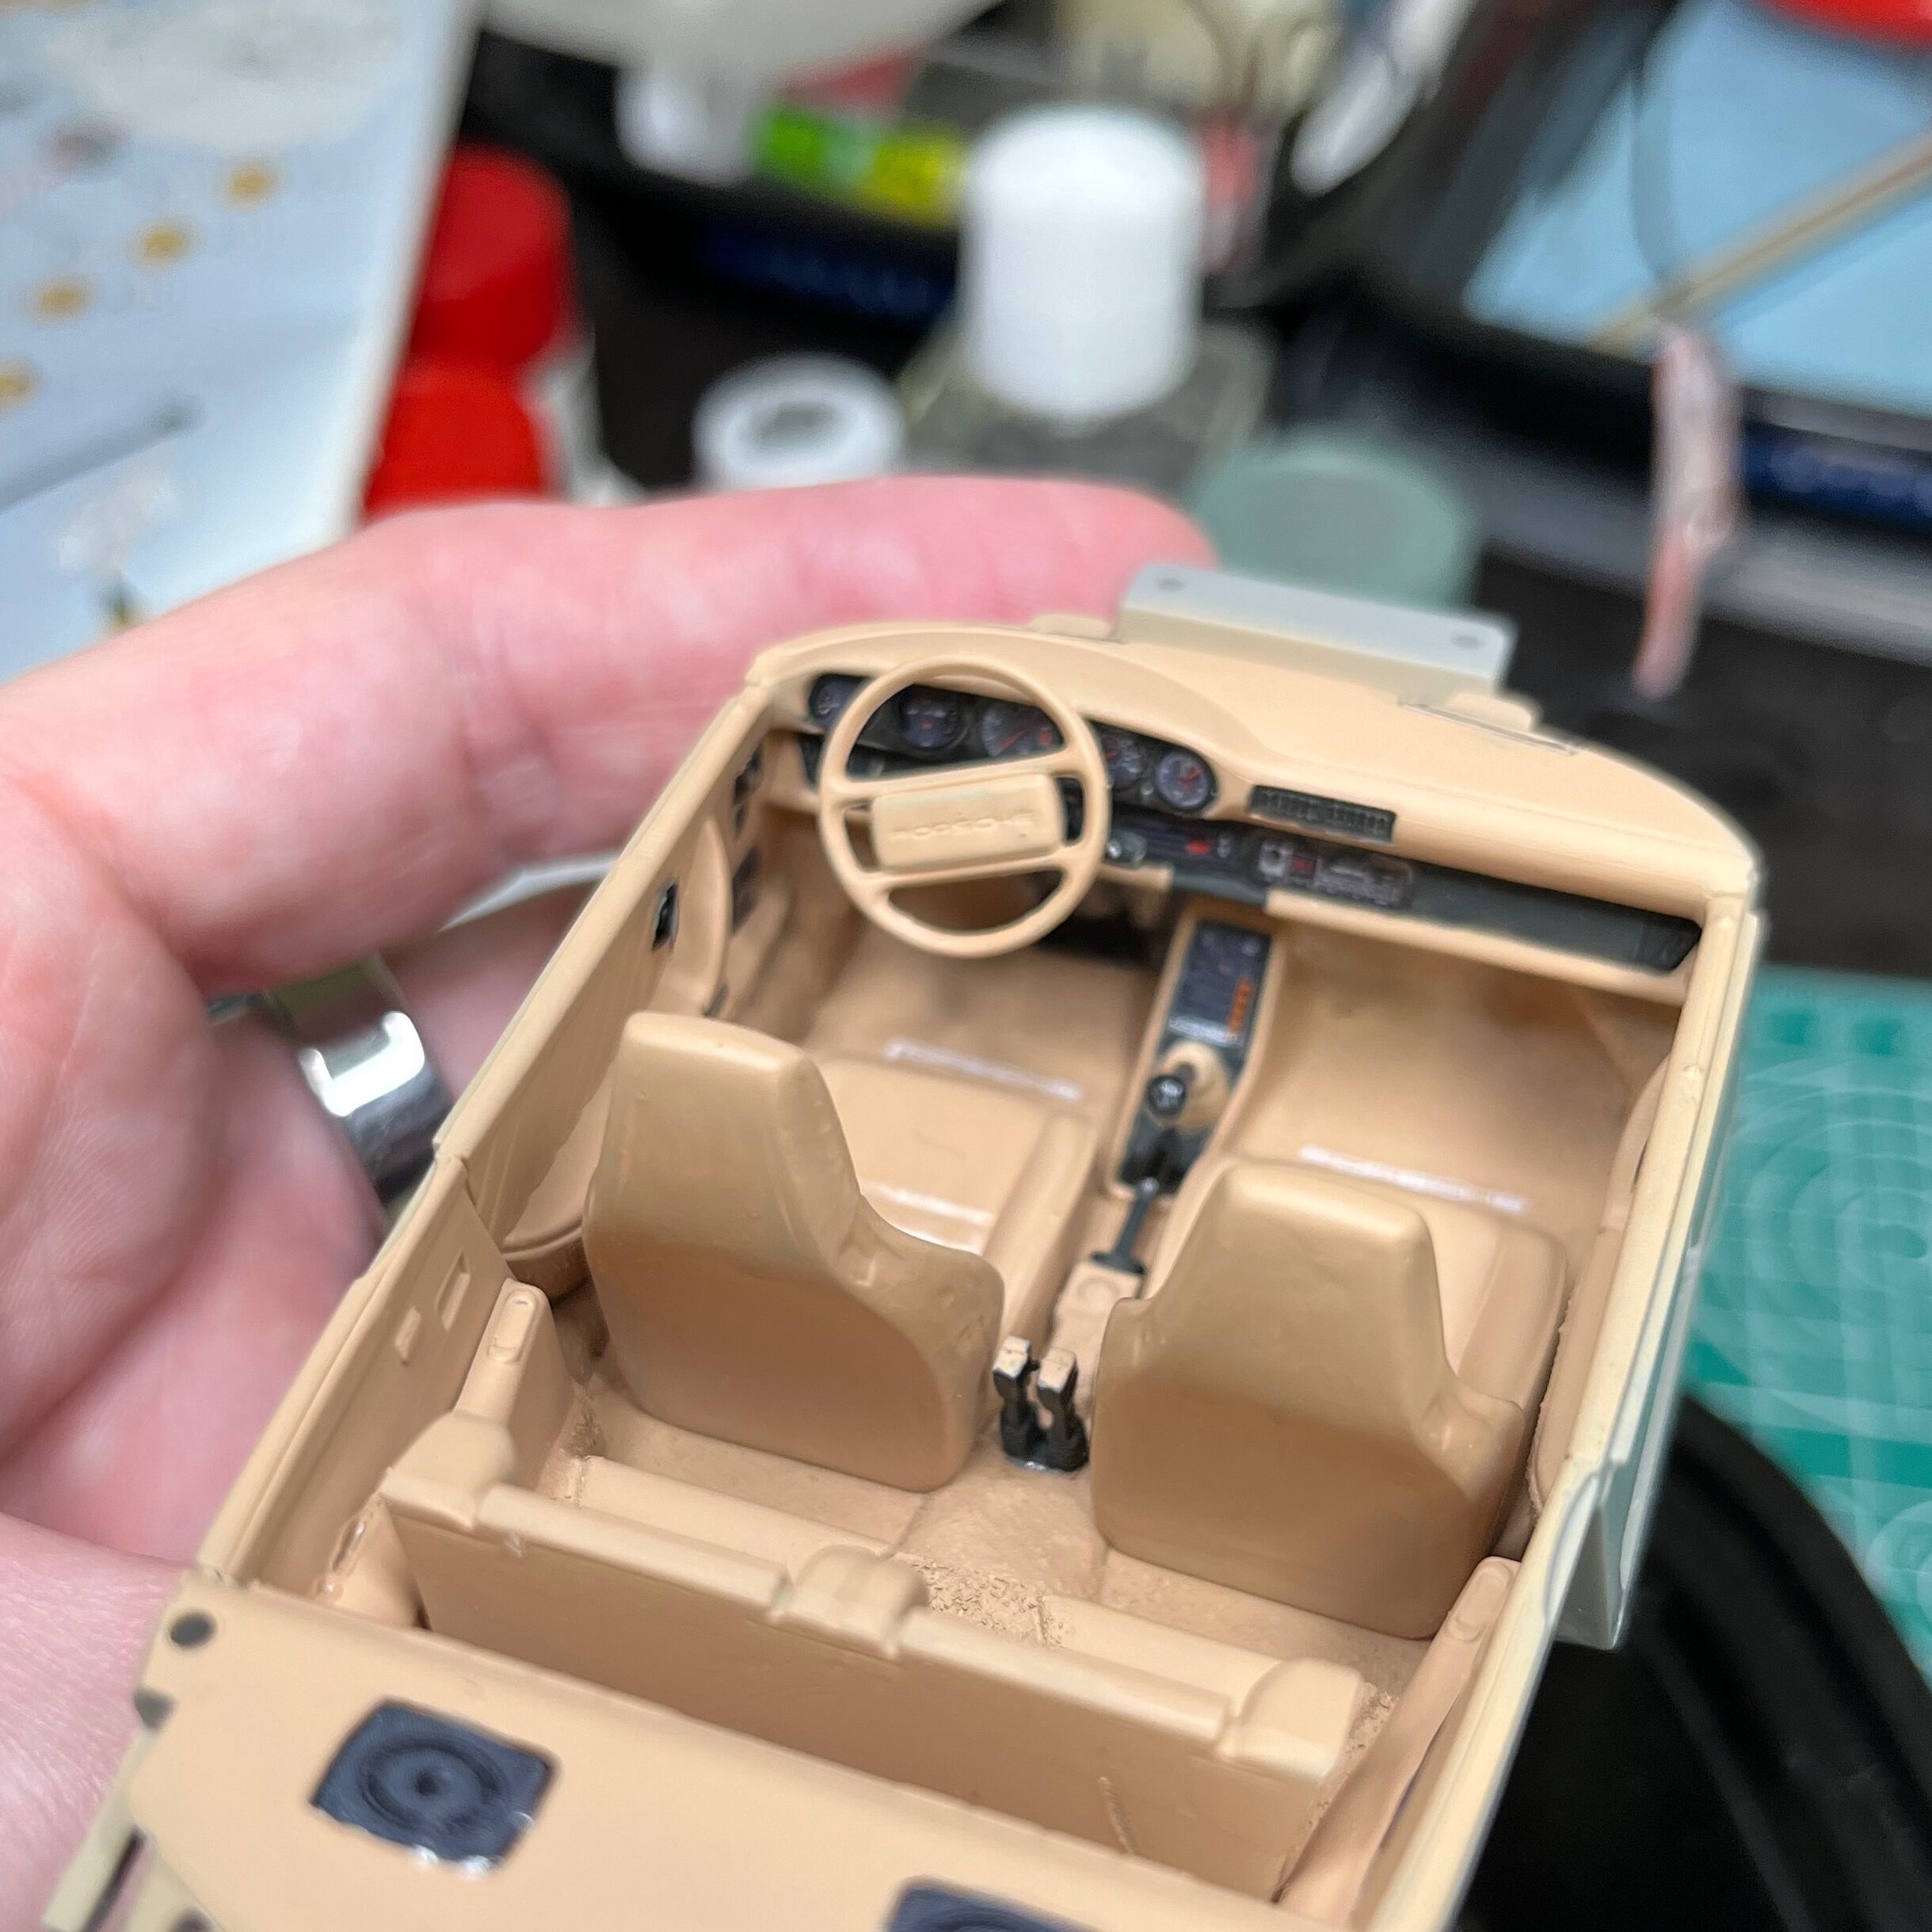
Because the interior was assembled this was a bit tricky. I cut up some paper to fit around the wheel and then carefully brush painted the wheel black to match the rest of the trim. Then it was back to finishing the body and trying to get a high-gloss shine.
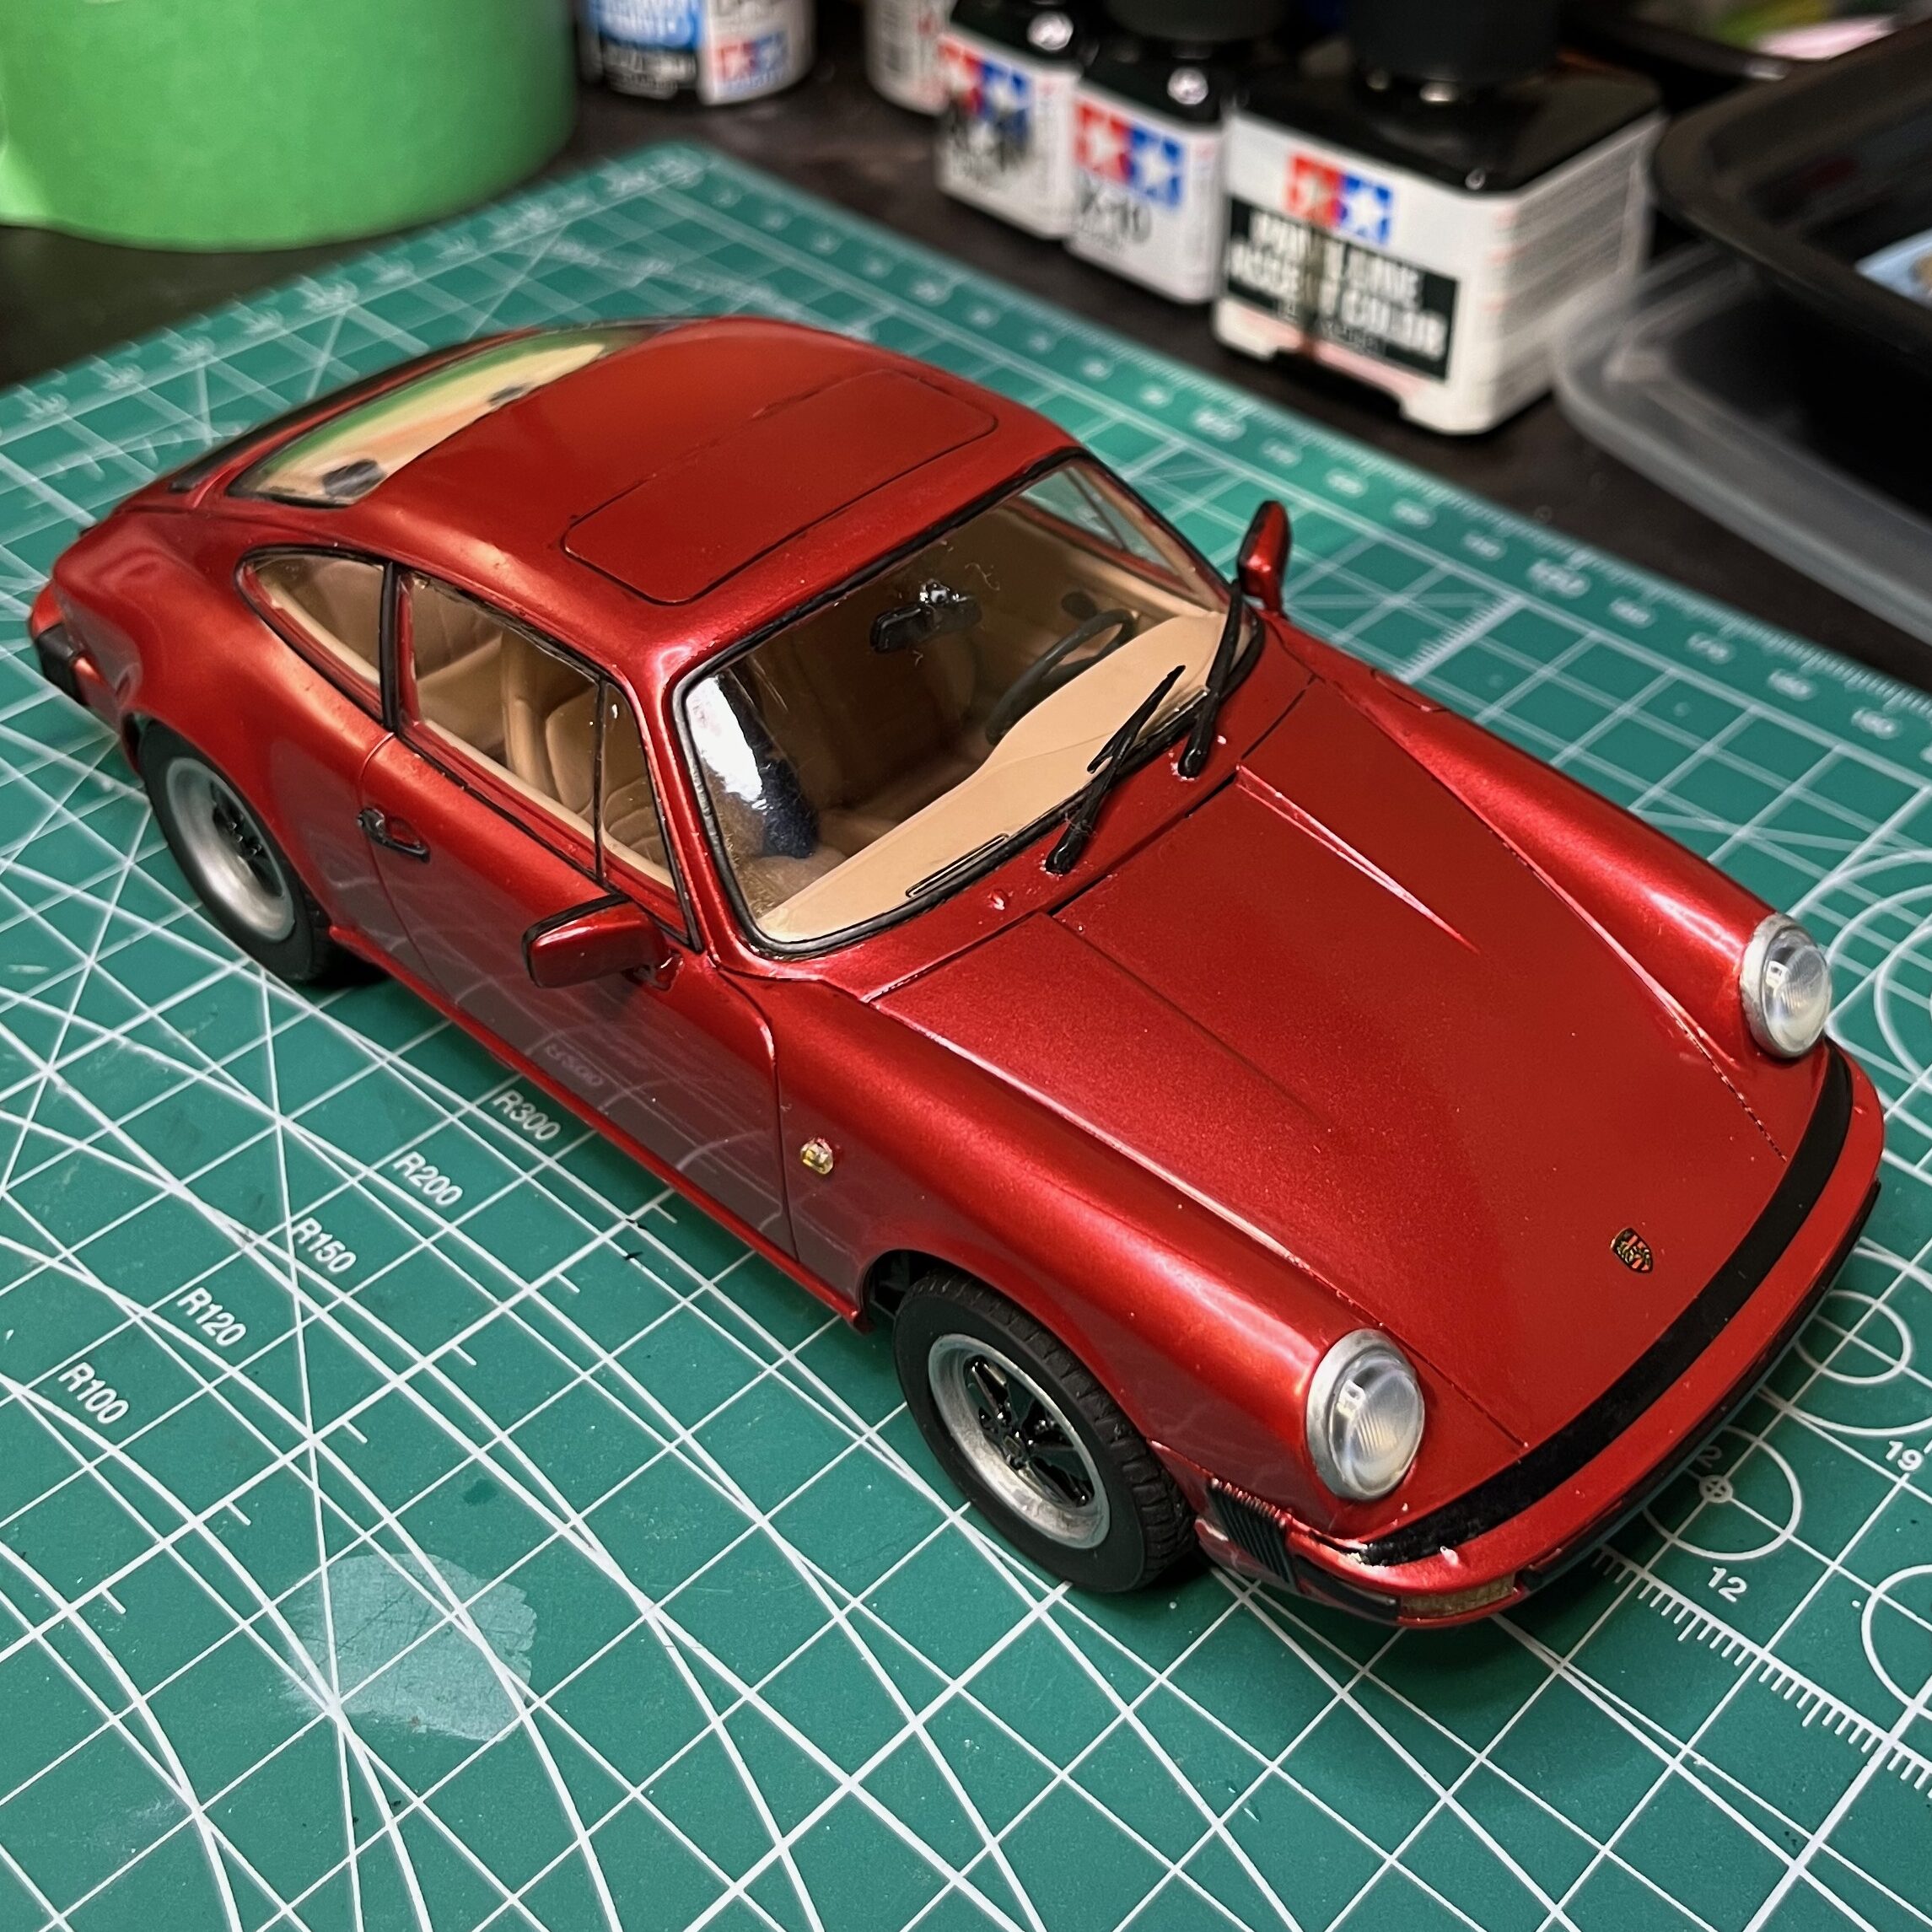
I used an Al Clad gloss varnish and sprayed it directly over the body without thinning it.
I did try wet-sanding between coats, but I felt like it was knocking the gloss back, rather than enhancing it. In the end, the shine was definitely there.
Once everything was assembled, I tried some panel liner to accent the panel lines, and used a wash on the undersigned and engine to grime things up a little bit. Not a lot, just enough to make it look like the car has been used, but not abused.
I can still see a lot of issues where I know I could improve. The panel liner that I used could have been cleaned up around some of the edges a bit better. I’m also not entirely happy with how the clear glue went in around the windows. It left a bit of an uneven line that takes away from the full effect. Also, getting the mirror mounted to the window was incredibly fiddly and did not go great. Also, for some reason, the wheels are not exactly all even, and the car rocks a bit when sitting flat. Not a lot, but enough that I notice it.
All in, this isn’t terrible for my third build back at it. I learned a lot in building it, and I really like the way the colours turned out. The carpet on the interior is great, and I have some ideas for doing spark plugs better on the next one. I also am a bit more comfortable with the panel liner and had a taste at weathering on the underside.
My goal was to finish this model in the week that I had off, but unfortunately it didn’t work out that way. I needed the evenings and weekend following to finish it up.