For my next project, I picked the Bell X-1 from Revell at 1:32 scale. I built a model of this aircraft twice when I was a kid (different kit, obviously). It was my plan, given all the nostalgia vibes, to do this as my next kit after the Westy. I was so disappointed with how the WEsty turned out that I figured I’d do some practice kits before starting this one, hence the 2 practice bugs and the Porsche. Anyhow, I started digging into this kit on Monday.
It’s a decent kit. It’s fairly simple, so I wouldn’t be surprised it if only takes a few weekends to do. The summary below is what I did this weekend, save some minor prep work that I did on Monday evening, and a little bit of research in the weeks and months before starting this week.
The nice thing about the X-1, is that it’s fairly important from a “history of aviation” perspective, and the National Air and Space Museum in the US (where it currently resides) has some amazing photos that can be used as reference (here). I went through all the photos and downloaded a few key images that showed some of the key details that I wanted to incorporate, and saved these to my iPod so I had them handy while working.
The first thing that I did was assemble the engine, pilot, and cockpit without painting. This is a new approach for me. I usually paint, then assemble the painted parts and touch up. But for this, I wanted to try a pre-shading technique that would require some of those smaller pieces to be in the way for the shading to work properly.
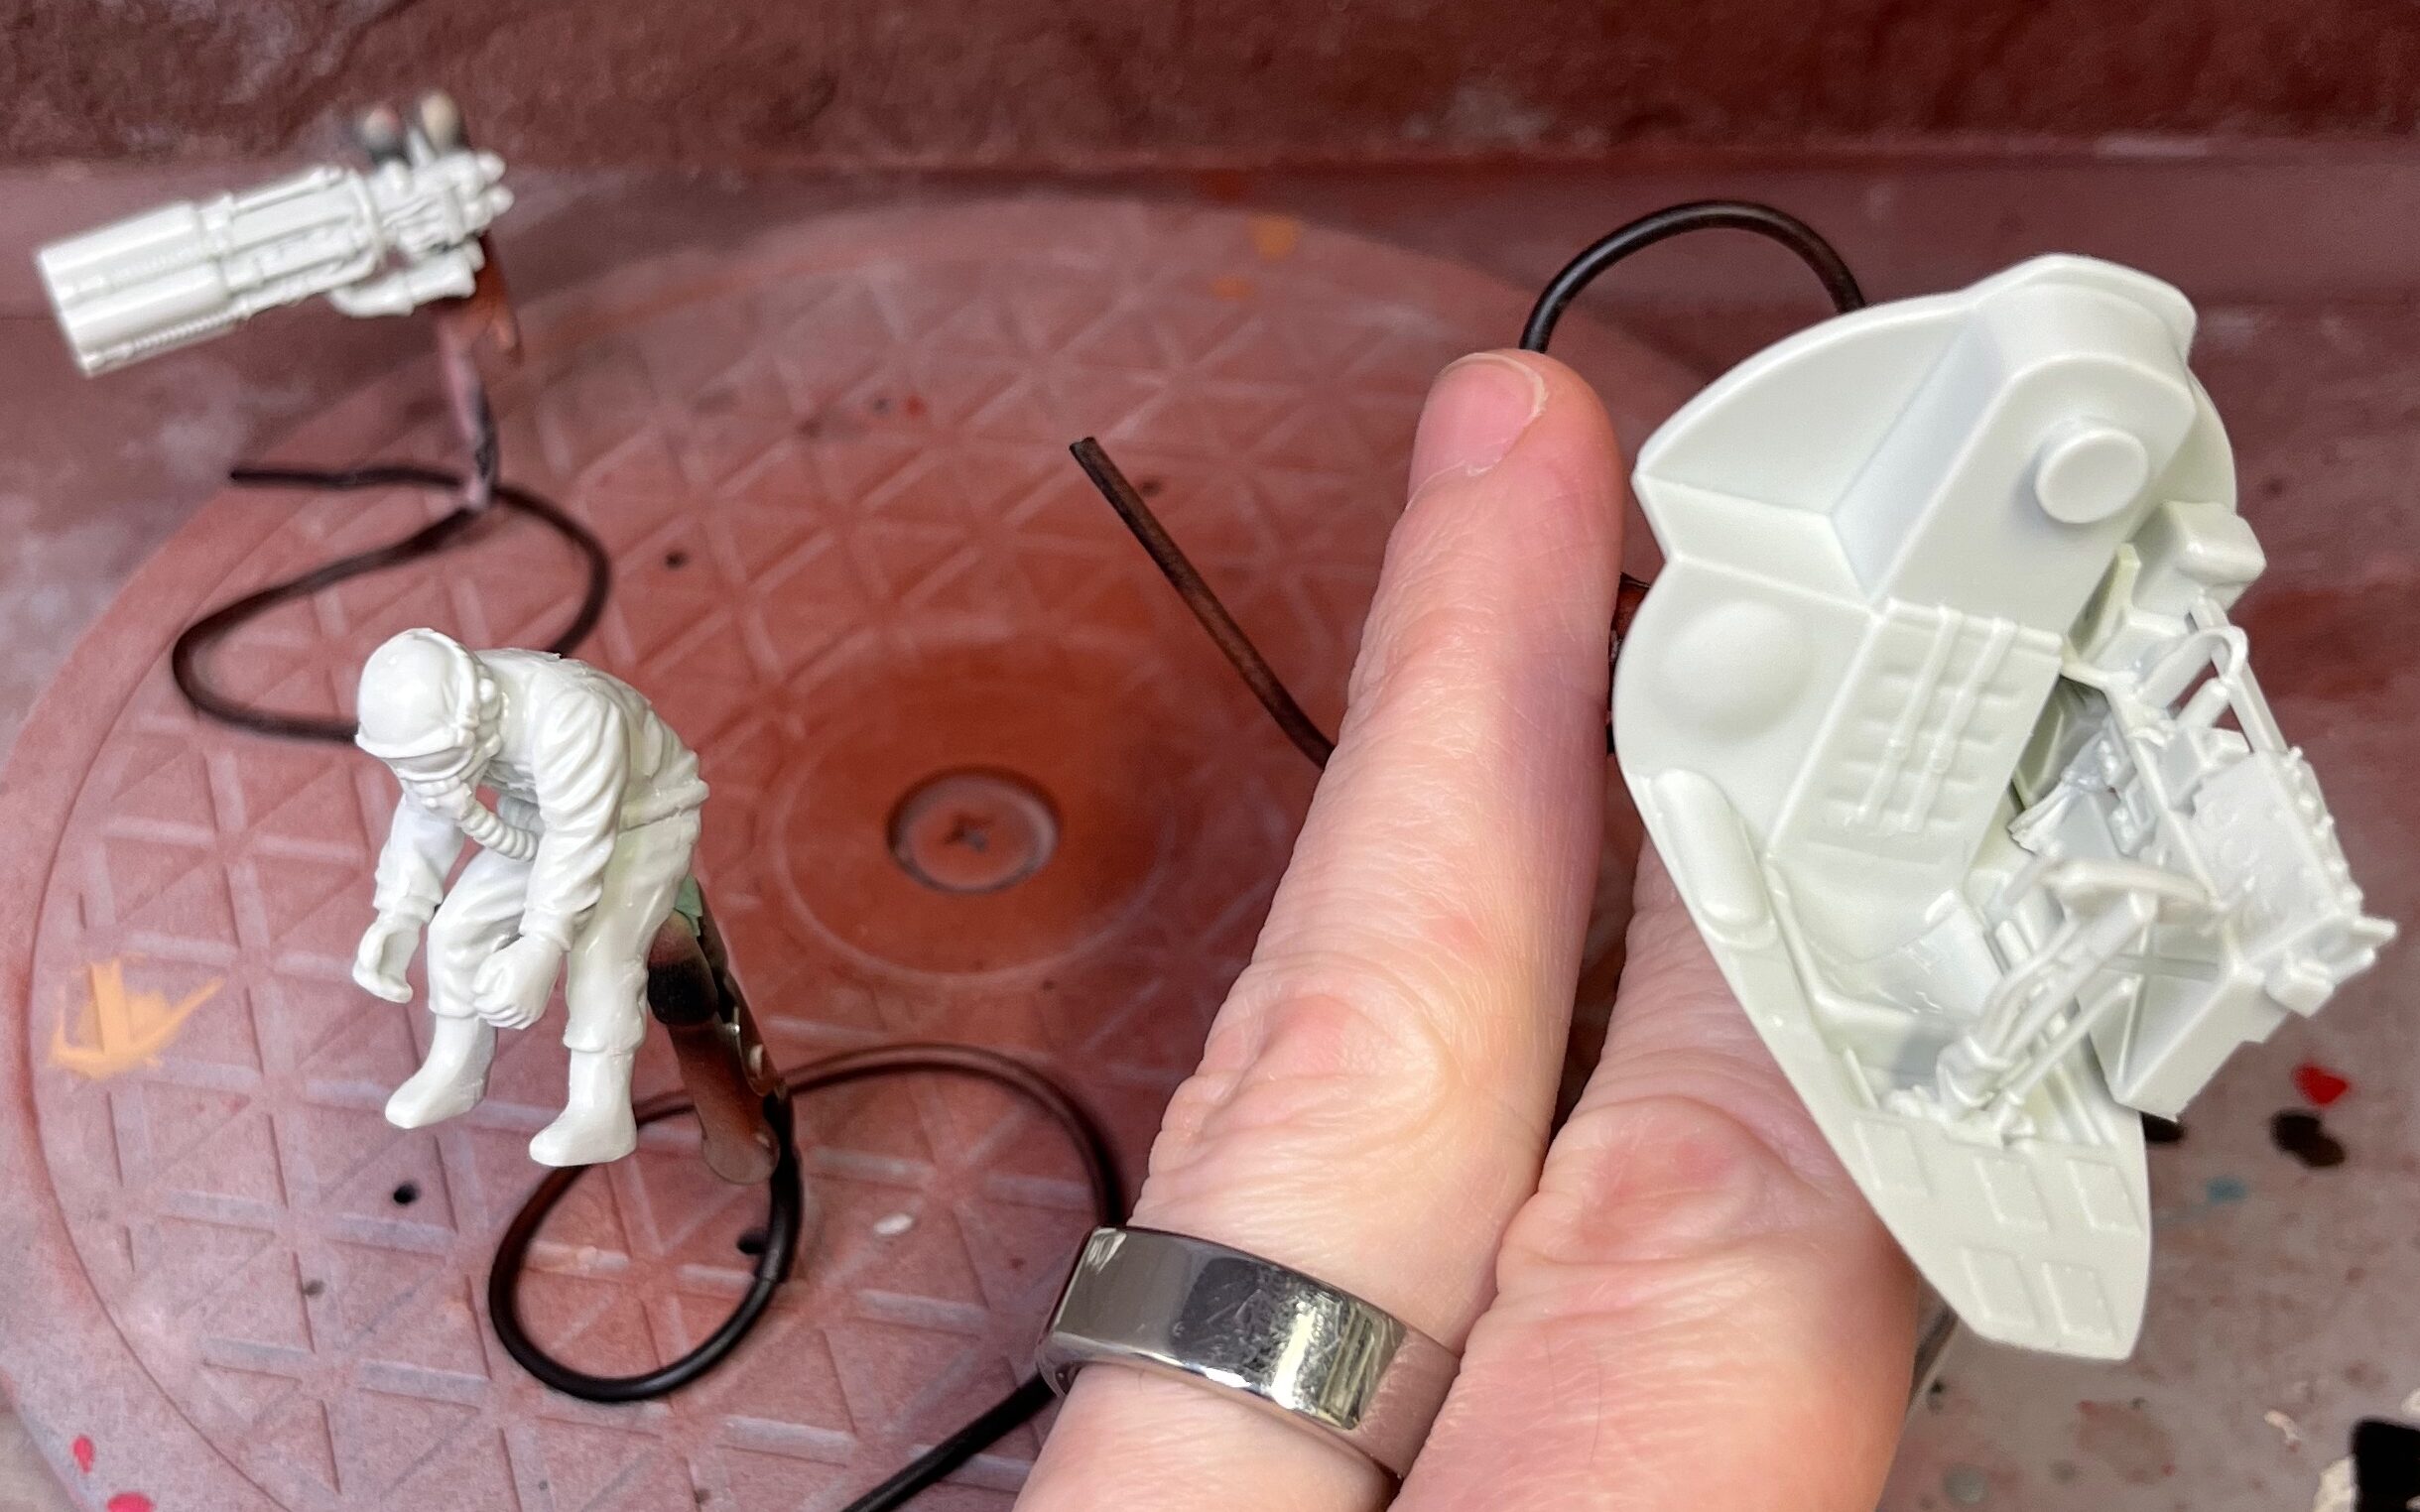
This is a 2-step shading technique: First paint everything with a black primer. Since I didn’t have a black primer, I just laid down a flat black enamel over everything pretty evenly. The next step, is to use a white or light colour and spray from the light source. This creates a mix of highlights and low-lights that can look very realistic. Since the X-1’s large window would be the main source of light, I sprayed from above and in front. I put the pilot in the seat before spraying the white so that the pilot would also cast shadows.
The effect was impressive. In the image below, it’s clear that each part casts shadows, in same cases on itself. I particularly liked how the folds on the cloth really stood out, and how even the gauges cast shadows.

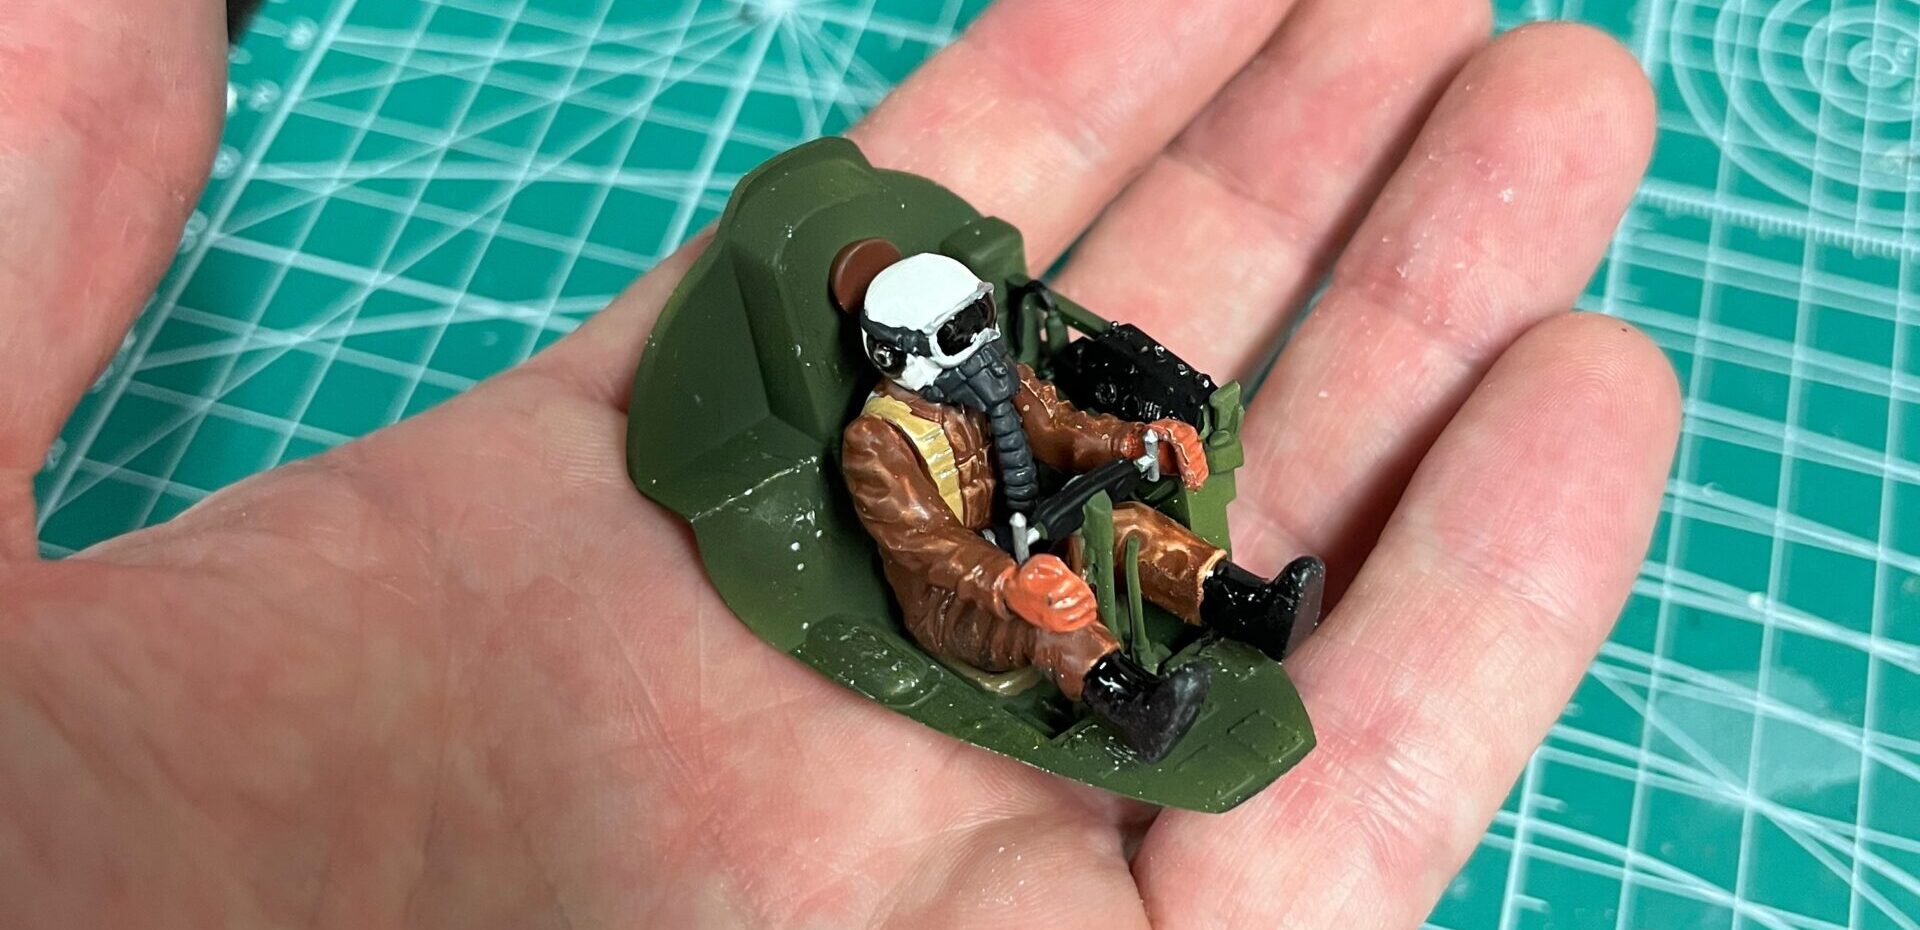
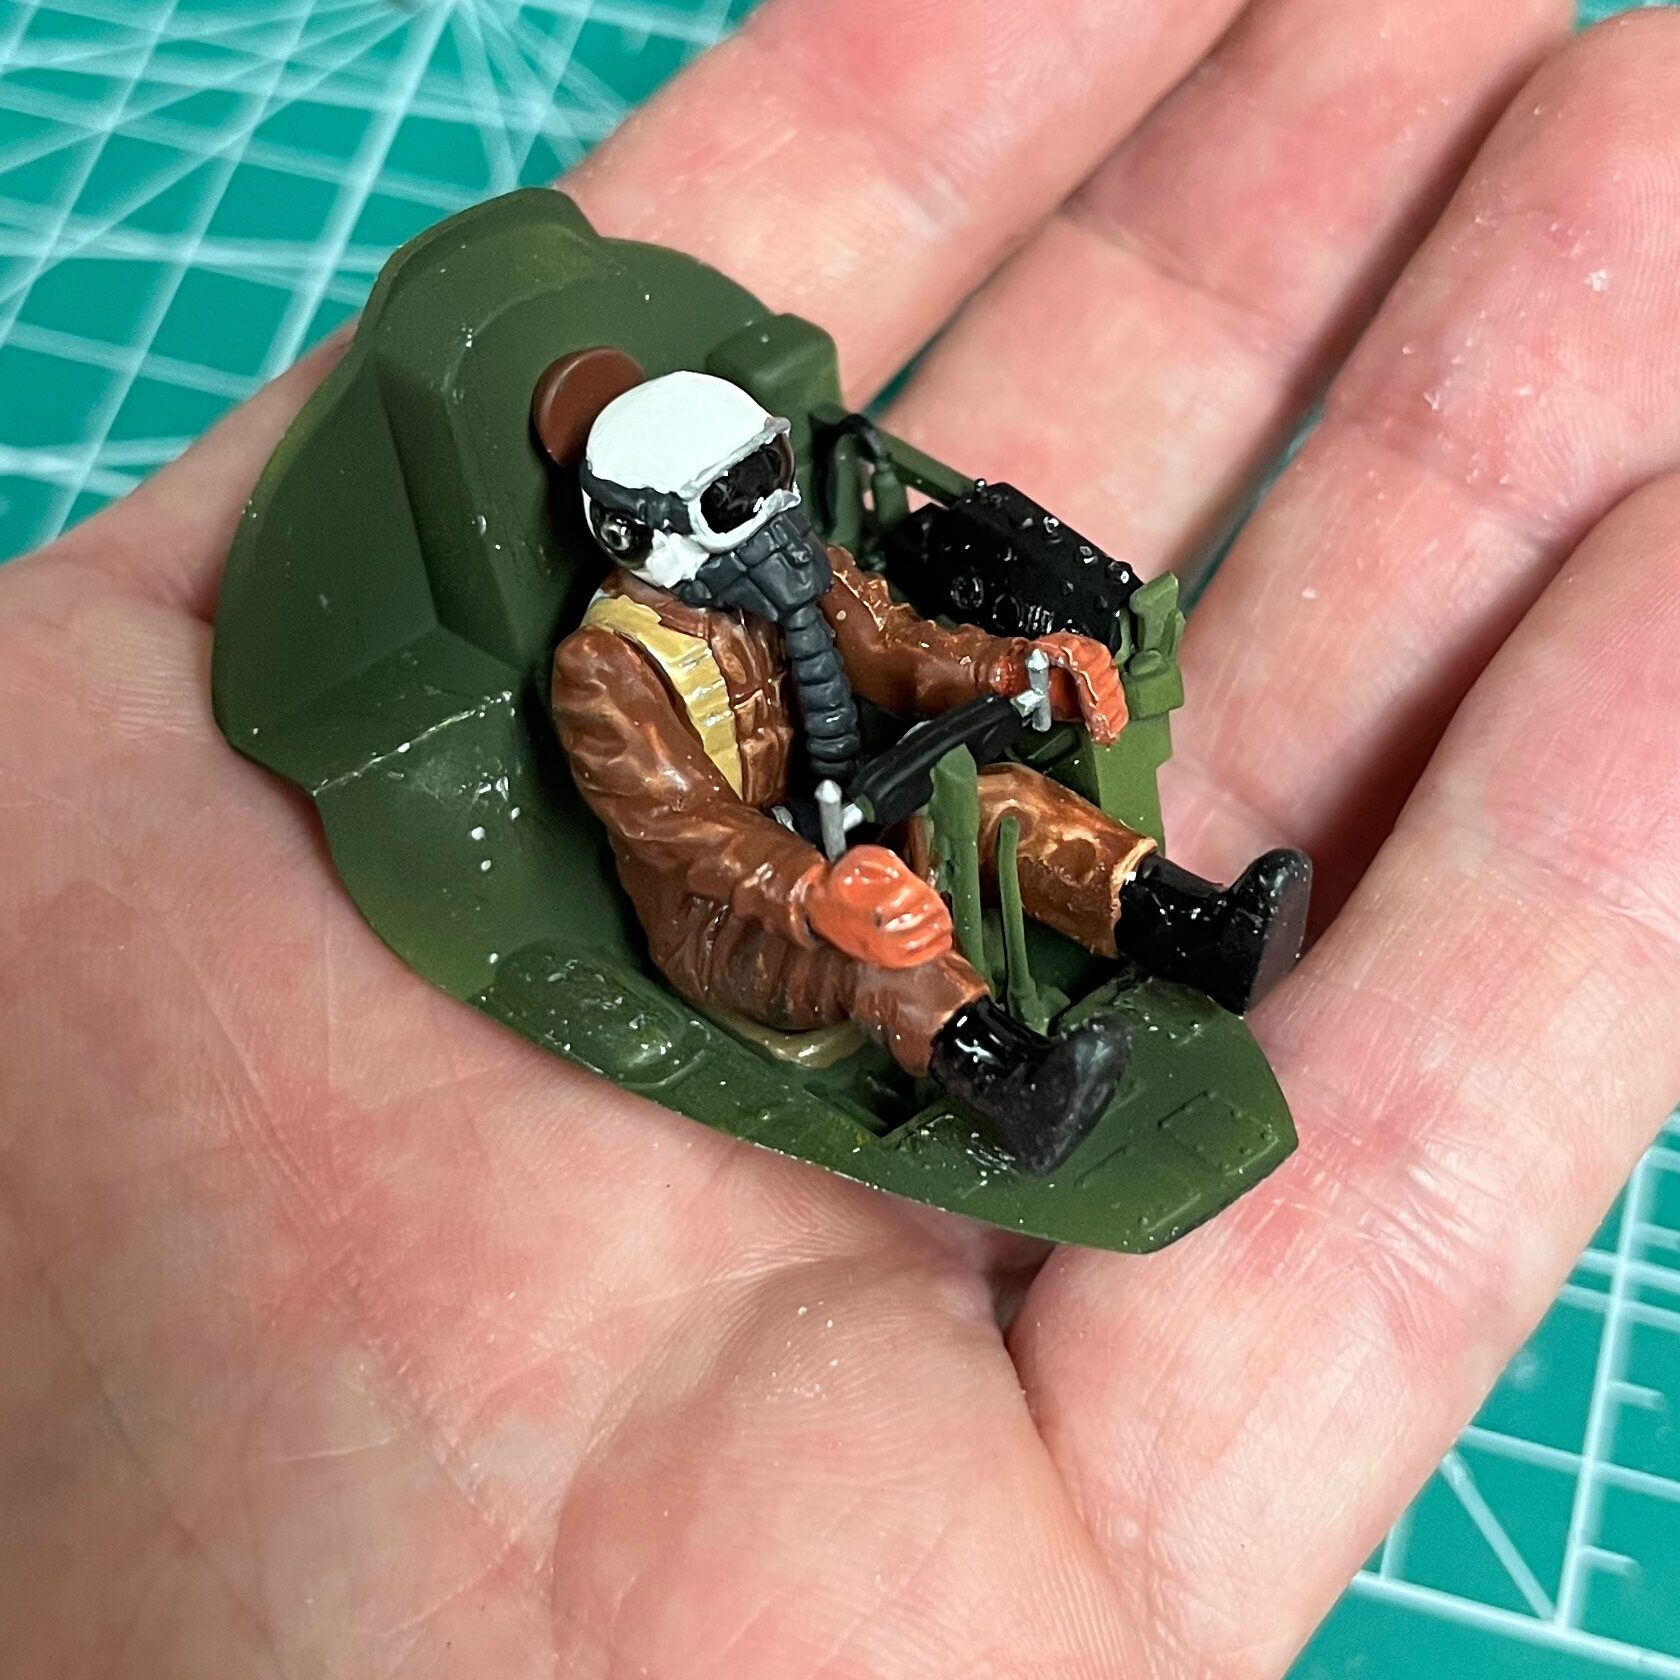
I then sprayed the cockpit with the base olive-drab colour. This was a flat acrylic from Tamiya. However, when I sprayed the colour over top of the shading, the colour was too opaque and the shaded effect was lost.
Another way this effect could work is with multiple shades of the same colour, for example, spraying a darker green, then spraying a lighter green from a single direction. I may try this on a future project.

I haven’t been happy with the way that I’ve painted figures in the past, and the pilot for this kit was no exception. When I was younger, I always painted with enamels, and I did so again here. Getting the fine detail was a bit finicky, and I’m not super happy with how the lines turned out. Having the fully assembled pilot made it a bit tricky to get into all of the fine bits easily.
One thing that did work out pretty well on the pilot was the flight suit. I used one thinned coat of Nato Brown, which went on fairly translucent and allowed some of the highlights from the pre-shading to come through.
Because the underlying shading was painted using enamels, when I tried thinning, for example on the white of the helmet, I got a fair amount of bleed through from the black paint underneath. I may not have allowed enough time to dry. A lot of rookie mistakes here.
After the pilot was painted, I did a little paint chipping effect on the cockpit to match some of the reference photos by using a toothpick with some aluminum enamel. This worked out pretty well.
It may be worthwhile for me to look into some of the figure-painting techniques and look at acrylics for some of this finer work, using enamels underneath for shading and effects. I may pick up some of the game figures to practice on at some point. In any event, if using the pre-shading techniques, I’m going to have to remember to use a very thinned paint.
There may be other techniques when it comes to figure painting that could come in handy. However, I’m undecided as to whether or not I’ll keep the figure in the model once it’s complete. It comes with a door, and if opened and on the ground, I may just leave the door opened so that the cockpit is more visible, in which case, either with or without pilot makes sense.