Last weekend I focused on wrapping up the cockpit build. This weekend, the focus was on putting together the main model itself. Ultimately, I made the decision not to use the pilot on this build. I wasn’t happy with the way that paint-job turned out, and the rest of the cockpit paint looked really good after I used a little black panel-liner wash, which gave everything a nice vintage look and helped make the detail pop.
The landing gear was completed and the gear-wells were painted at the same time as the cockpit, since the X-1 has an interior colour consistent throughout. In retrospect, after I masked off the wheel wells, it may have been easier to mask the body once that was painted rather than the other way around. Time will tell whether the masking job that I did here is going to cut it.
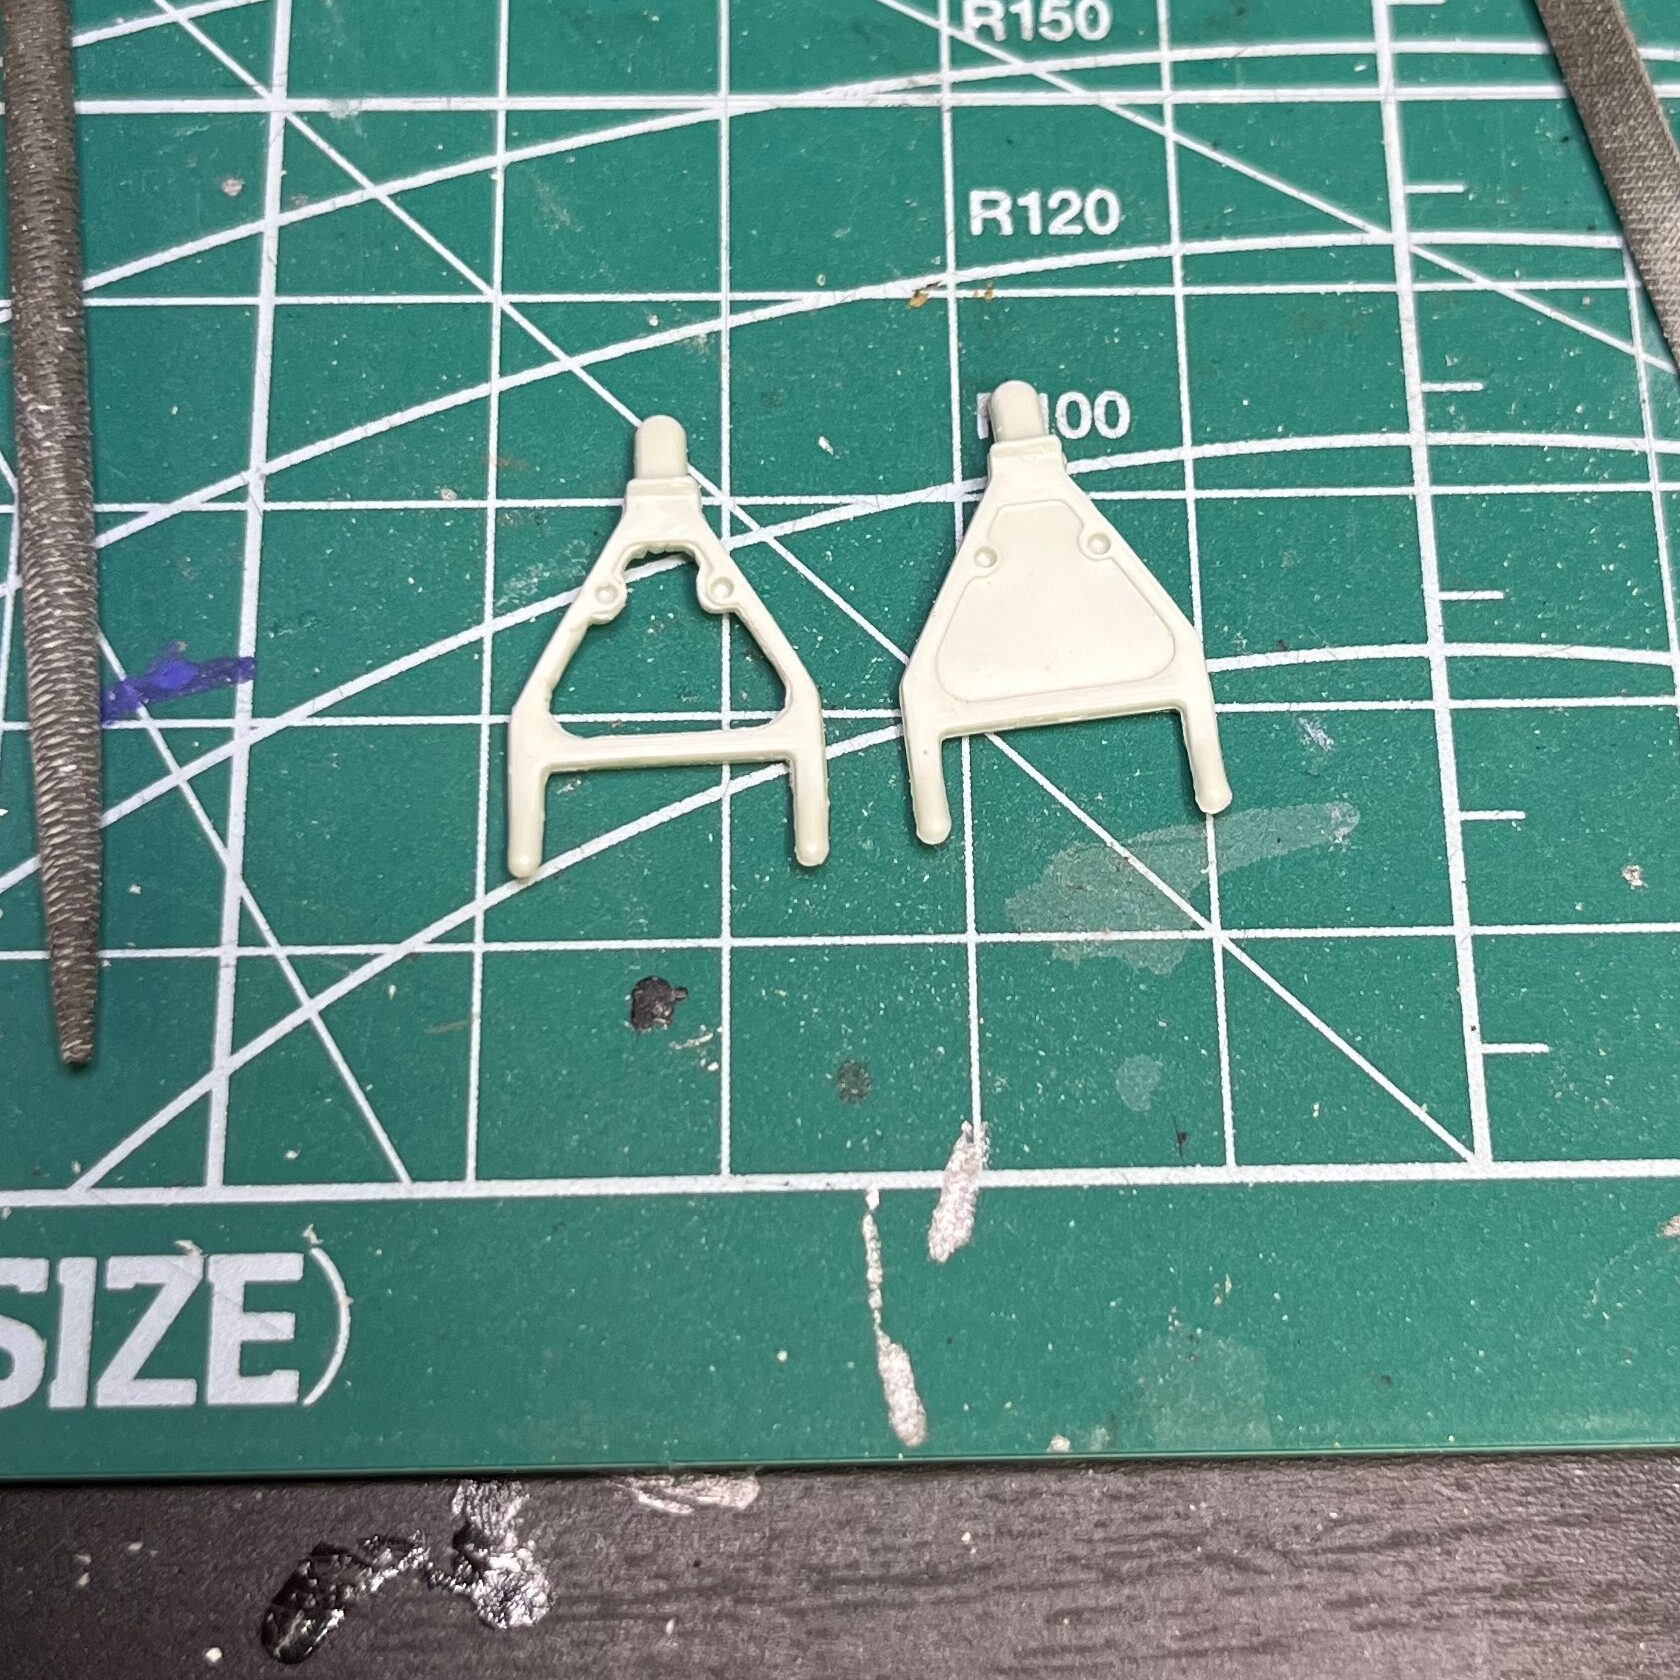
While assembling the landing gear, I took a little extra time to remove the inner piece of plastic and leave only the truss to make it match up with the reference photos. Using the hand-drill and a larger drill bit from the home toolbox, I drilled a hole large enough to fit the precision files into. Then I started filing until only the truss was left. The image on the right below is the gear right off the sprue, the gear on the left is just before I finished filing away the inner fill. The pin marks are for where the gear bay doors attach. When I test fitted those, the pins on the door were too long, so I drilled the pin holes all the way through so that the gear bay doors would fit more snugly.
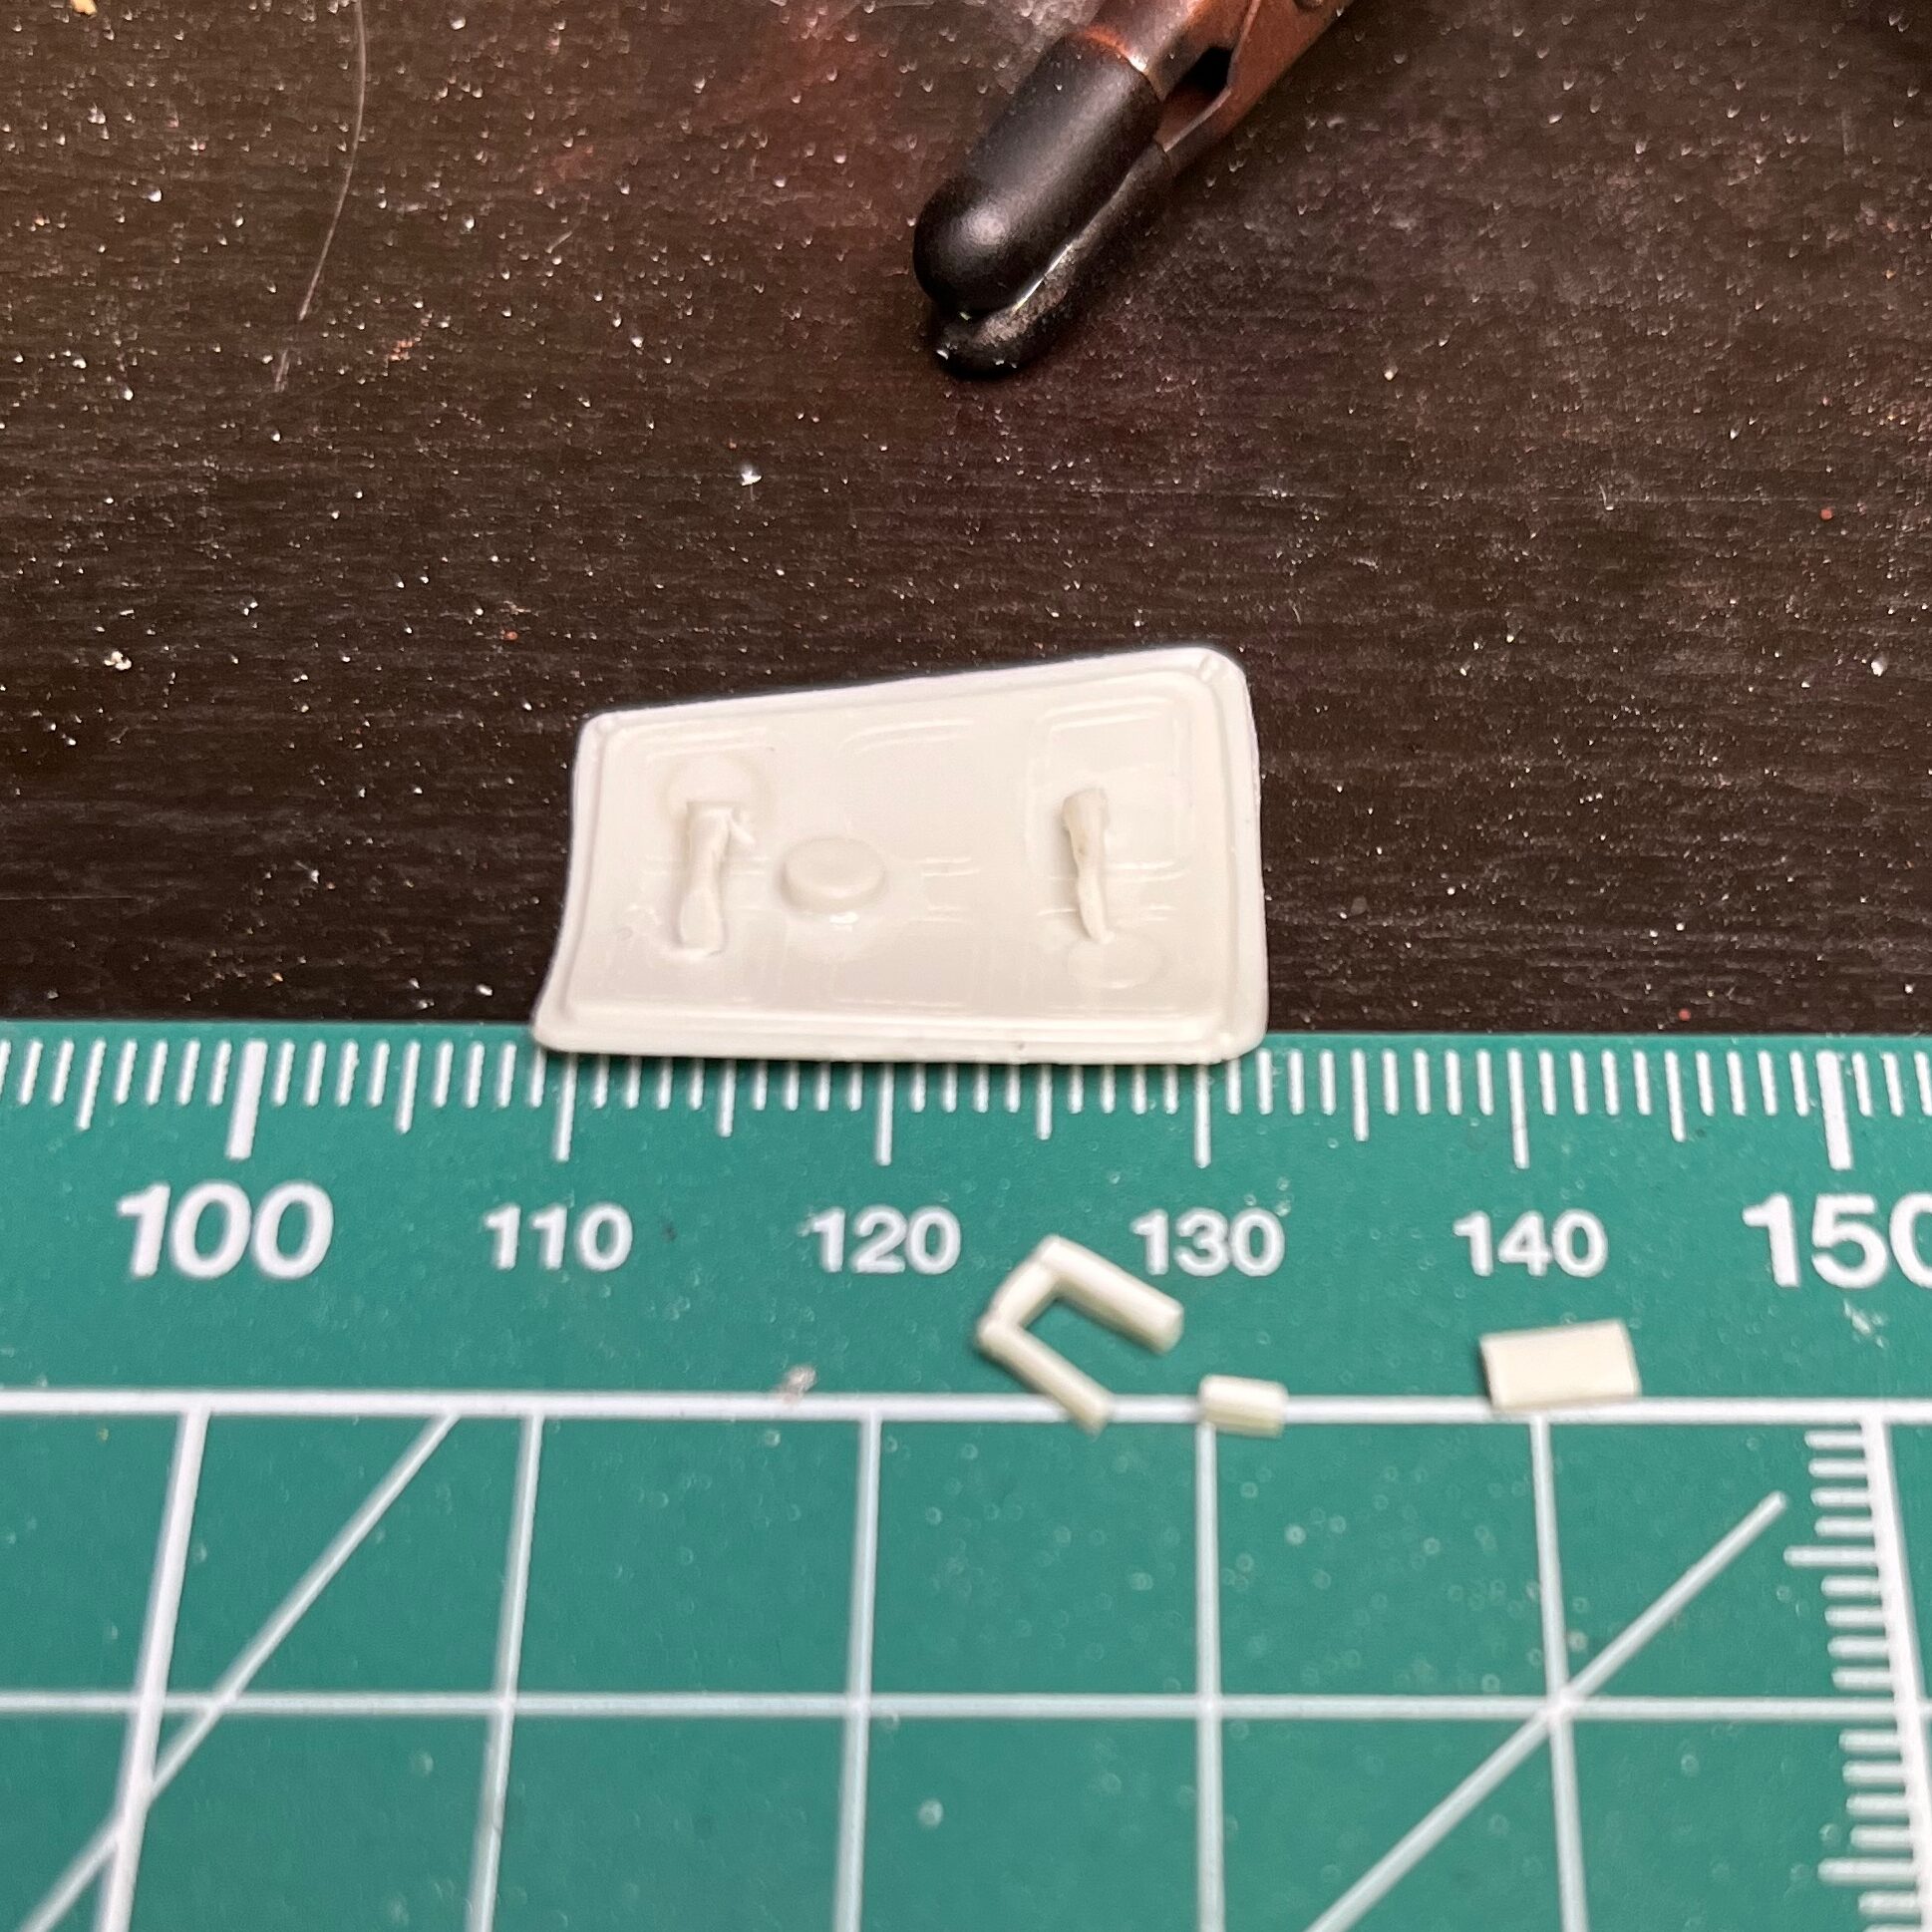
The X-1 has a large panel door on the pilot’s right-hand side in the cockpit. Because of the amount of time I spent rowing (going backwards), I always call this port-side, but I’m pretty sure it’s actually starboard. Maybe.
In any event, the door was pretty vanilla without much in the way of detail. I haven’t decided if I am going to mount this (where much of the detail would likely be invisible only) or leave it opened. I decided to try fabricating some detail.
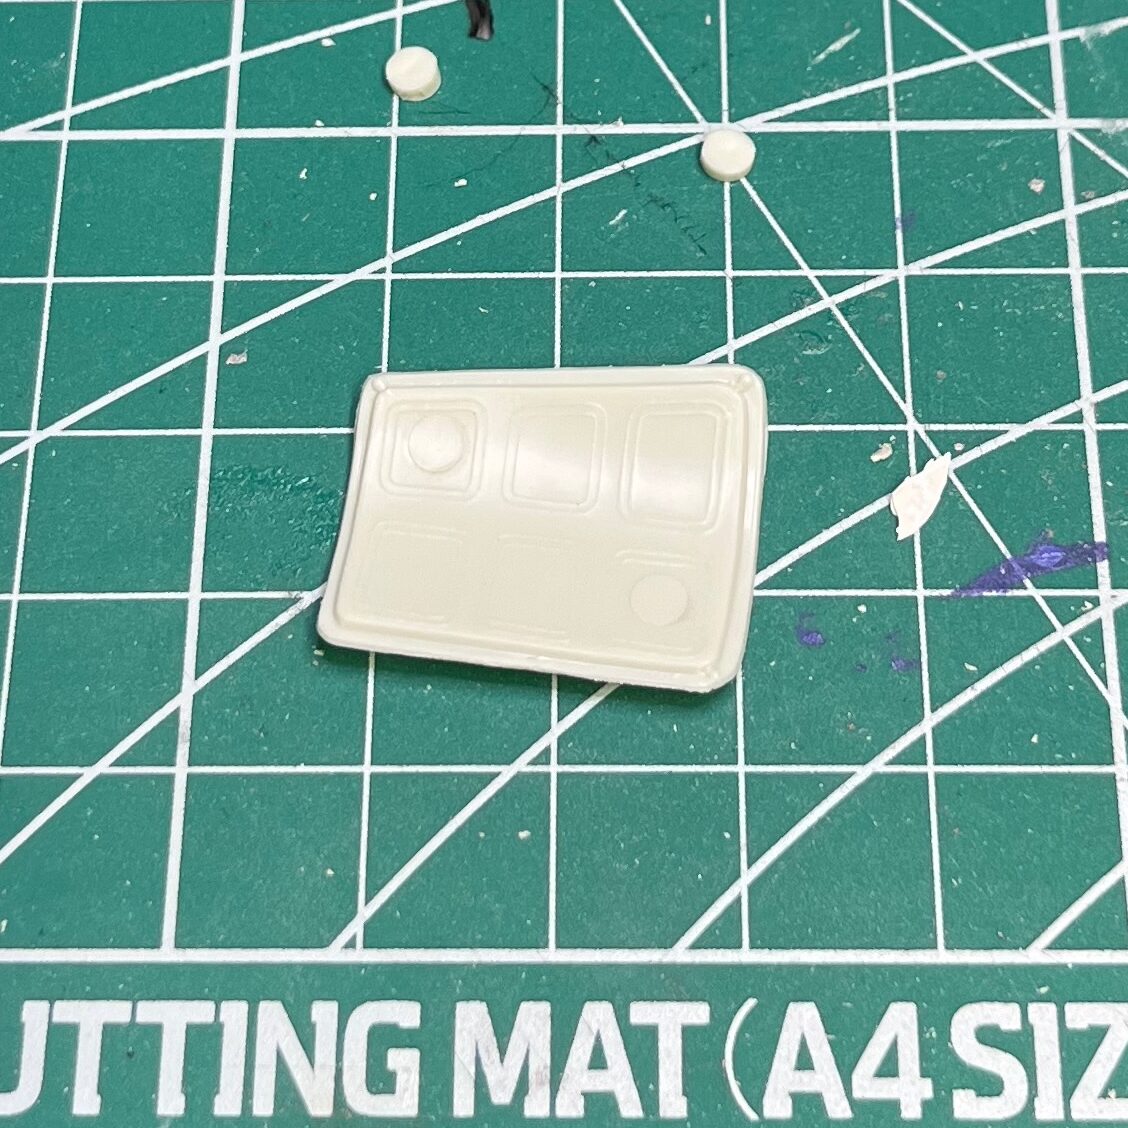
UUsing some sprue, I carved a couple of handles, the release lever, and a round thing (pressure valve?) to match up with the reference photos. This was incredibly fiddly work, and in retrospect, using a bit of wire would have gotten the job done just as well, I think.
Looking at the photos now, the ejection marks are fairly noticeable. If I hadn’t already painted the inside of the door in the olive green of the X-1’s interior, I might go back and try filling these in.
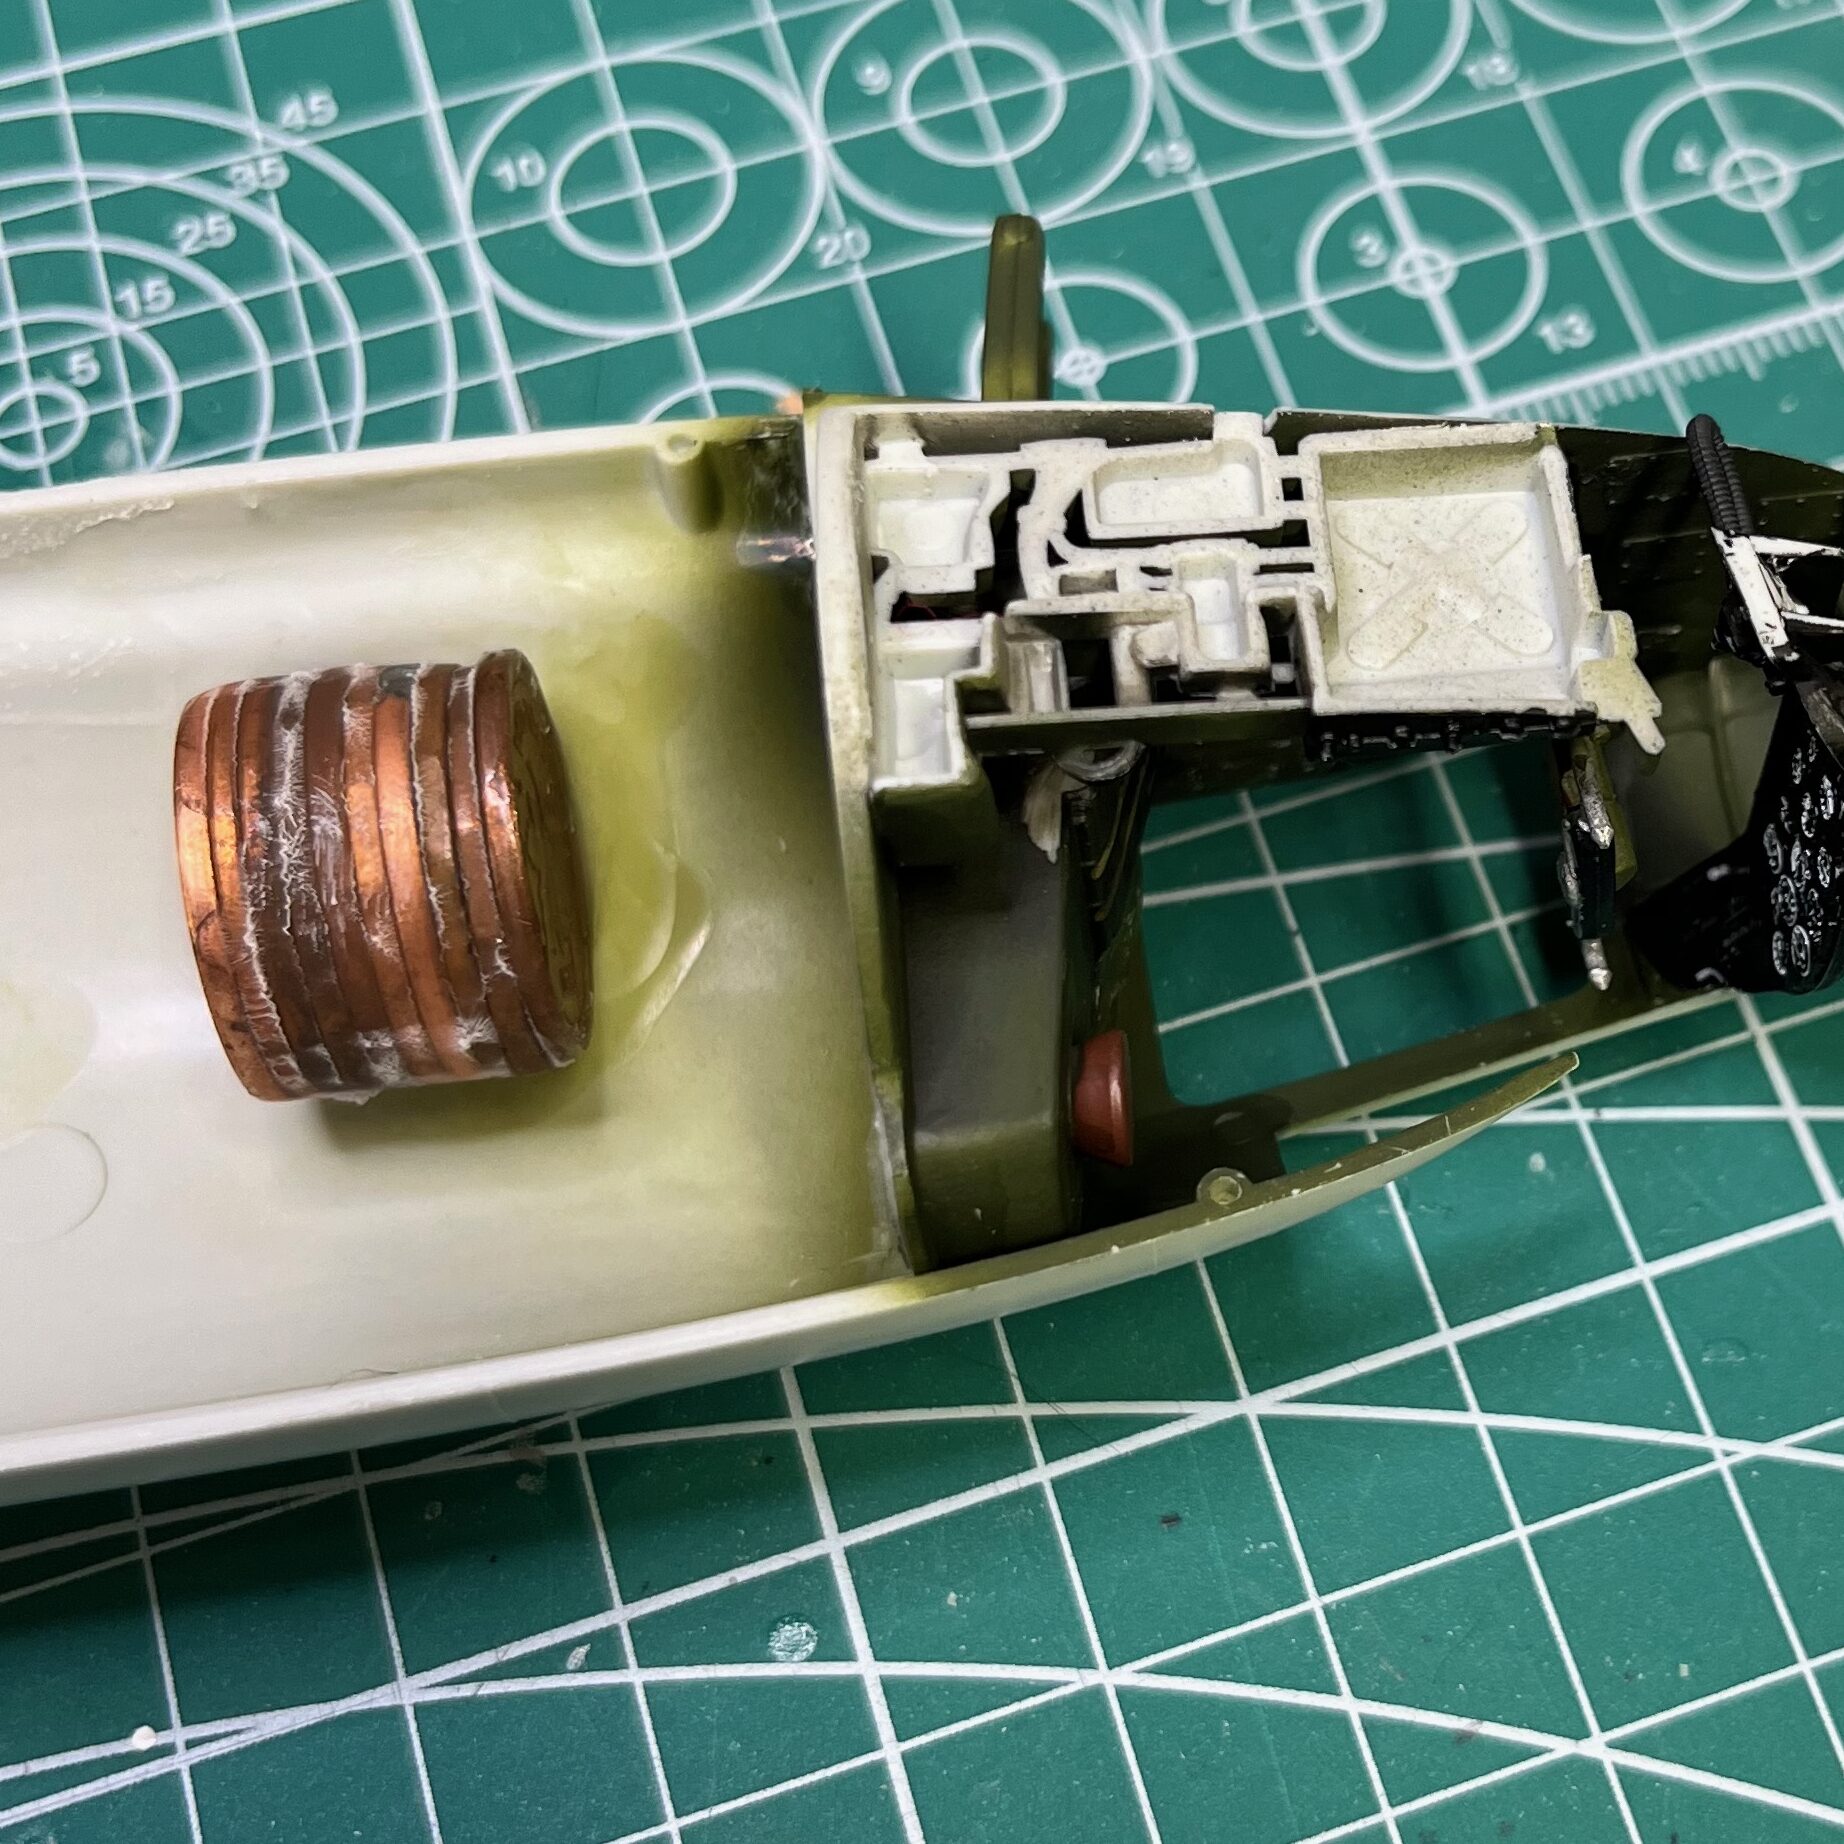
To balance the model properly on the landing gear, it’s important to add more weight to the vehicle forward of the main landing gear. On a real aircraft, the main landing gear are just behind the center of gravity. On a model, a lot of the internal components are absent, so the center of weight of the body tends to fall behind the main gear. This means that for a lot of models, they won’t sit right unless you add weights.
The instruction booklet called for adding 10g. I didn’t have a scale handy, so I eye-balled it based on the weight of the model as a whole. In my experience, the instruction booklets err on the side of less weight, so it’s generally a good idea to add a bit more just in case. If this isn’t enough, I will have the option to add a bit more weight ahead of the cockpit before the main windscreen goes in. As it is, this weight cost me exactly $0.10, plus a little superglue.
Before I glued the penny stack weight in place, I tried dry fitting it so that the weight would be at the bottom of the fuselage instead of against the starboard wall like it is now. This will probably add a little stress/torque to the model, but it doesn’t have to fly, so I’m hoping it won’t end up warping the fuselage over time. I’m not sure how fluid this plastic is.
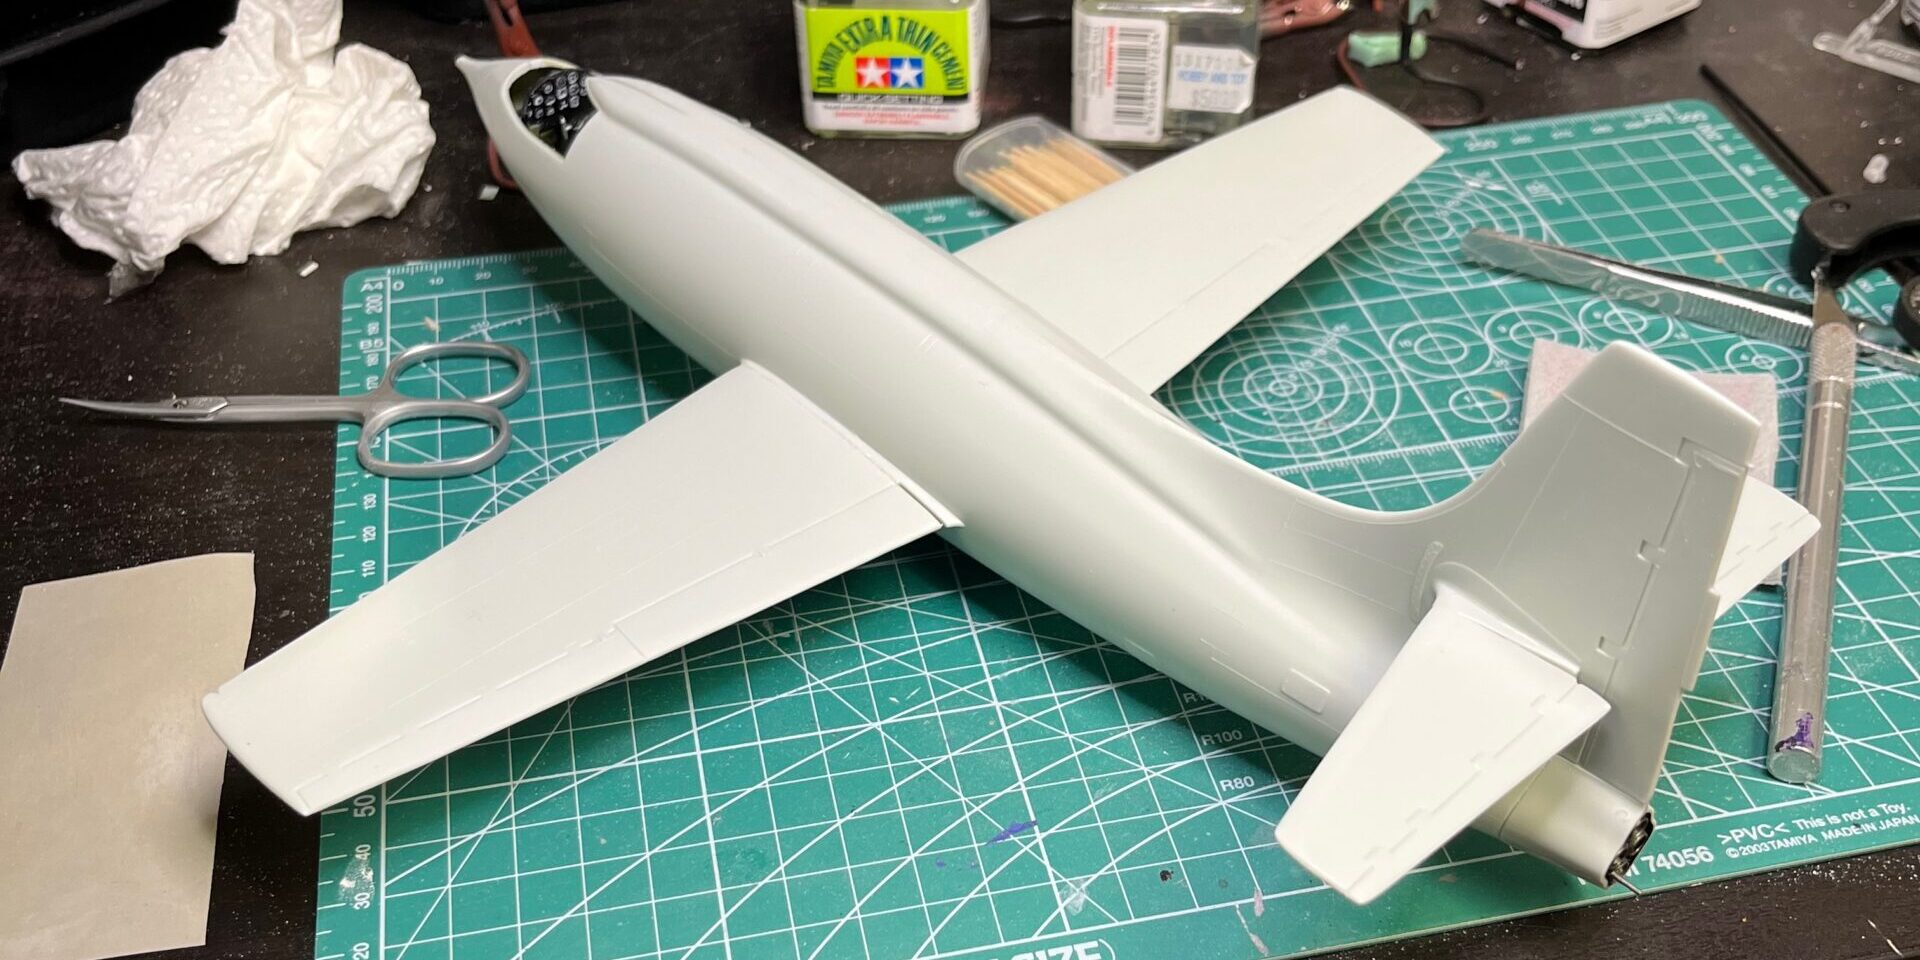
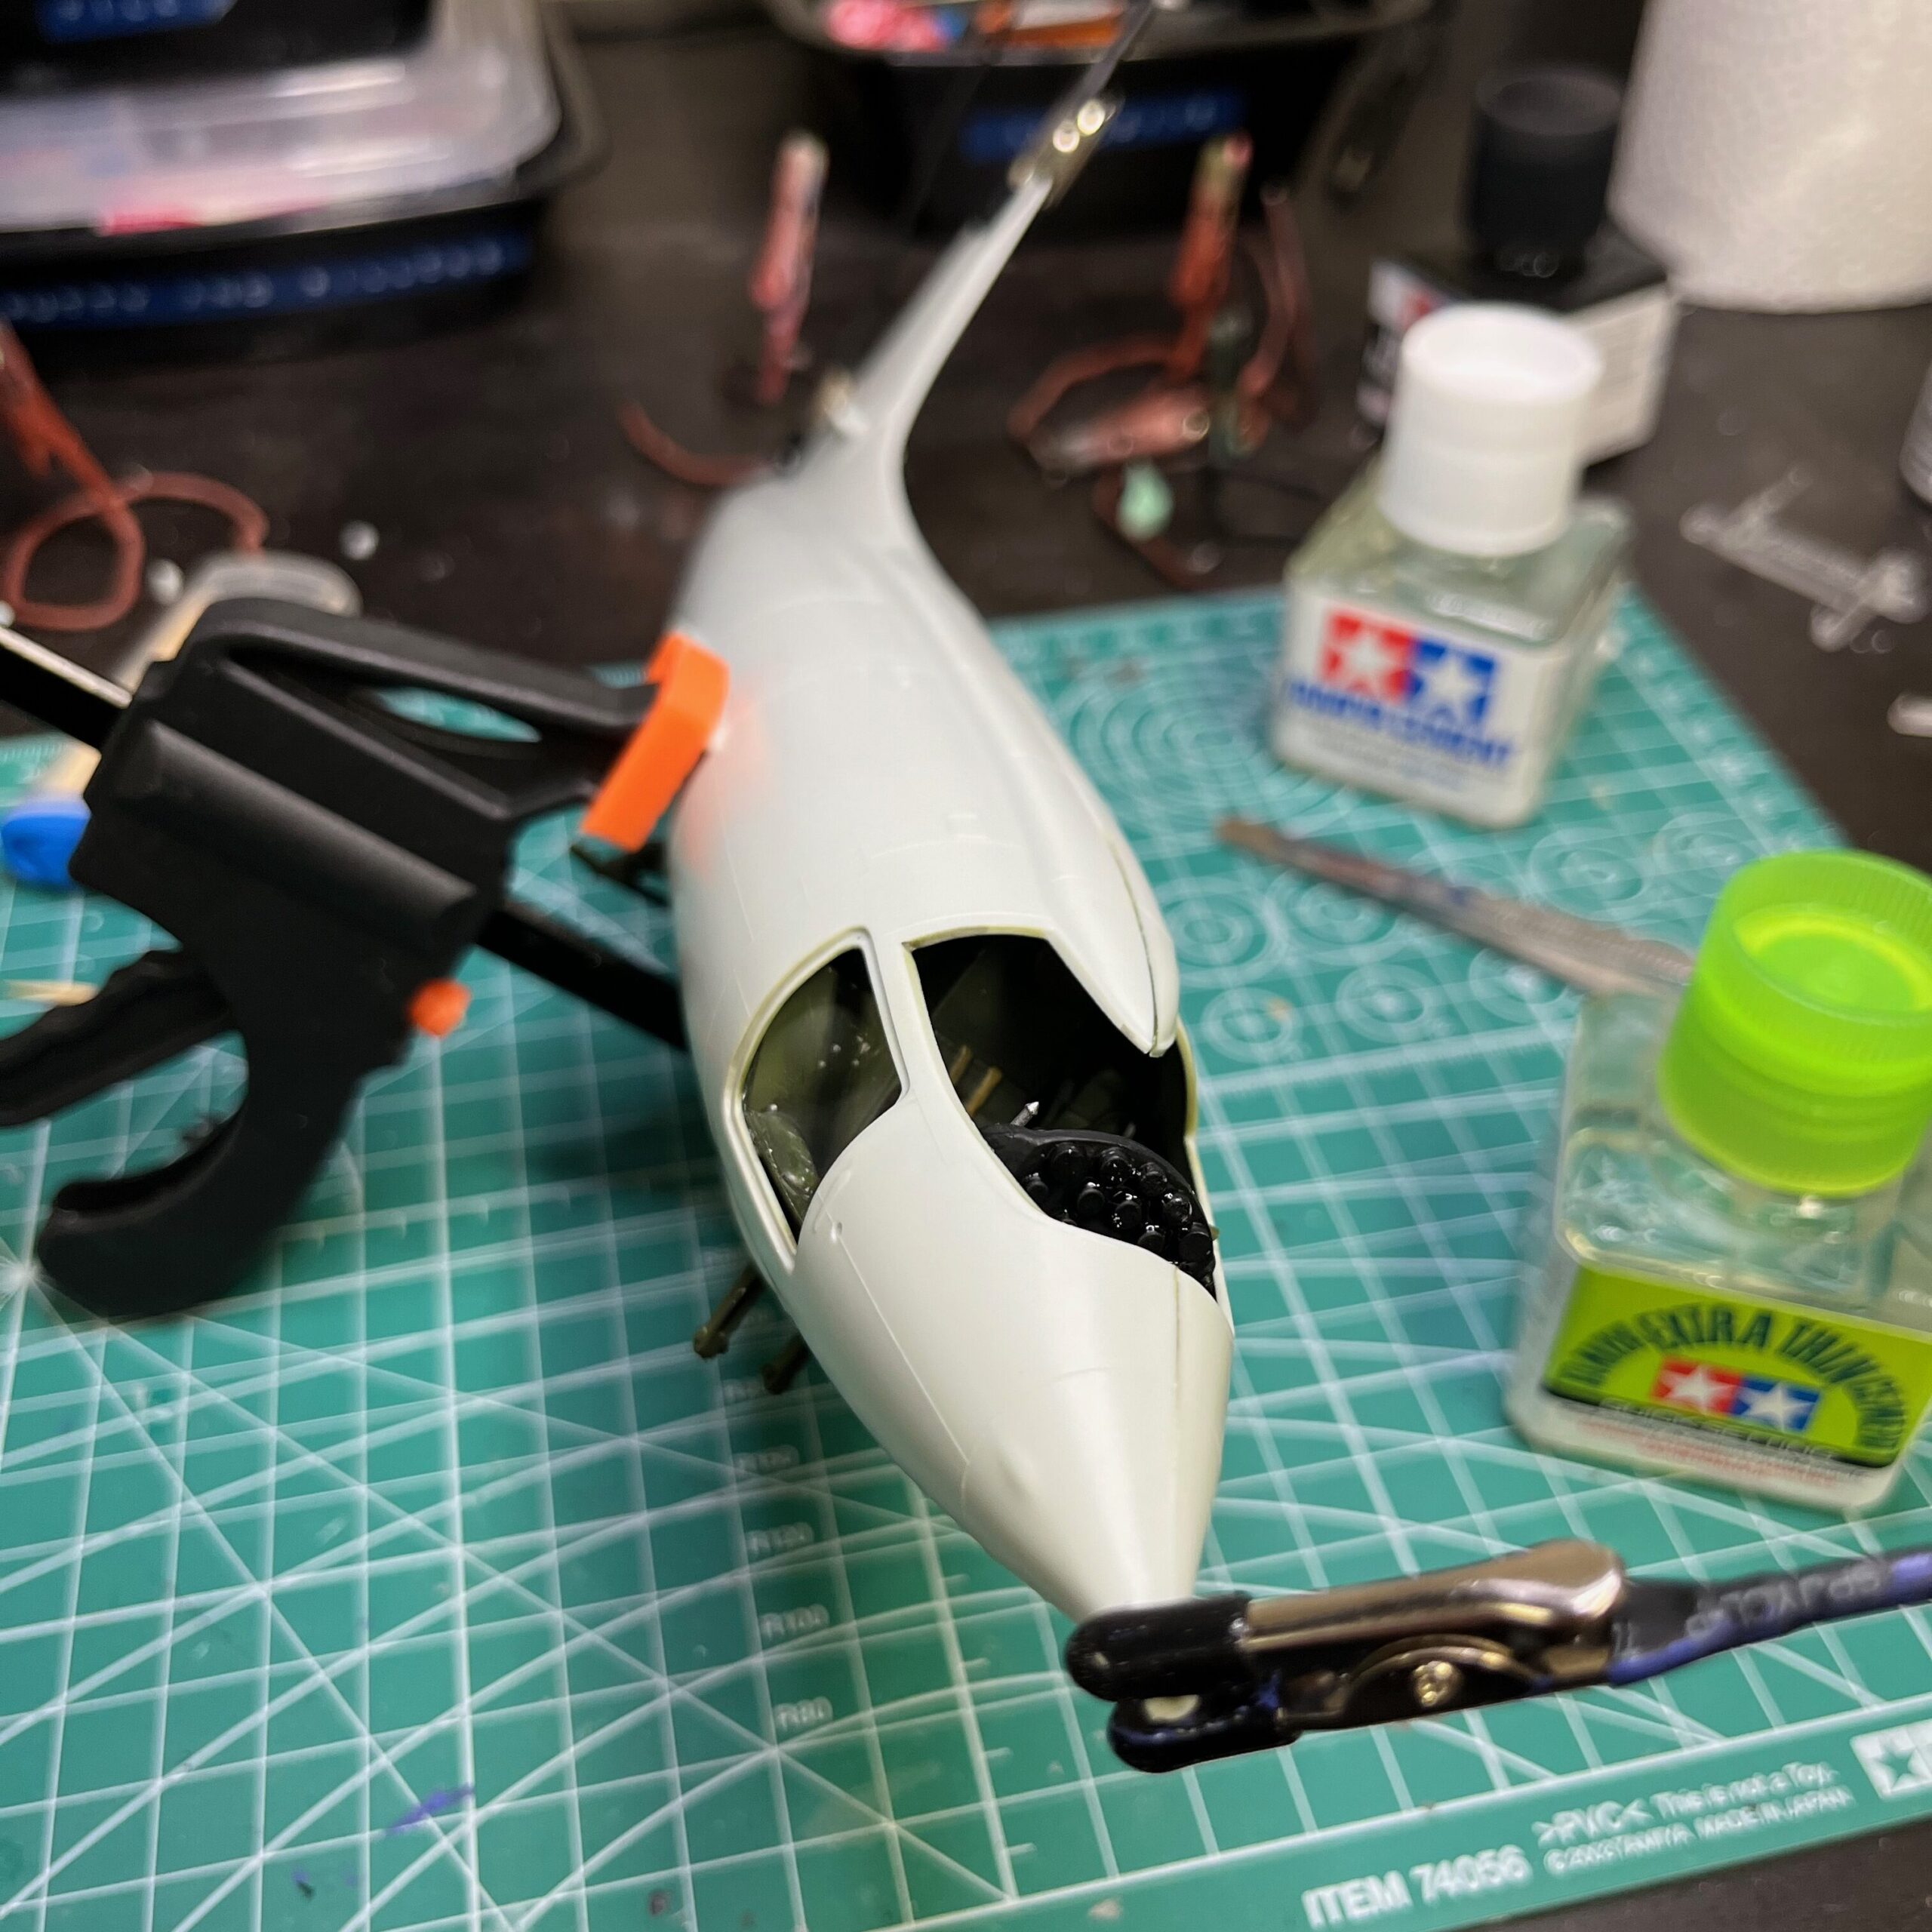
Putting the two halves of the fuselage together was fiddly work. I first tried using some Tamiya extra-thin on the seams, but found that by the time I finished going around the fuselage, the area where I started was already dried. I ended up falling back on the Tamiya regular cement, which is a bit thicker, and then holding it place with the clams.
Because of the way the panel and elevator pedals go in, I had to use tweezers to align them as I pushed the fuselage halves together, then once I was relatively happy with the alignment, I used aligator clips to hold the nose and tail and my trust clamps to hold the main part of the fuselage.
While the cement was still wet I mad some very fine adjustments to try to reduce seams and used some Tamiya extra-fine where the parts weren’t sticking.
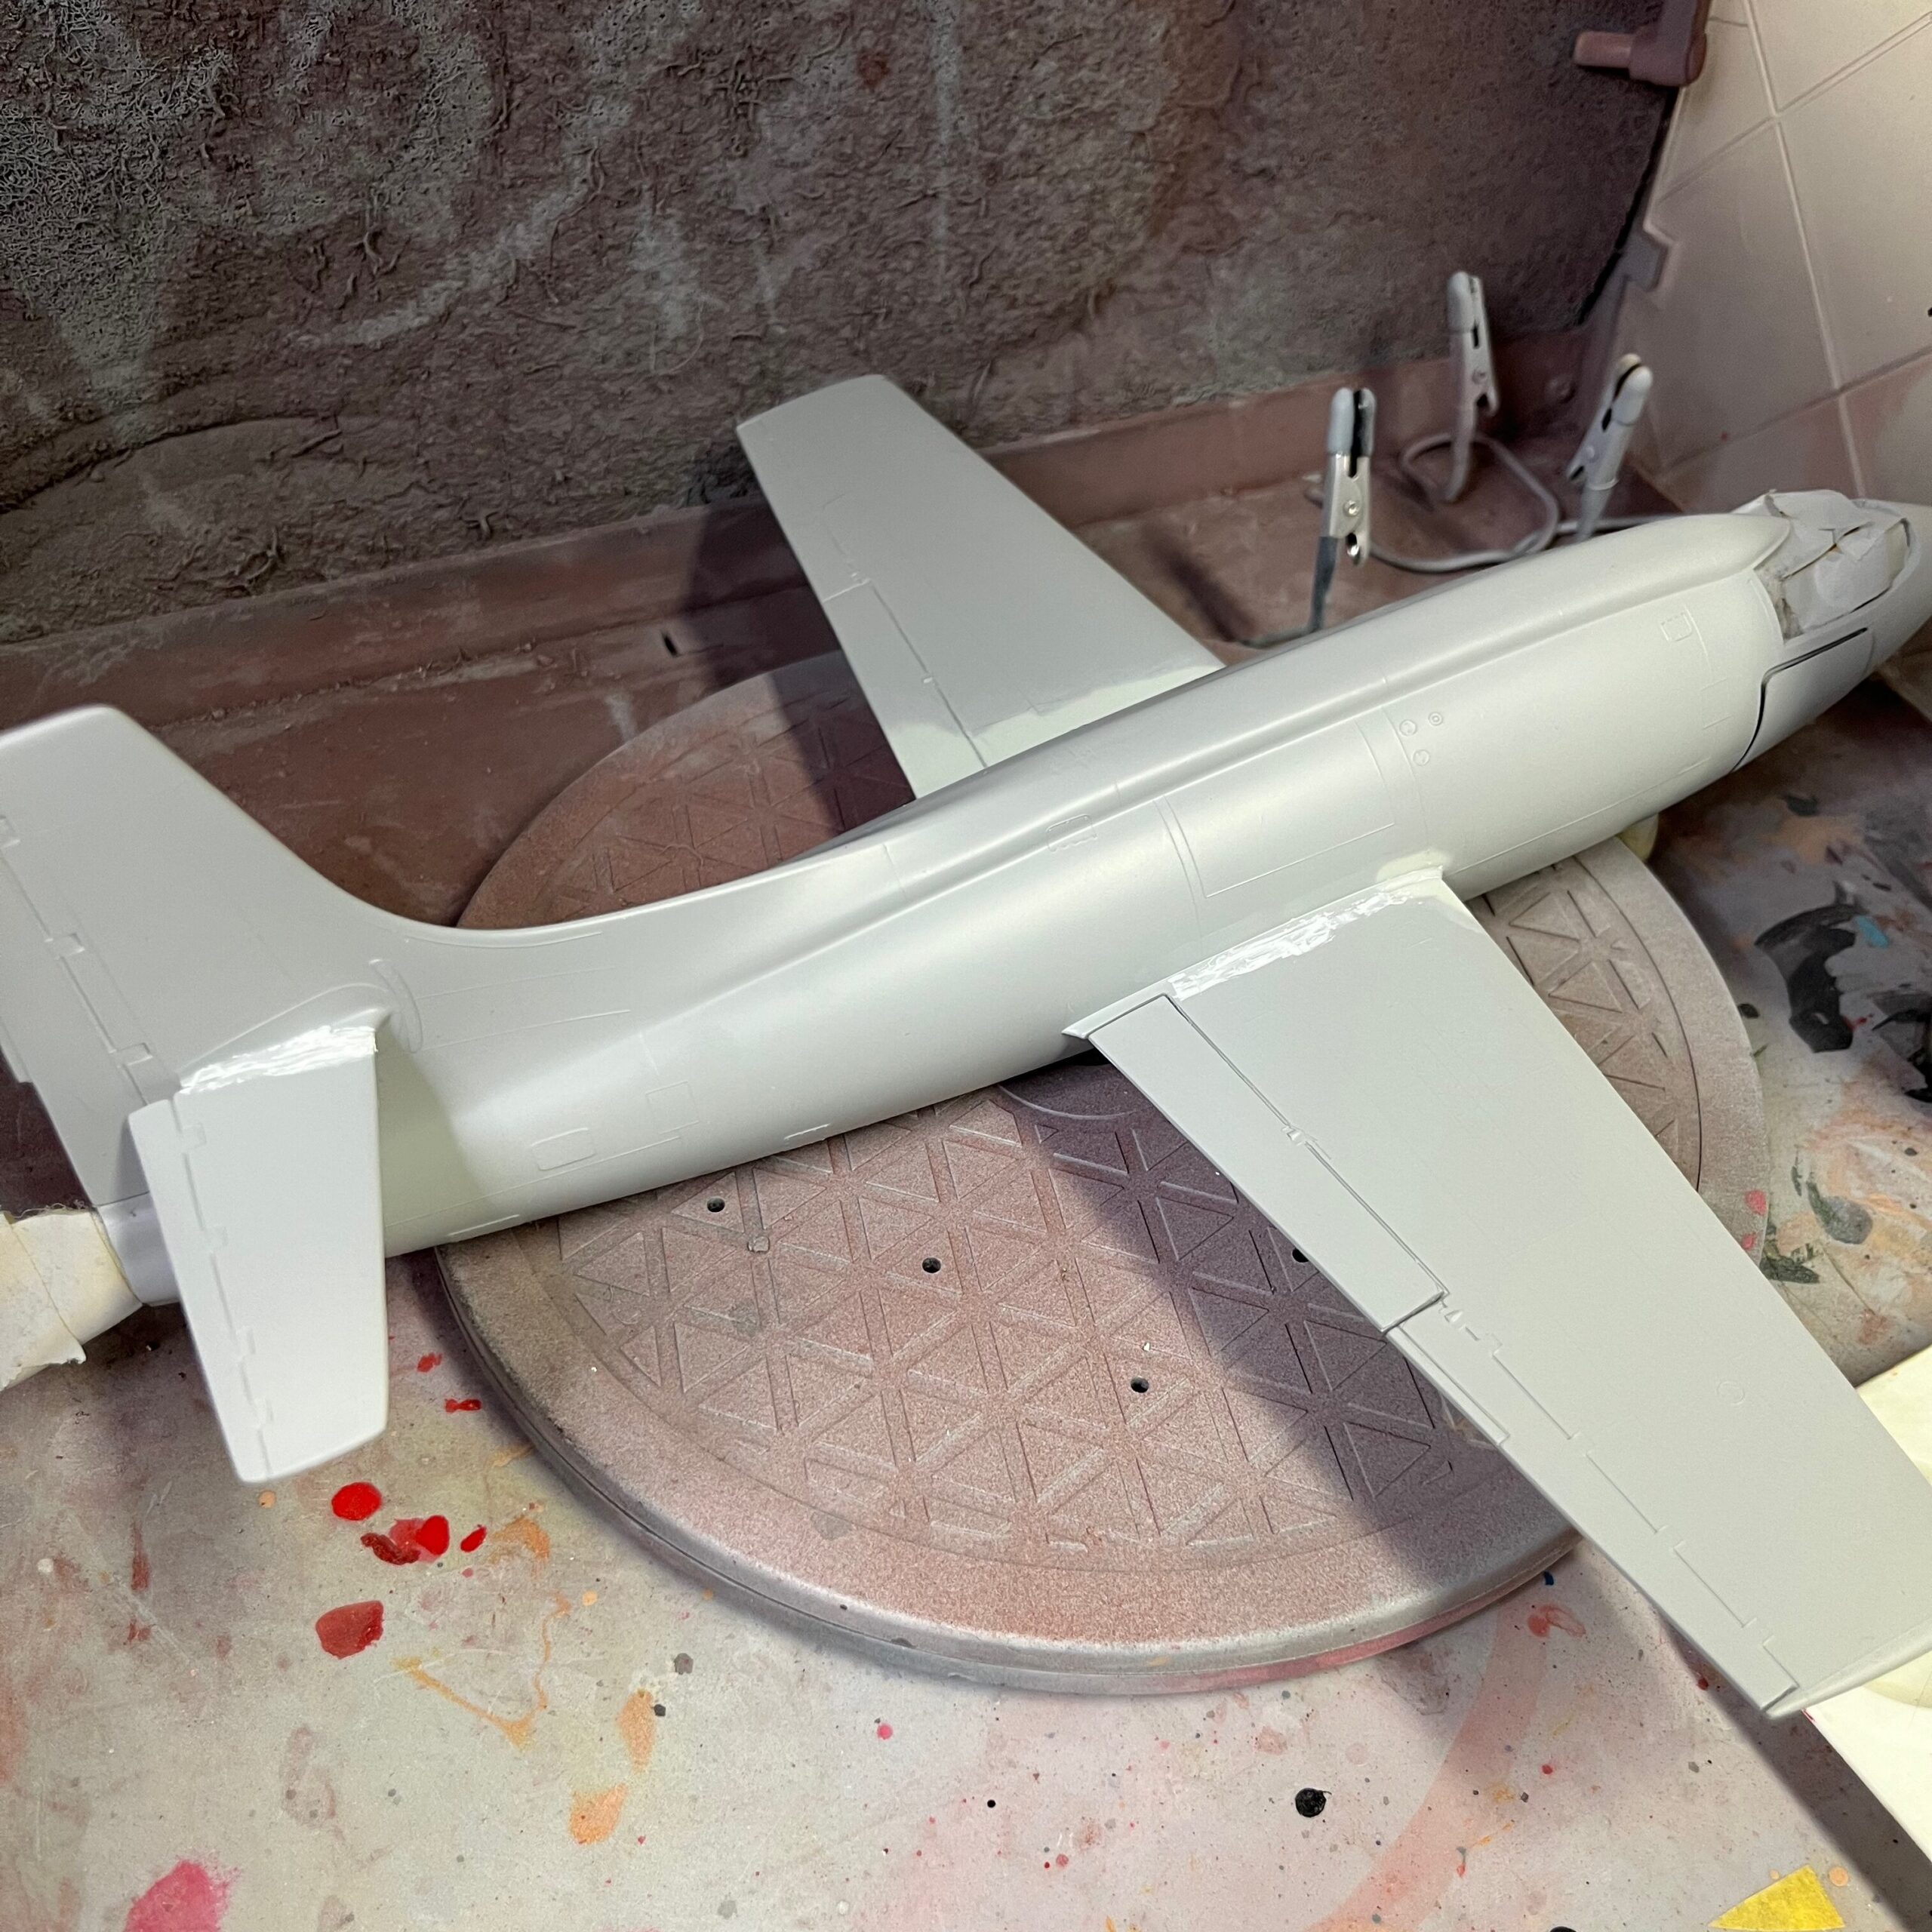
I took a lot of care in assembling the two halves of the fuselage to try to reduce any visible centre line, but even so there was a noticeable seam. The issue was worse with the wings and tail. I took a lot of care fitting the wings and tail pieces to the fuselage, filing and fitting to try to minimize any seam, but even so there were some noticeable gaps.
In sanding the fuselage to get rid of the seam-line, I realized that I had a problem. The model has a lot of raised detail with these very subtle panel lines that run the gamut. In sanding I reduced a lot of this detail near the join line, even though I took a lot of care here.
There was much more detail along the wing-joins, so rather than jumping straight to the putty and sanding on those, I thought to leave them to see if the primer hid some of that.
In examining the assembled model, I noted that the flaps have a nice separation from the body, the same can’t be said for the gap between the flaps and ailerons, or in the tail on the rudder. The reference photos show clear gaps between the control surfaces. It’s here that I thought that I might pick up a fine saw to address this in the future, only to find that a previous me had that same thought and it was sitting on the shelf, unopened.
I did some careful cutting around the control surfaces with the saw, sawing in to create gaps on the wings and rudder between the surfaces. Realistically, these gaps may be larger on the wings than on the actual aircraft given the scale here. Looking at the reference photos, I think the tail and rudder are correct. The gaps there are large and noticeable. The ailerons may be larger, but not by much.
I then masked the cockpit and wheel wells with a combination of masking tape and wadded up paper towels. For the cockpit door, I used a piece of masking tape inside the cockpit to hold it in place and put it over the entrance way.
I’m not entirely sure how well this masking will work out. I had first thought to try to carefully mask with tape, but this ended up being a disaster. I was certain that the second the airbrush came close it would life the tape and blow paint under. I also experimented with taping the cockpit and trying to tape it in place from the inside, but I couldn’t figure out how to get it to hold. I thought about using some white glue and getting it off later with water, but I didn’t trust that.
I primed with a can of Tamiya light grey primer. After priming I reinspected the seam lines. The fuselage was pretty good except for one or two spots on the underside. The wing gaps were much more noticeable, though.
I didn’t see any way around it, and used some Tamiya white putty to fill these. I tried to use as little putty as possible to keep the need for sanding to a minimum. I had hoped using a bit of laquer thinner with a Q-Tip might help remove some of the putty before it set, but unfortunately this had the unintended consequence of removing the primer faster than it removed the putty.
I used a rubber sculpting tool that I found at Michael’s to apply the putty, cleaning it after each pass. After the Q-Tip fiasco, I tried to just use that to remove as much as possible before it set too much.
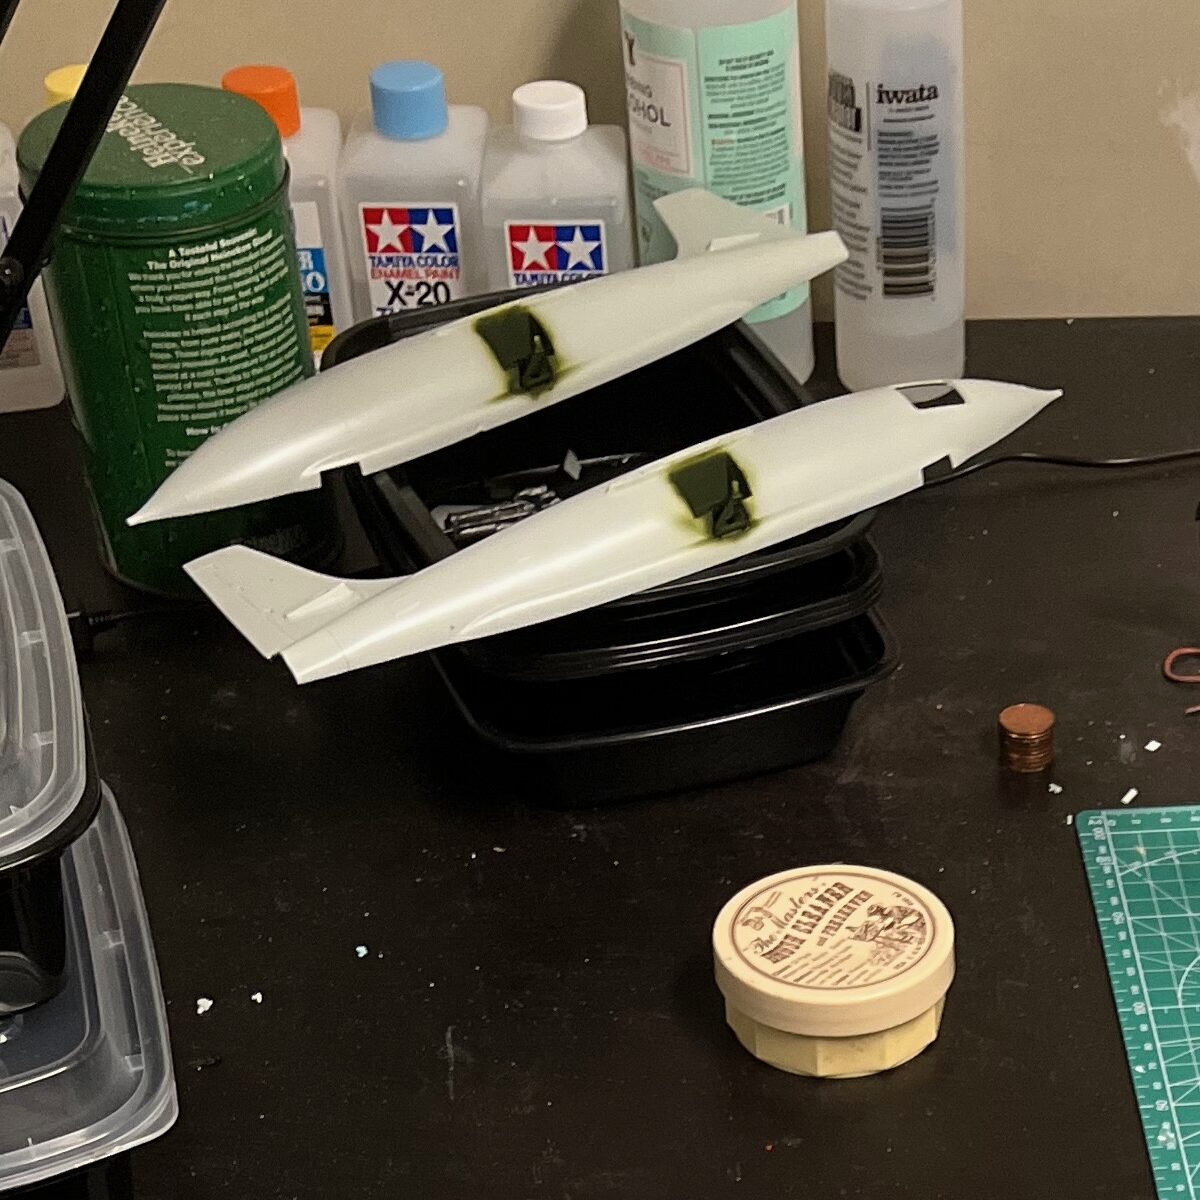
I had hoped this weekend to be in a position to lay down the first coat of paint today, but it will have to wait. The putty will need to cure and be sanded. I also have to give some thought into how I’m going to suspend it when painting, since the whole X-1 is a solid orange colour. It will be tricky to maneuver it while painting.
I also want to give some thought to the panel lines. These are going to get lost in the sanding at the wing bases. I am going to have to be careful here, because there is other fine raised detail with access panels, rivets, etc. I may try to scribe some of these, but scribing creates sunken details rather than raised details. That may complicate things, and it’s going to be a bit finicky.