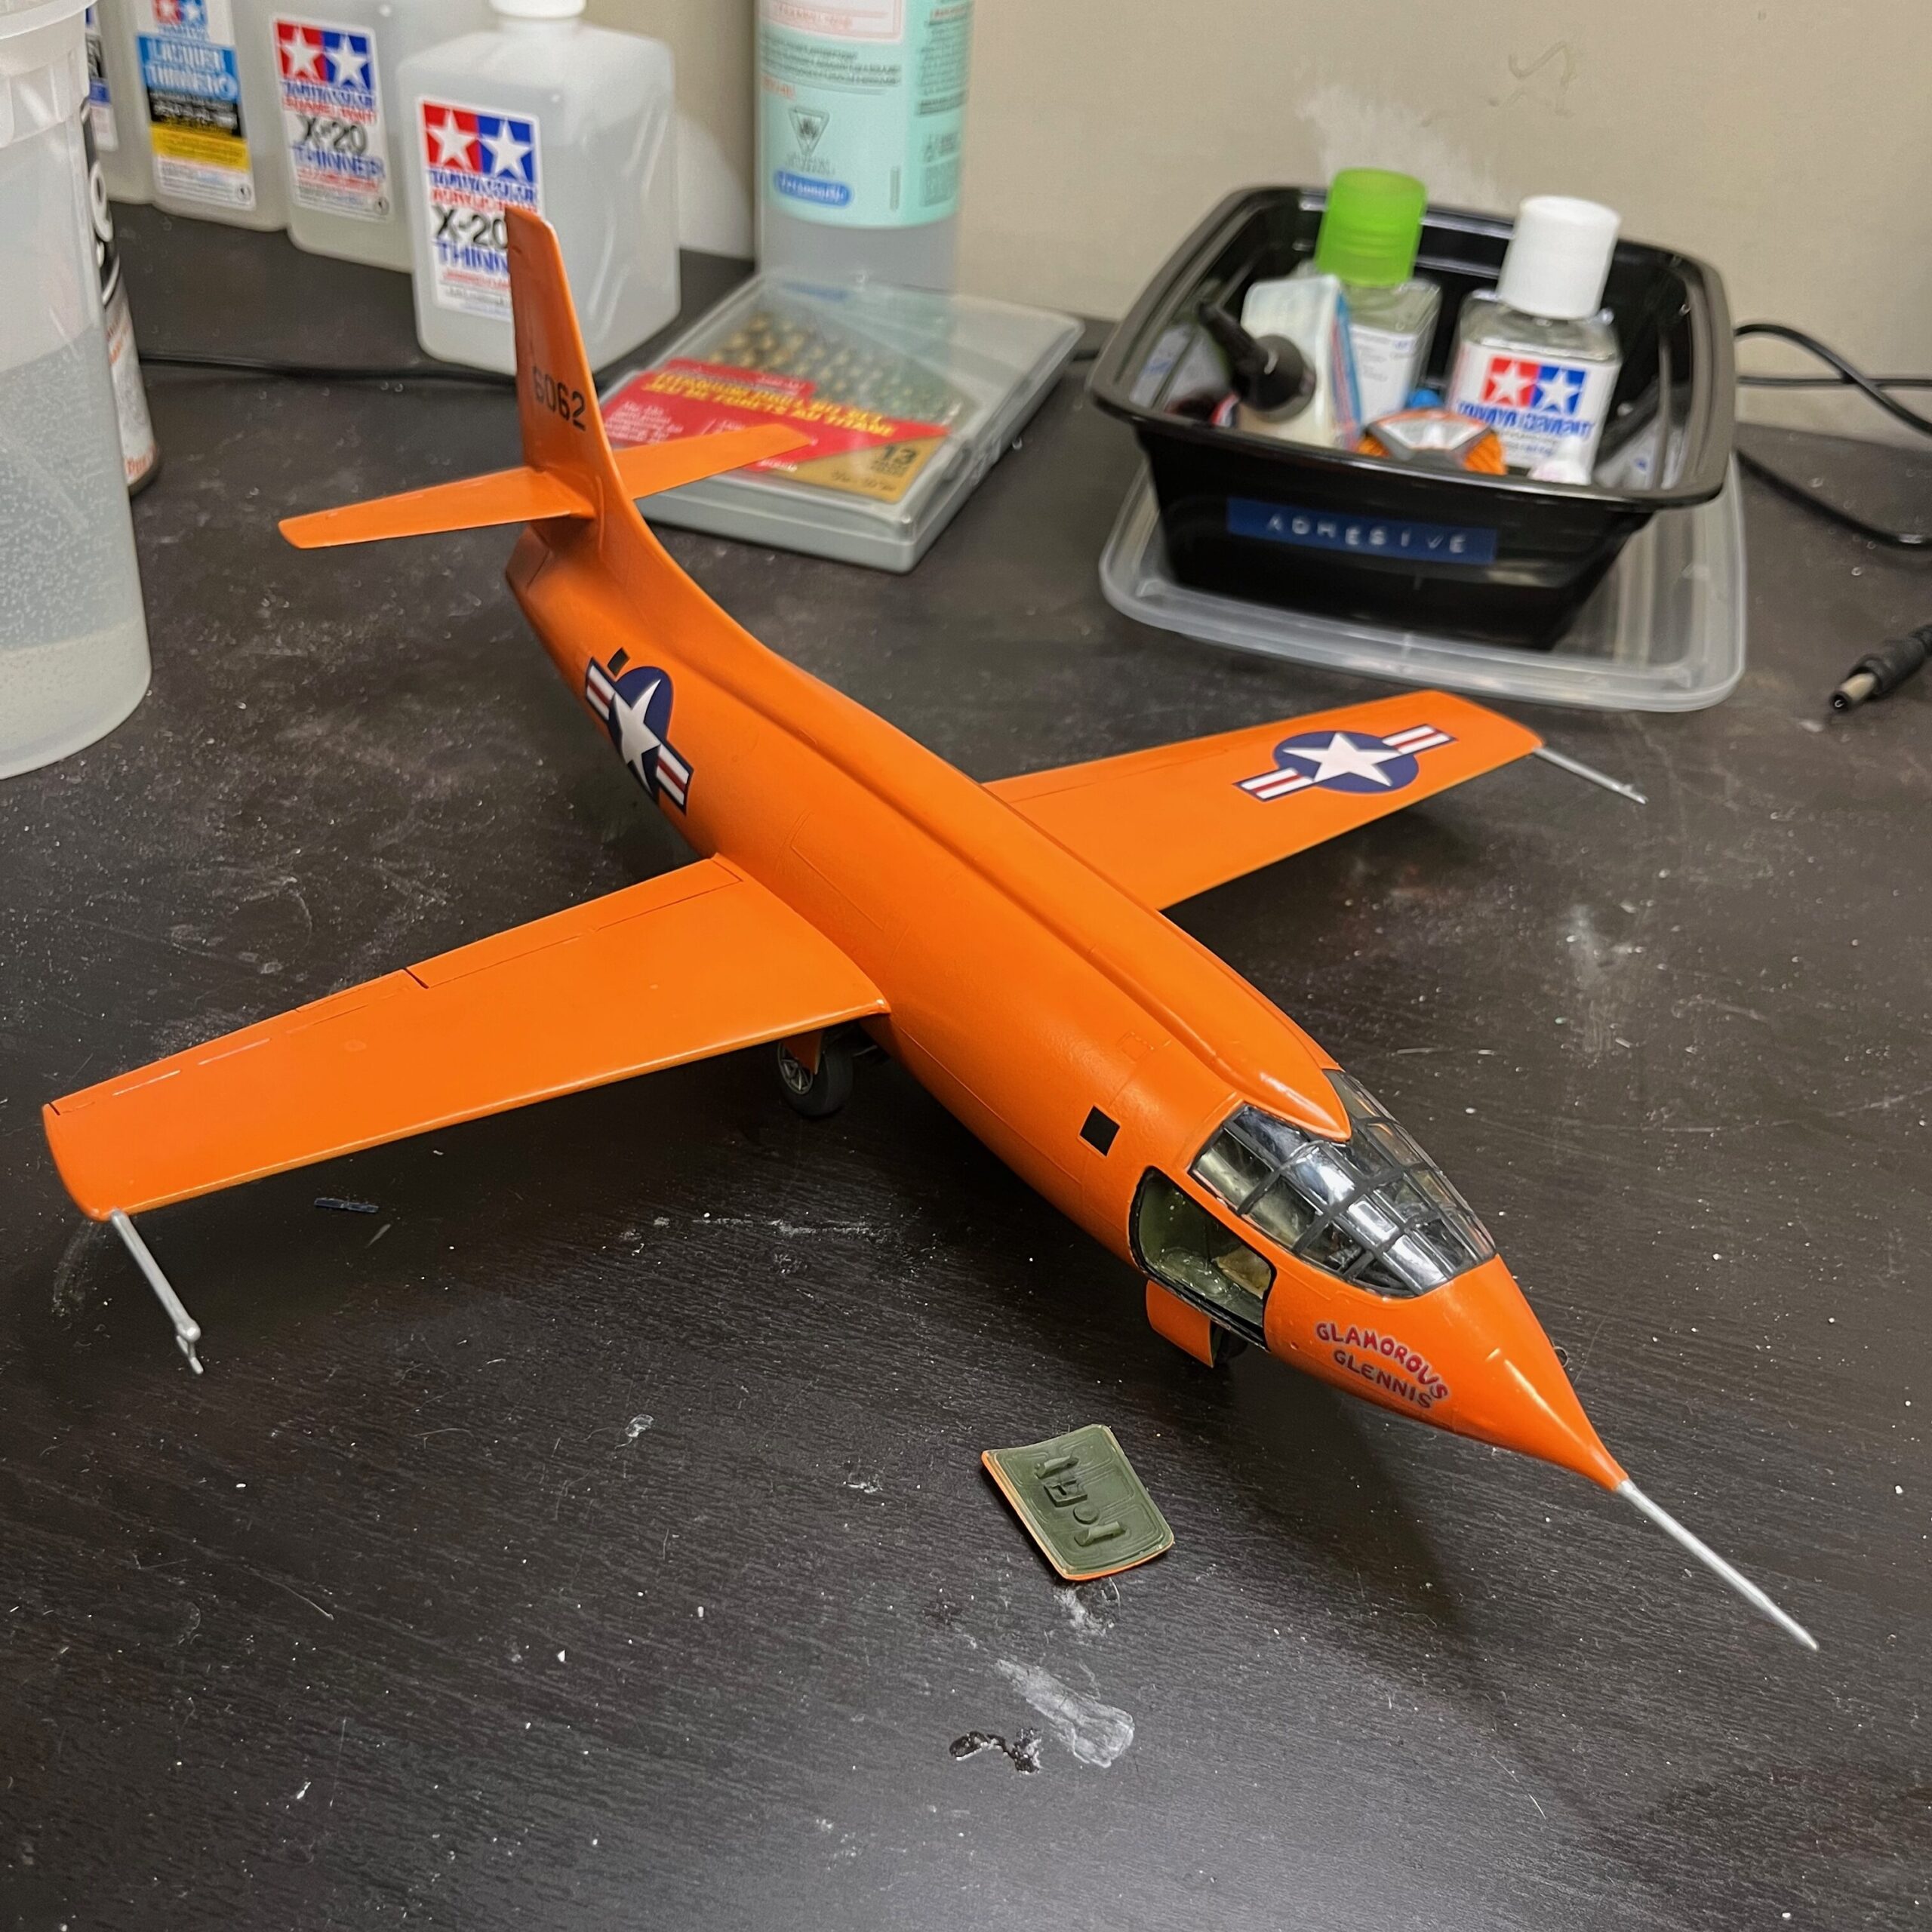
Last weekend I completed the painting of the X-1. The goal this weekend was to finish the build, add the details, and complete it.
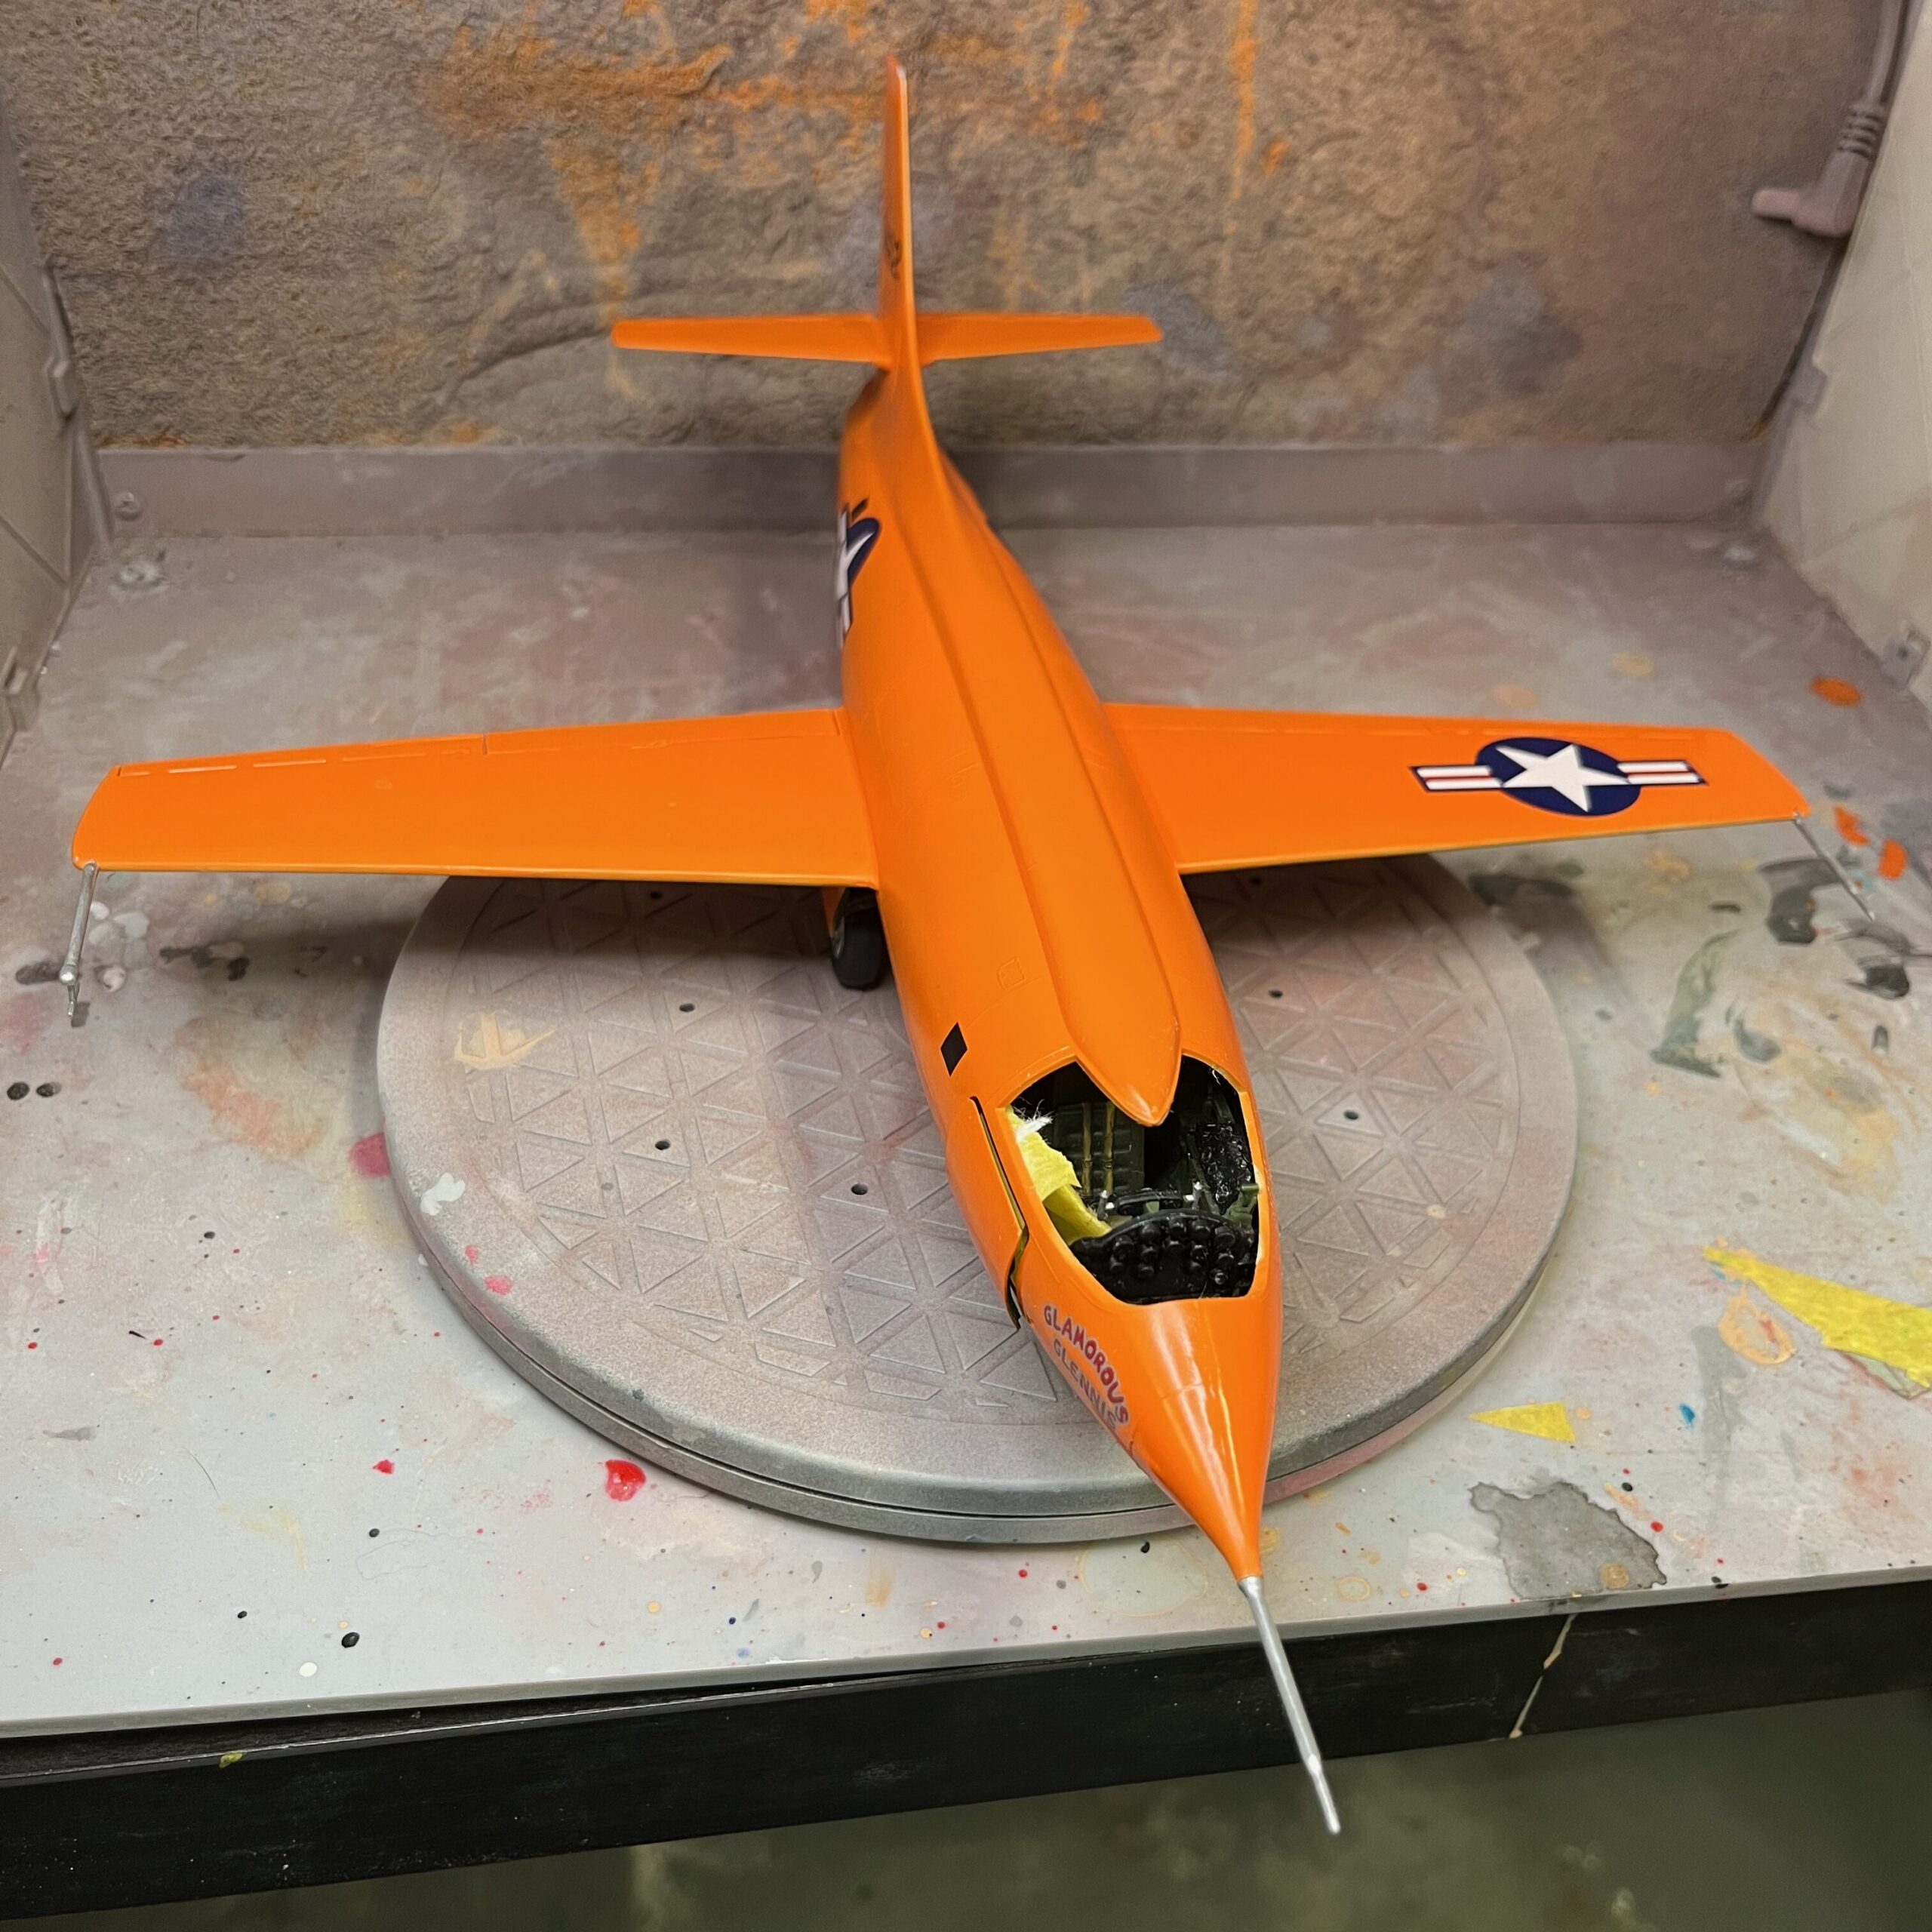
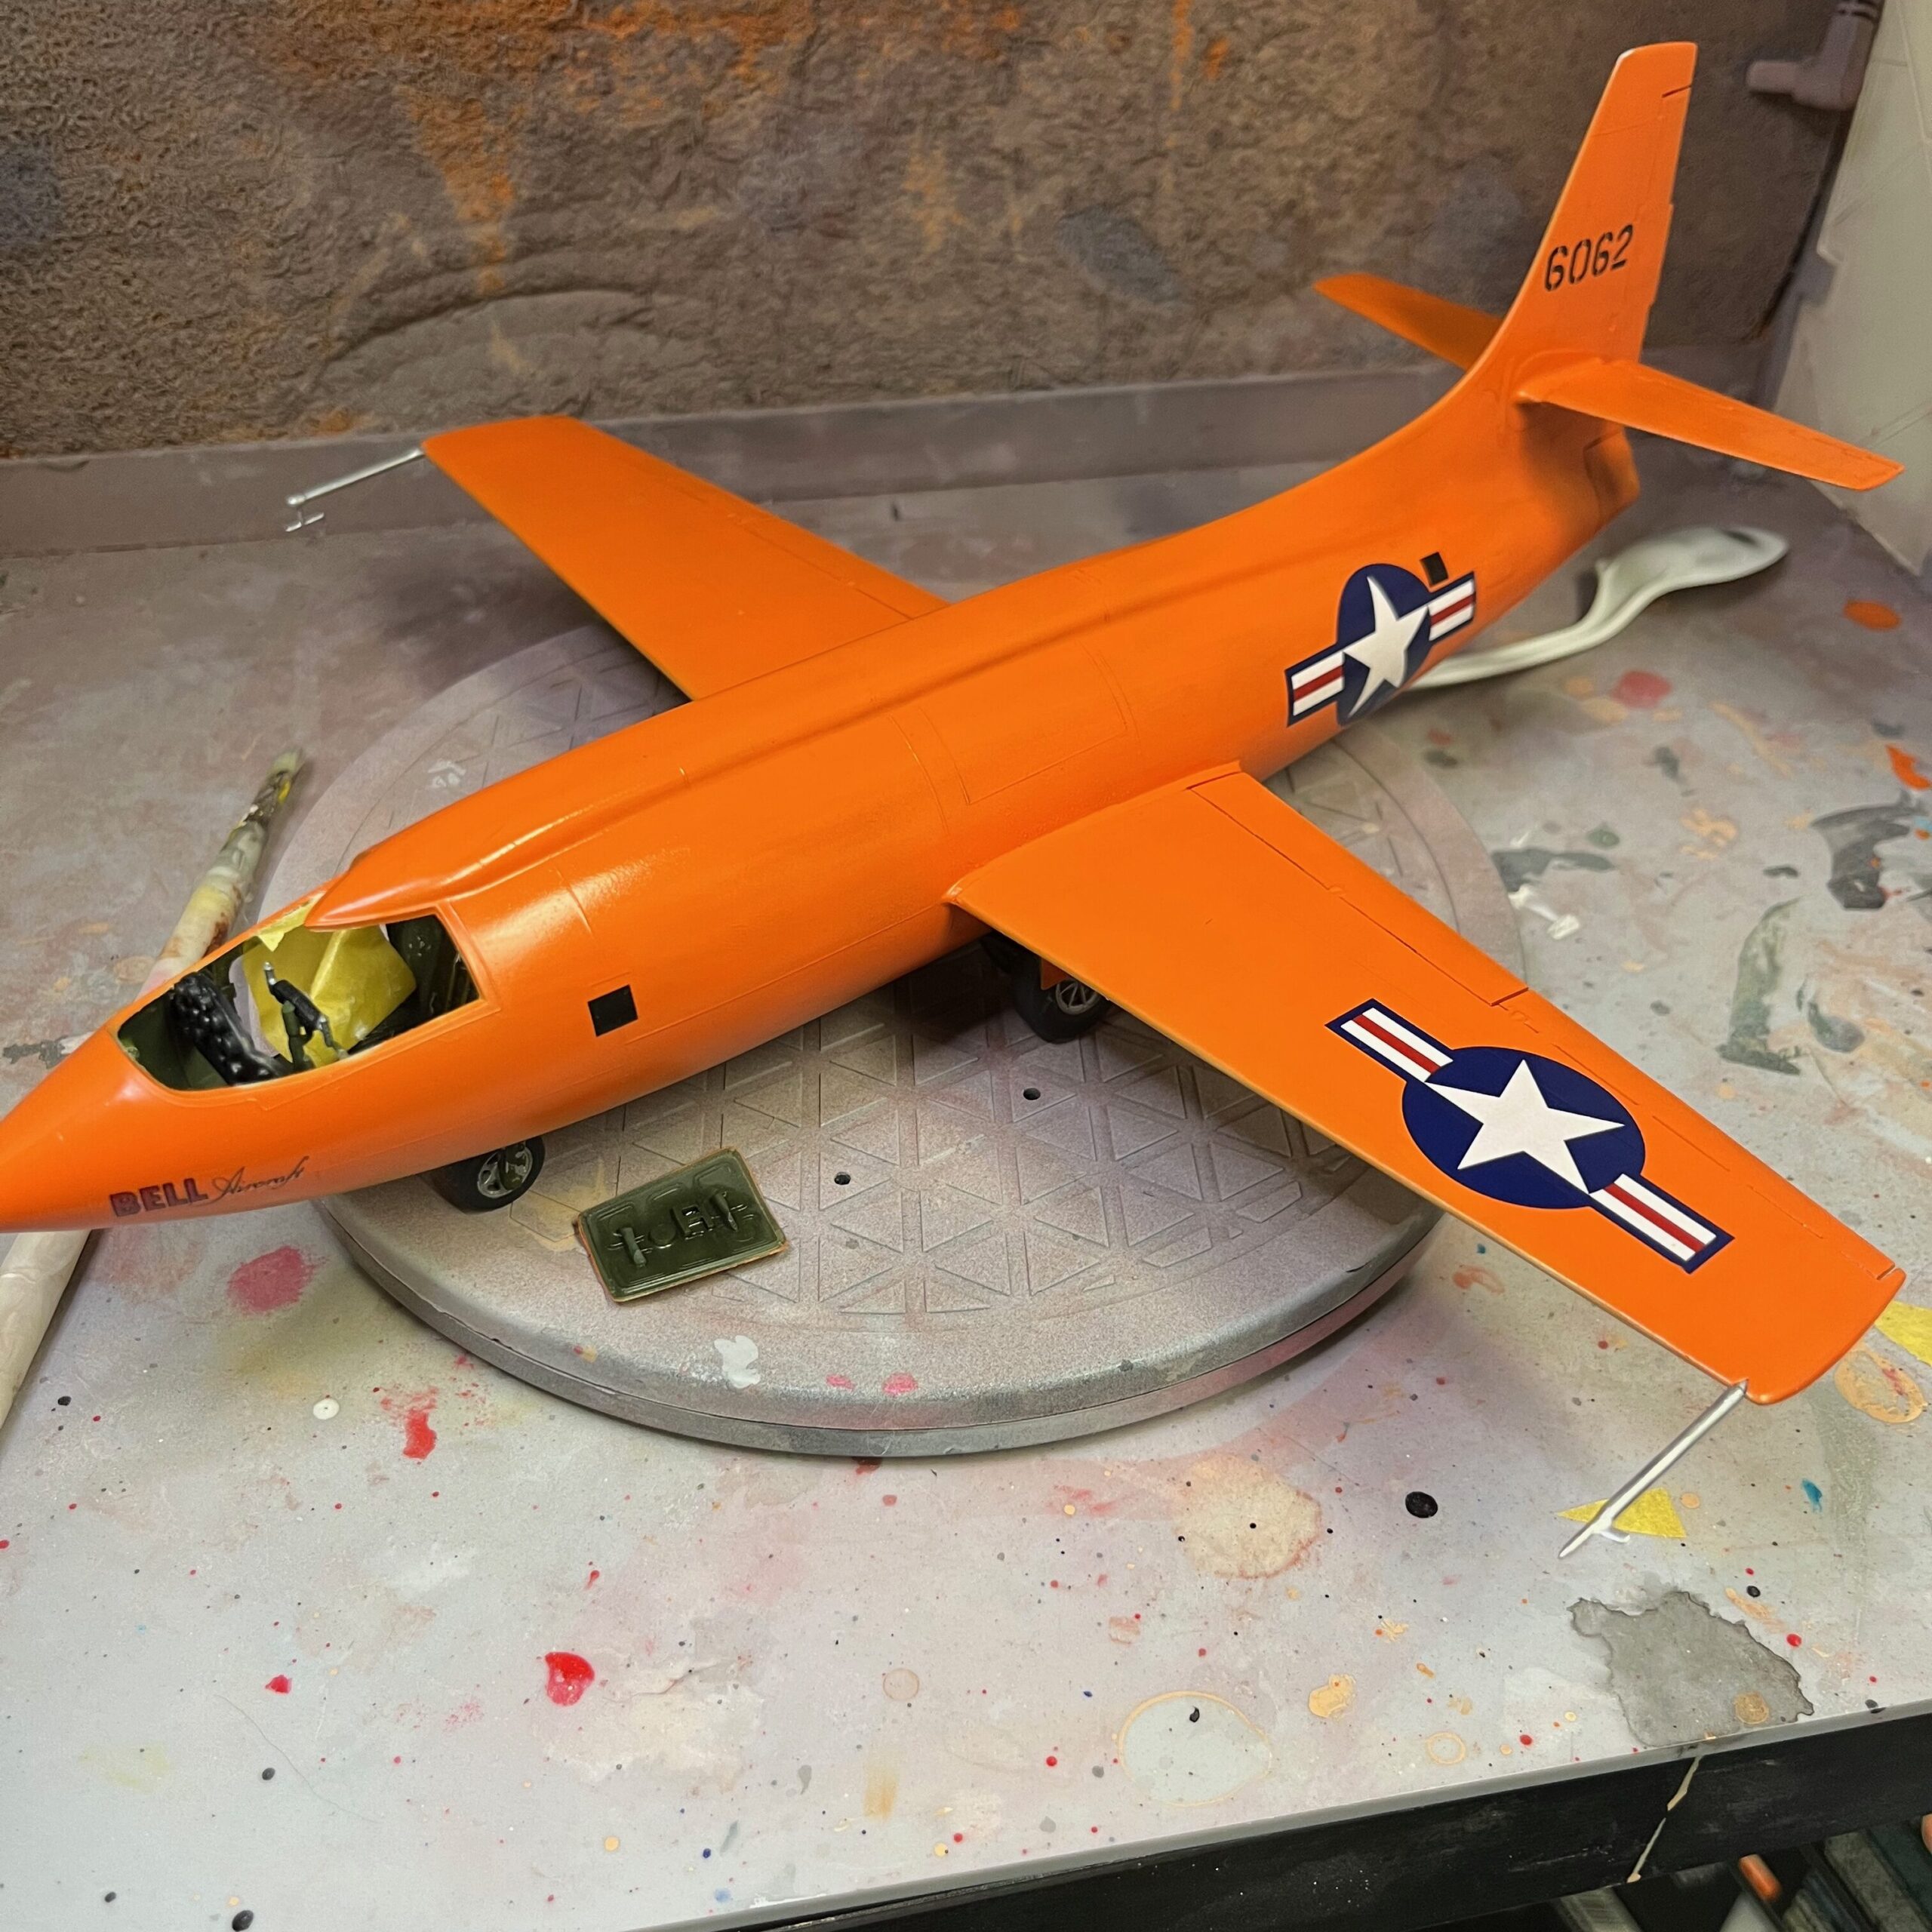
The X-1 didn’t have a lot of decals, so that made things a little easier. There were some challenges, though. I noted a couple of errors in the model kit instructions. The wrong air-force markings were shown for the October flight, and the wing-markings were mirrored. I followed the reference photos there, since Smithsonian and the historical reference photos from the October flight were consistent, and both disagreed with the model instructions. This was a bit frustrating, since I had already placed the wing-decals before I noticed, and had to quickly and carefully move them before they had a chance to dry.
For the decals, I used the strong mark-fit to soften them, then carefully absorb all the water and wash them down to dilute the fitter. This let them cling quite nicely to the details, giving them a very painted-on appearance that I was happy with.
Once the decals were placed, I added the wing fittings and pitots and other sensor antenae, etc, and hit the whole model with a clear coat once things had a chance to dry. I used a water-based clear-coat from Createx for the clear-coat. They have a UV-protector satin finish. I liked the texture of the satin-finish. I hit the whole model with a light coat, taking care to ensure that the decals were sealed.
Once the clear coat had a chance to dry, I cracked out the panel liner, and a dark wash and ran it over the whole model quite generously. I then used a brush moistened slightly with some enamel thinner to wipe most of it away. This let some of the details pop a bit and made it look a little less toy-like.
I used the airbrush with some highly thinned flat black to add the hint of scorch marks around the rocket exhaust, then gave everything a chance to dry. Once dried, I hit it with another clear coat to seal everything in.
I’m probably the happiest with how that turned out. The effect was pretty subtle and gave it a more realistic look.
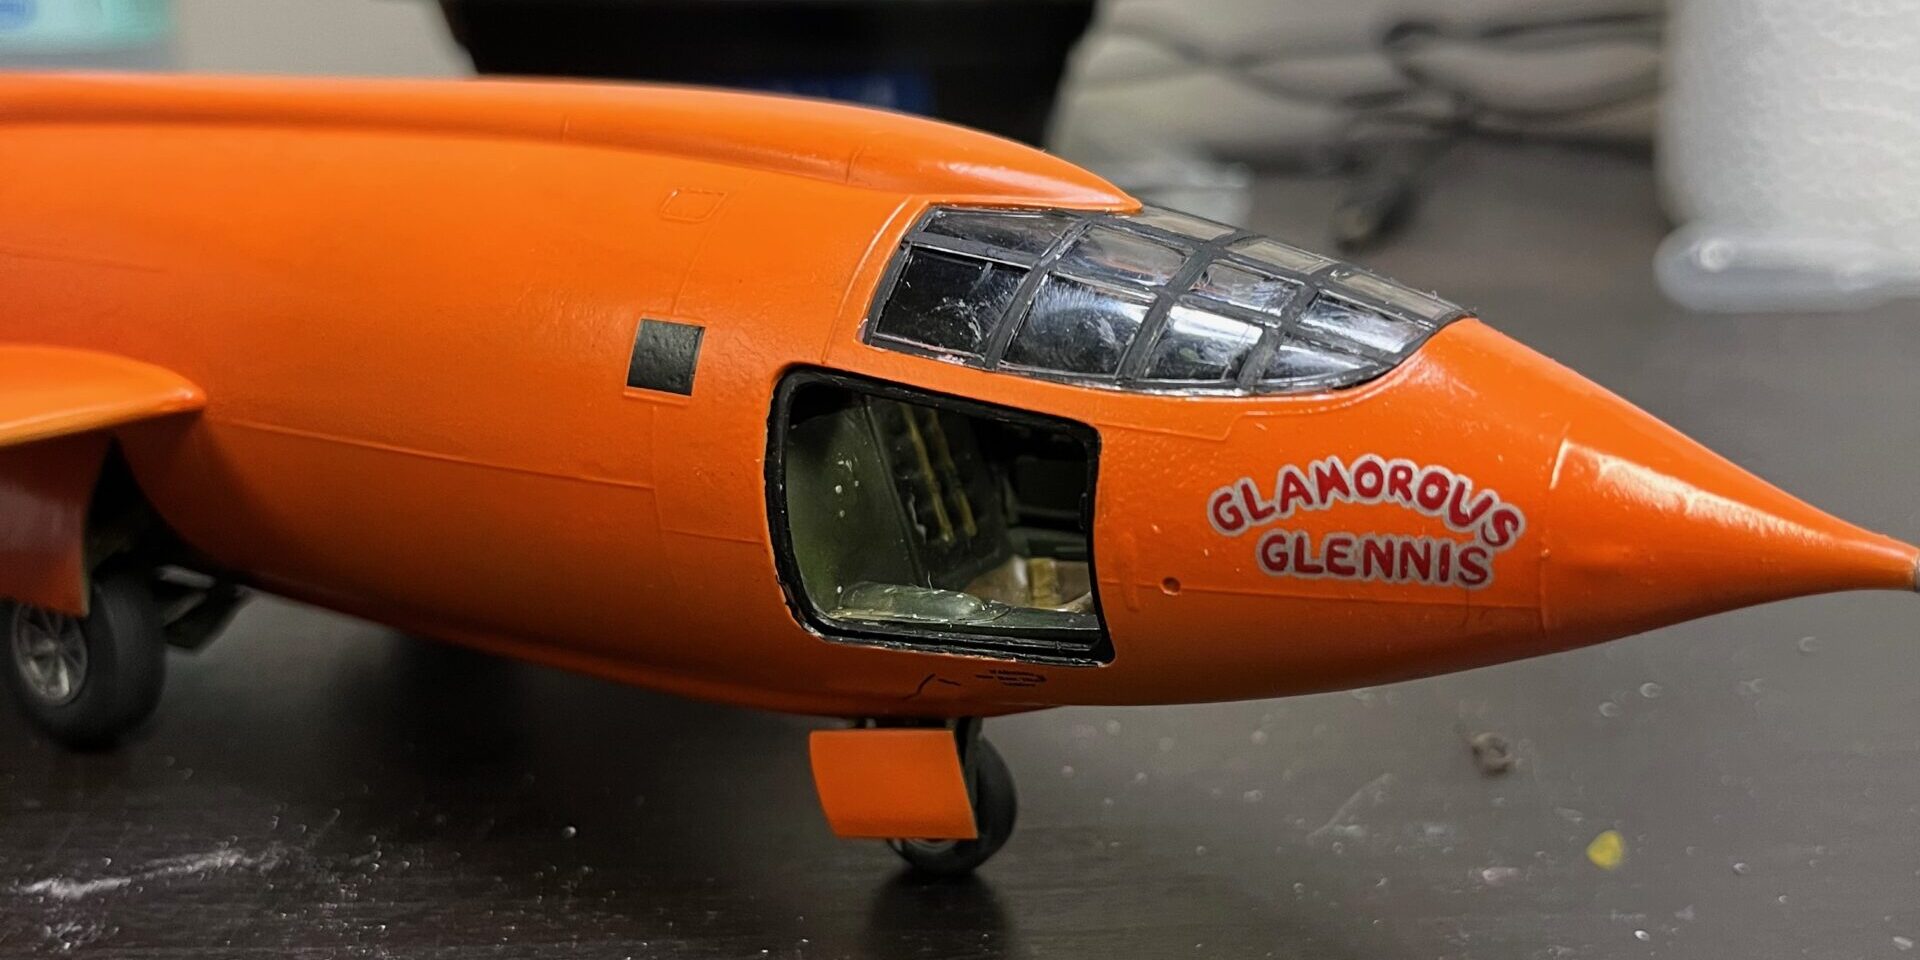
All that was left after that was the final assembly and fitting the cockpit window into place and the model was done.
Ultimately, there were a lot of things for me to learn on this one.
What went well:
- The cockpit build worked out really well. In particular, the weathering with small scratches gave it a much more realistic look. The panel liner added nice details and made the matt paint a little darker and more lived in.
- The mark softener on the decals really let them cling to the details and looked very nice once I “washed” the mark softer off.
- Cutting the lines in the control surfaces really makes those surfaces appear to be separate and distinct.
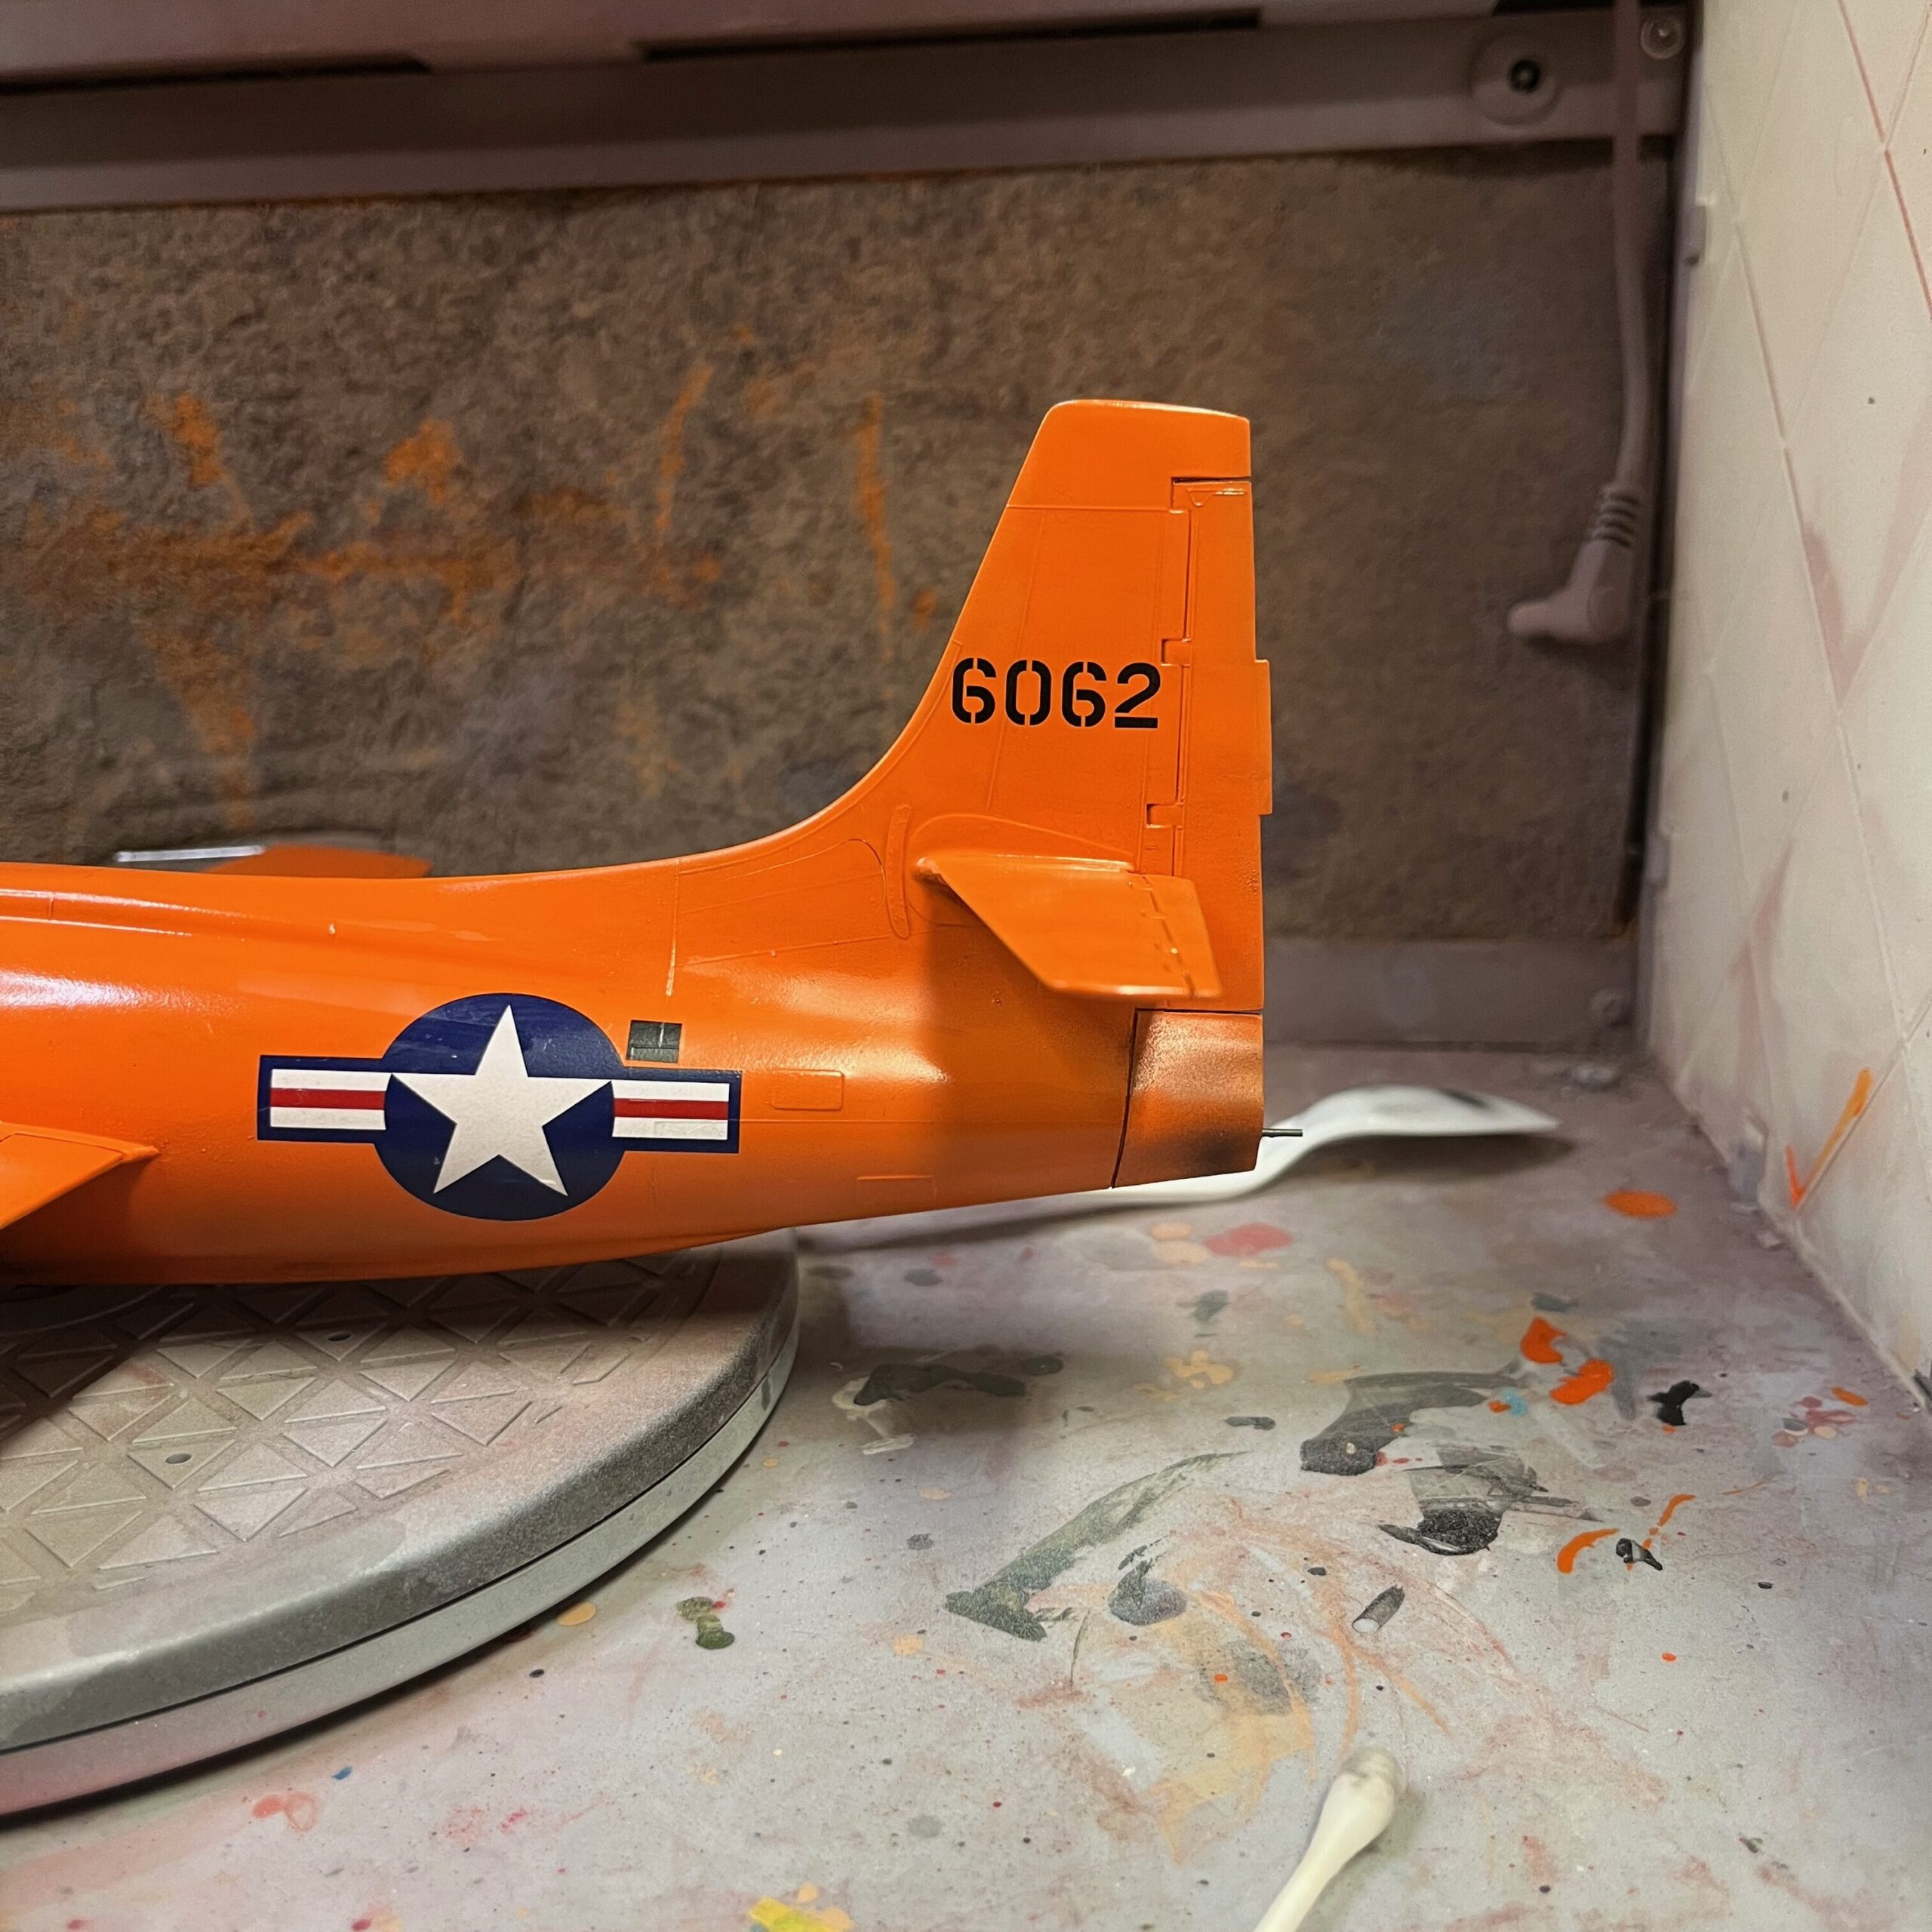
- Scribing some of the panel lines deeper made them look more realistic and really stand out at this scale.
- The Panel liner works really well, and as an even more thinned wash, it helps the details stand out more, even where it’s very subtle and mostly wiped away.
- The “scorch marks” looked really nice.
Some things that I can improve on:
- Masking the canopy. This is very tricky, and there has to be a better way to do it.
- Painting the pilot. I was very unhappy with how that turned out. I may practice a bit on miniature painting to try to get better at painting figures.
- I need to give things more time to dry. The final water-based clear coat went on over the oil-based wash, which led to some beading in a couple of places. This caused strange textures, which were fortunately mostly on the underside of the wings.
- My airbrushing technique needs a bit more work to ensure that I get smoother and more consistent coverage and texture.
- I need to be more carefully with fitting. The sanding removed a lot of lines. These could have been rescribed and converted from raised lines to recessed lines, but there has to be a better way to do that.
Overally, the model turned out fairly well, but there’s definitely room for improvement. More practice and I will slowly get there. I am definitely getting better with each one.