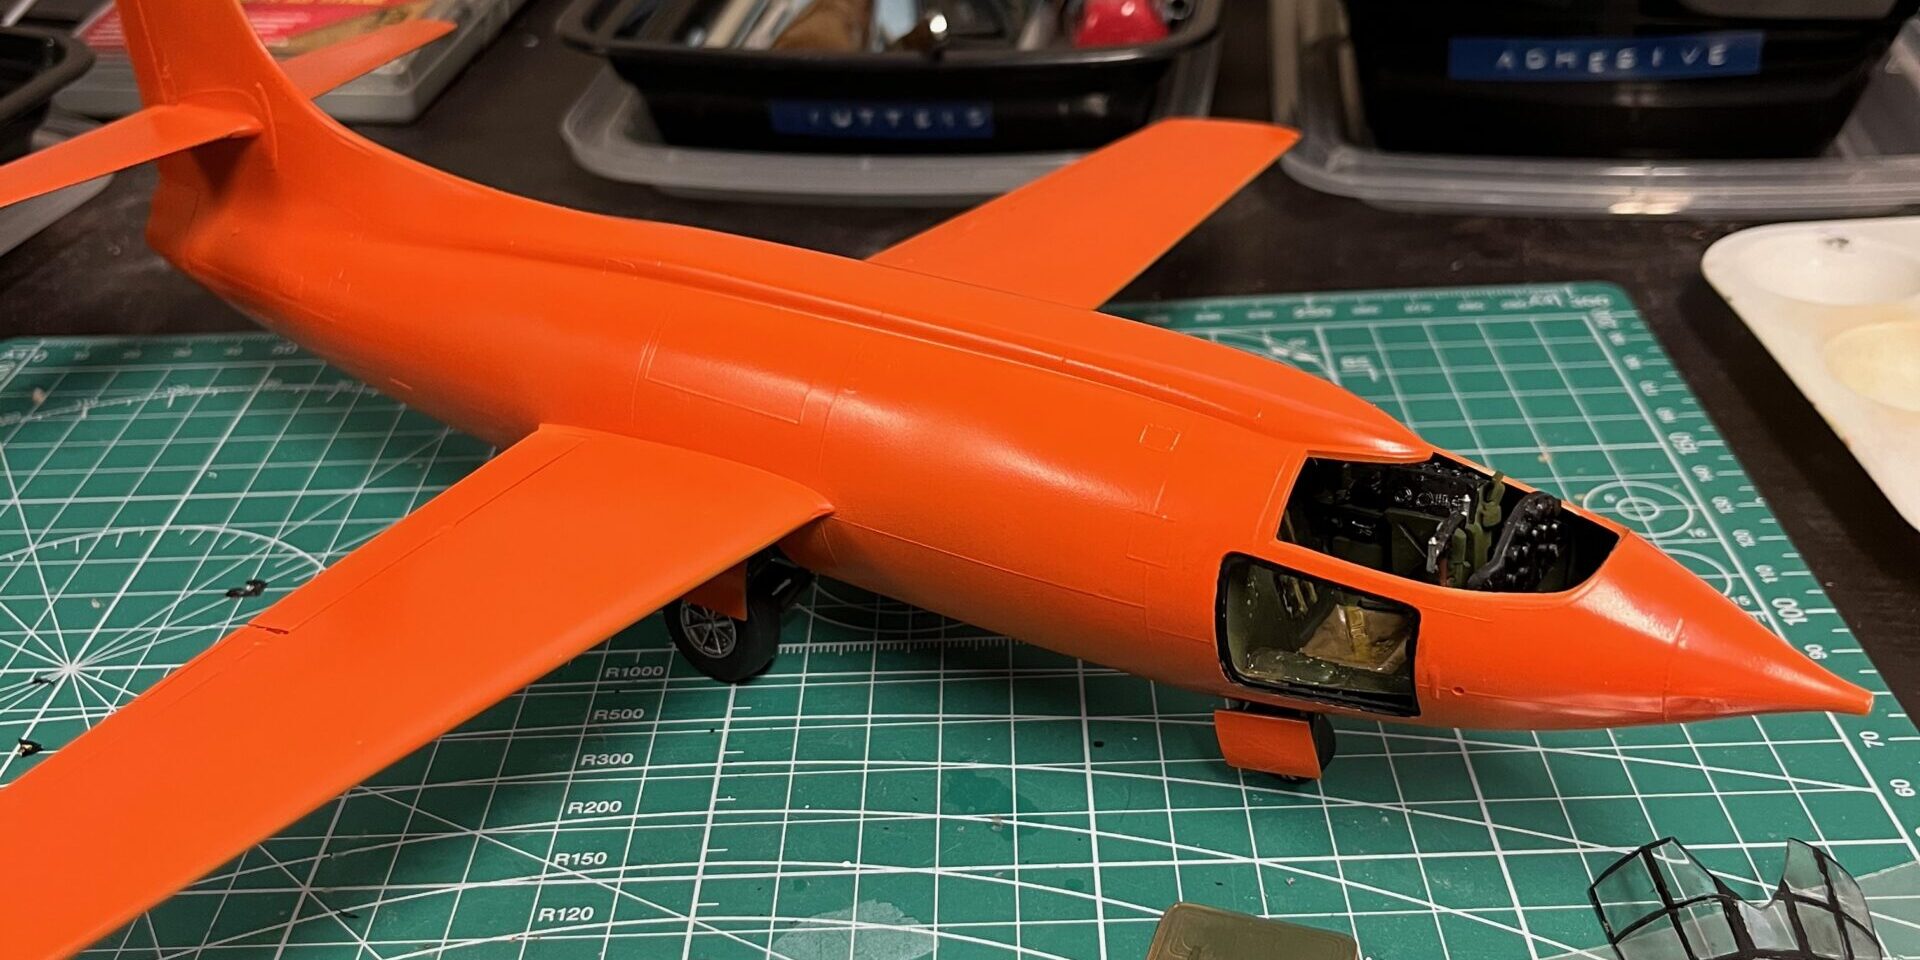
After the assembly last week, I started in on the painting. I set down a couple of coats of Tamiya Orange Laquer, thinned about 50% in the airbrush. I set down two quick coats one after the other, with a little time to dry. The paint went on fairly well, with just a bit of orange peel. The orange was a bit much, though, but I think maybe that was the point when they chose that colour.
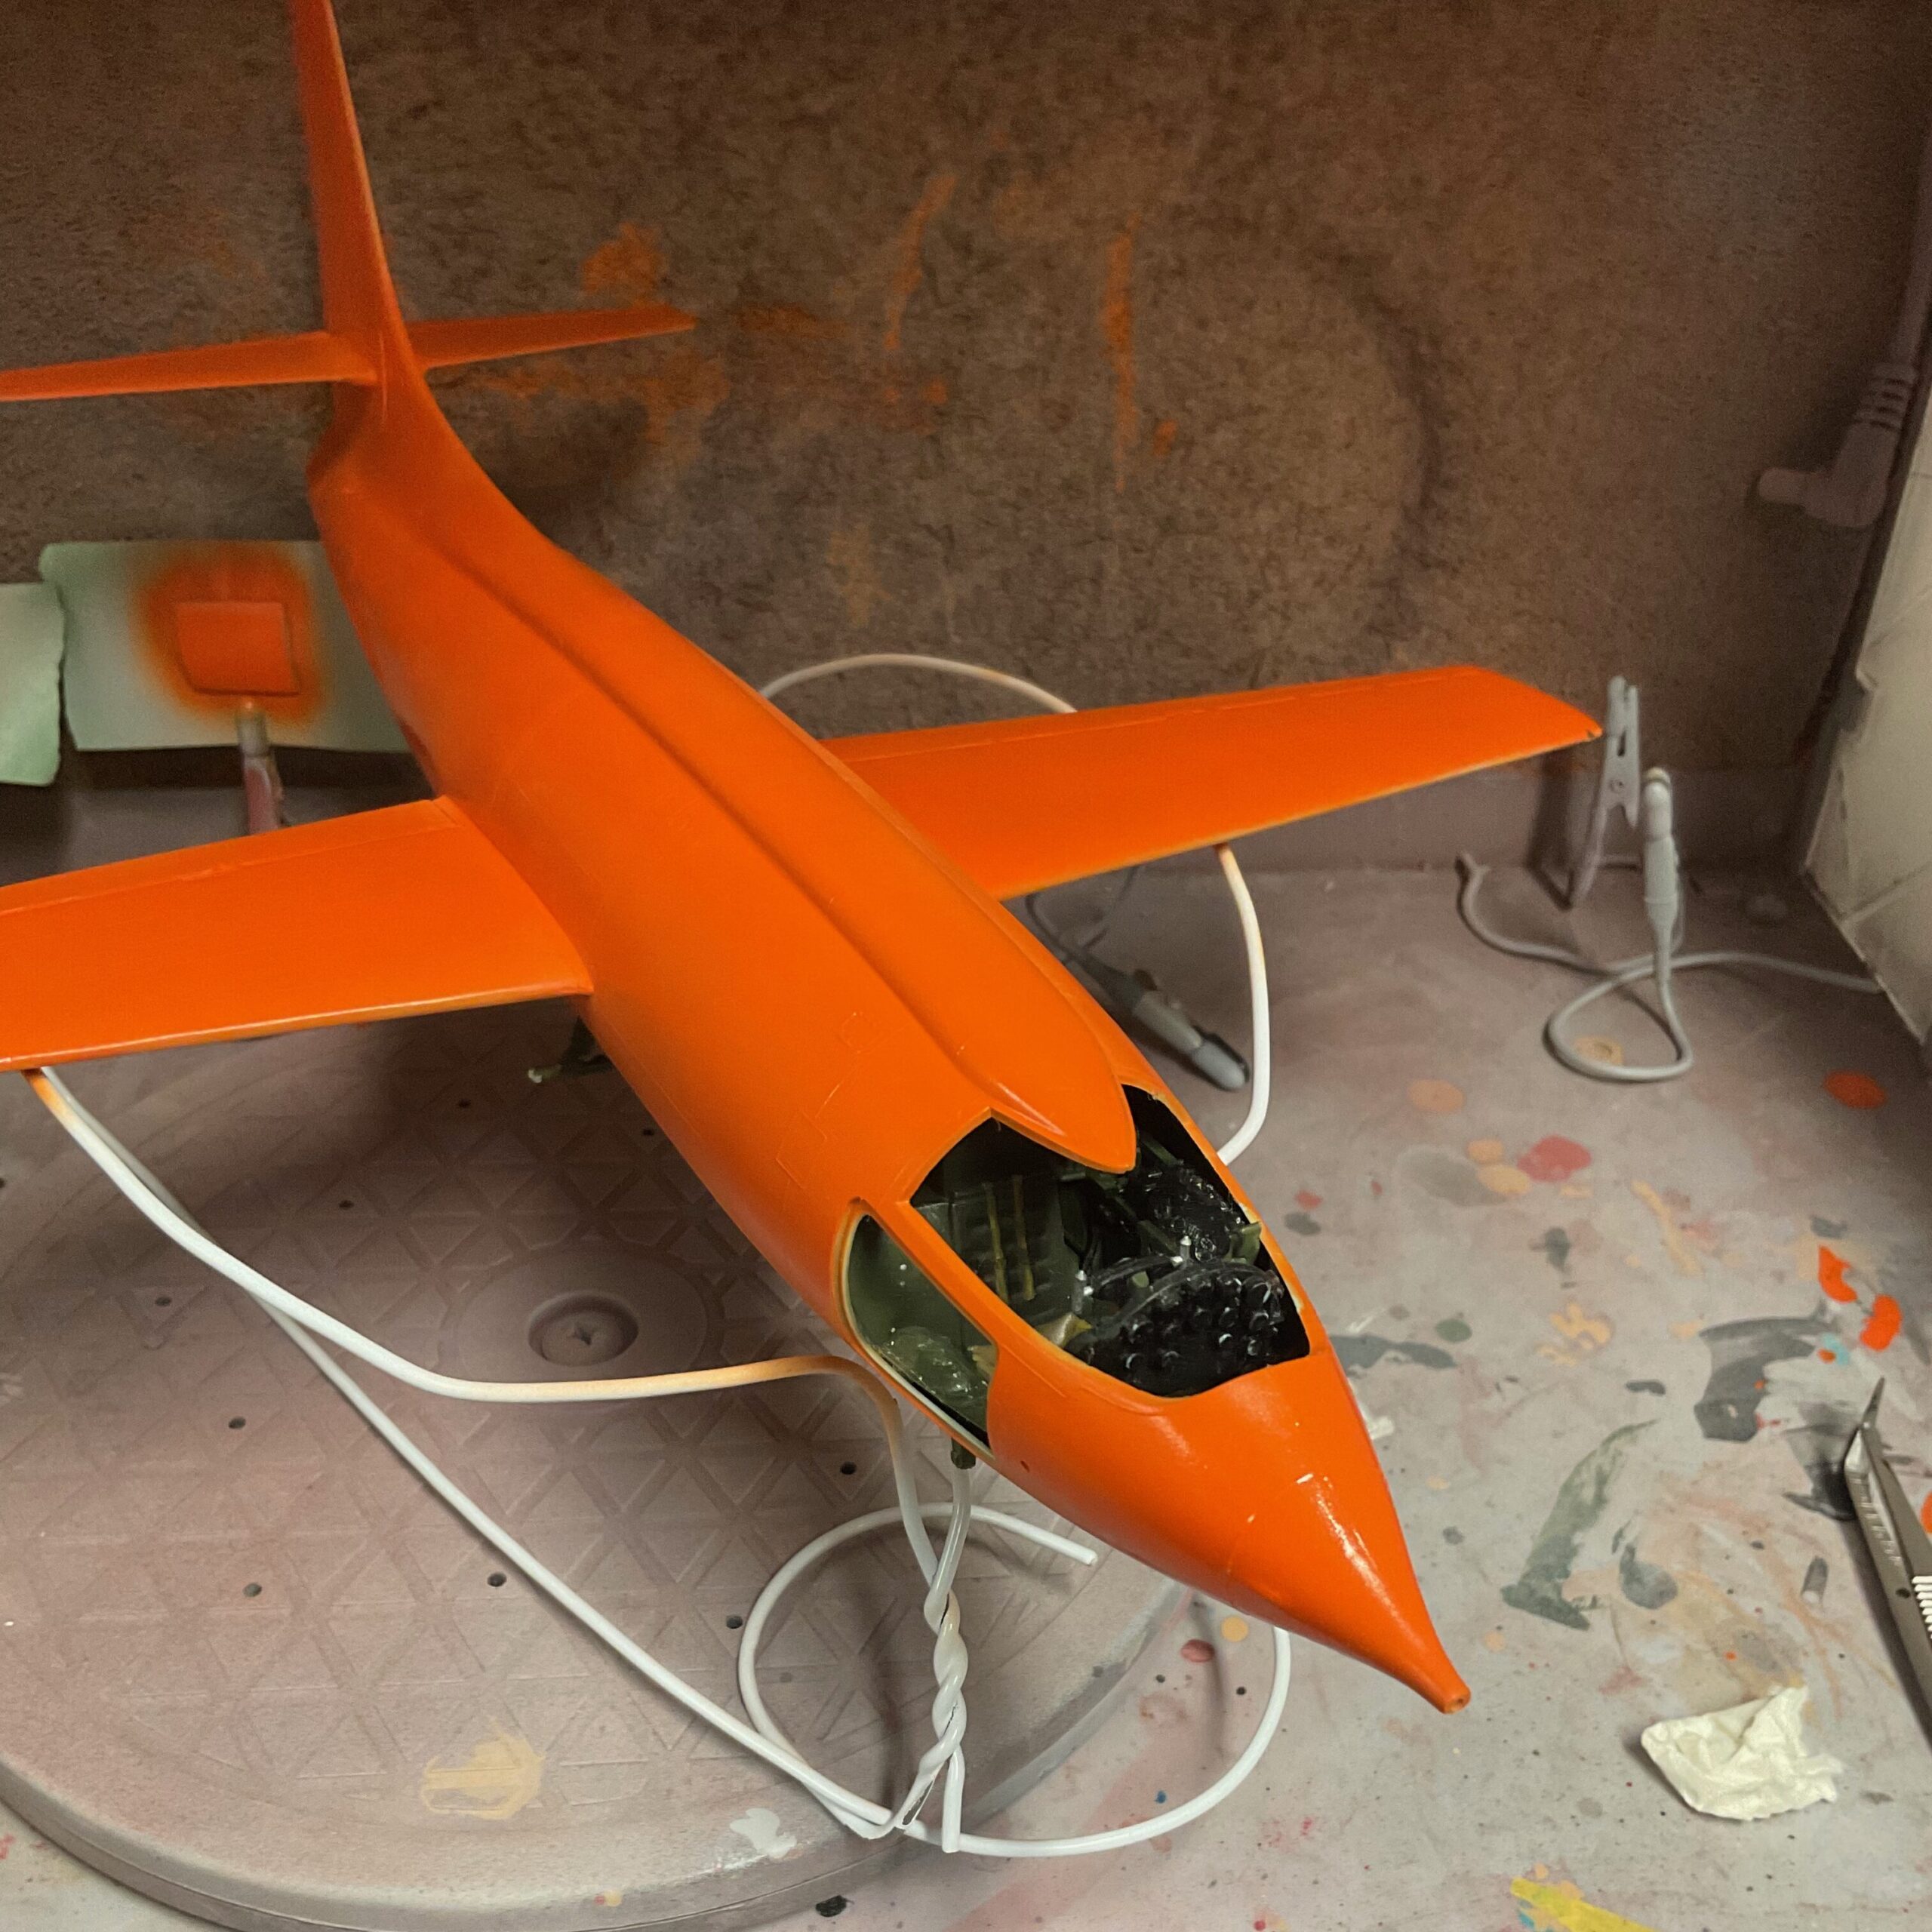
I struggled a little with how to paint it, since it’s all one colour, and painting in stages is not ideal if the paint can’t easily blend. I ended up carefully holding the model in one hand while painting, trying not to cause any damage to the paint by touching a part that was still too wet. The idea being that by the time I got to one end, the other would be mostly dry. I then placed it carefully on a bent coat-hanger.
For the most part, this seemed to work, but it wasn’t a great approach. The next time I have an airplane model in a single colour, I’m going to have to give this more thought and consideration. It was not ideal.
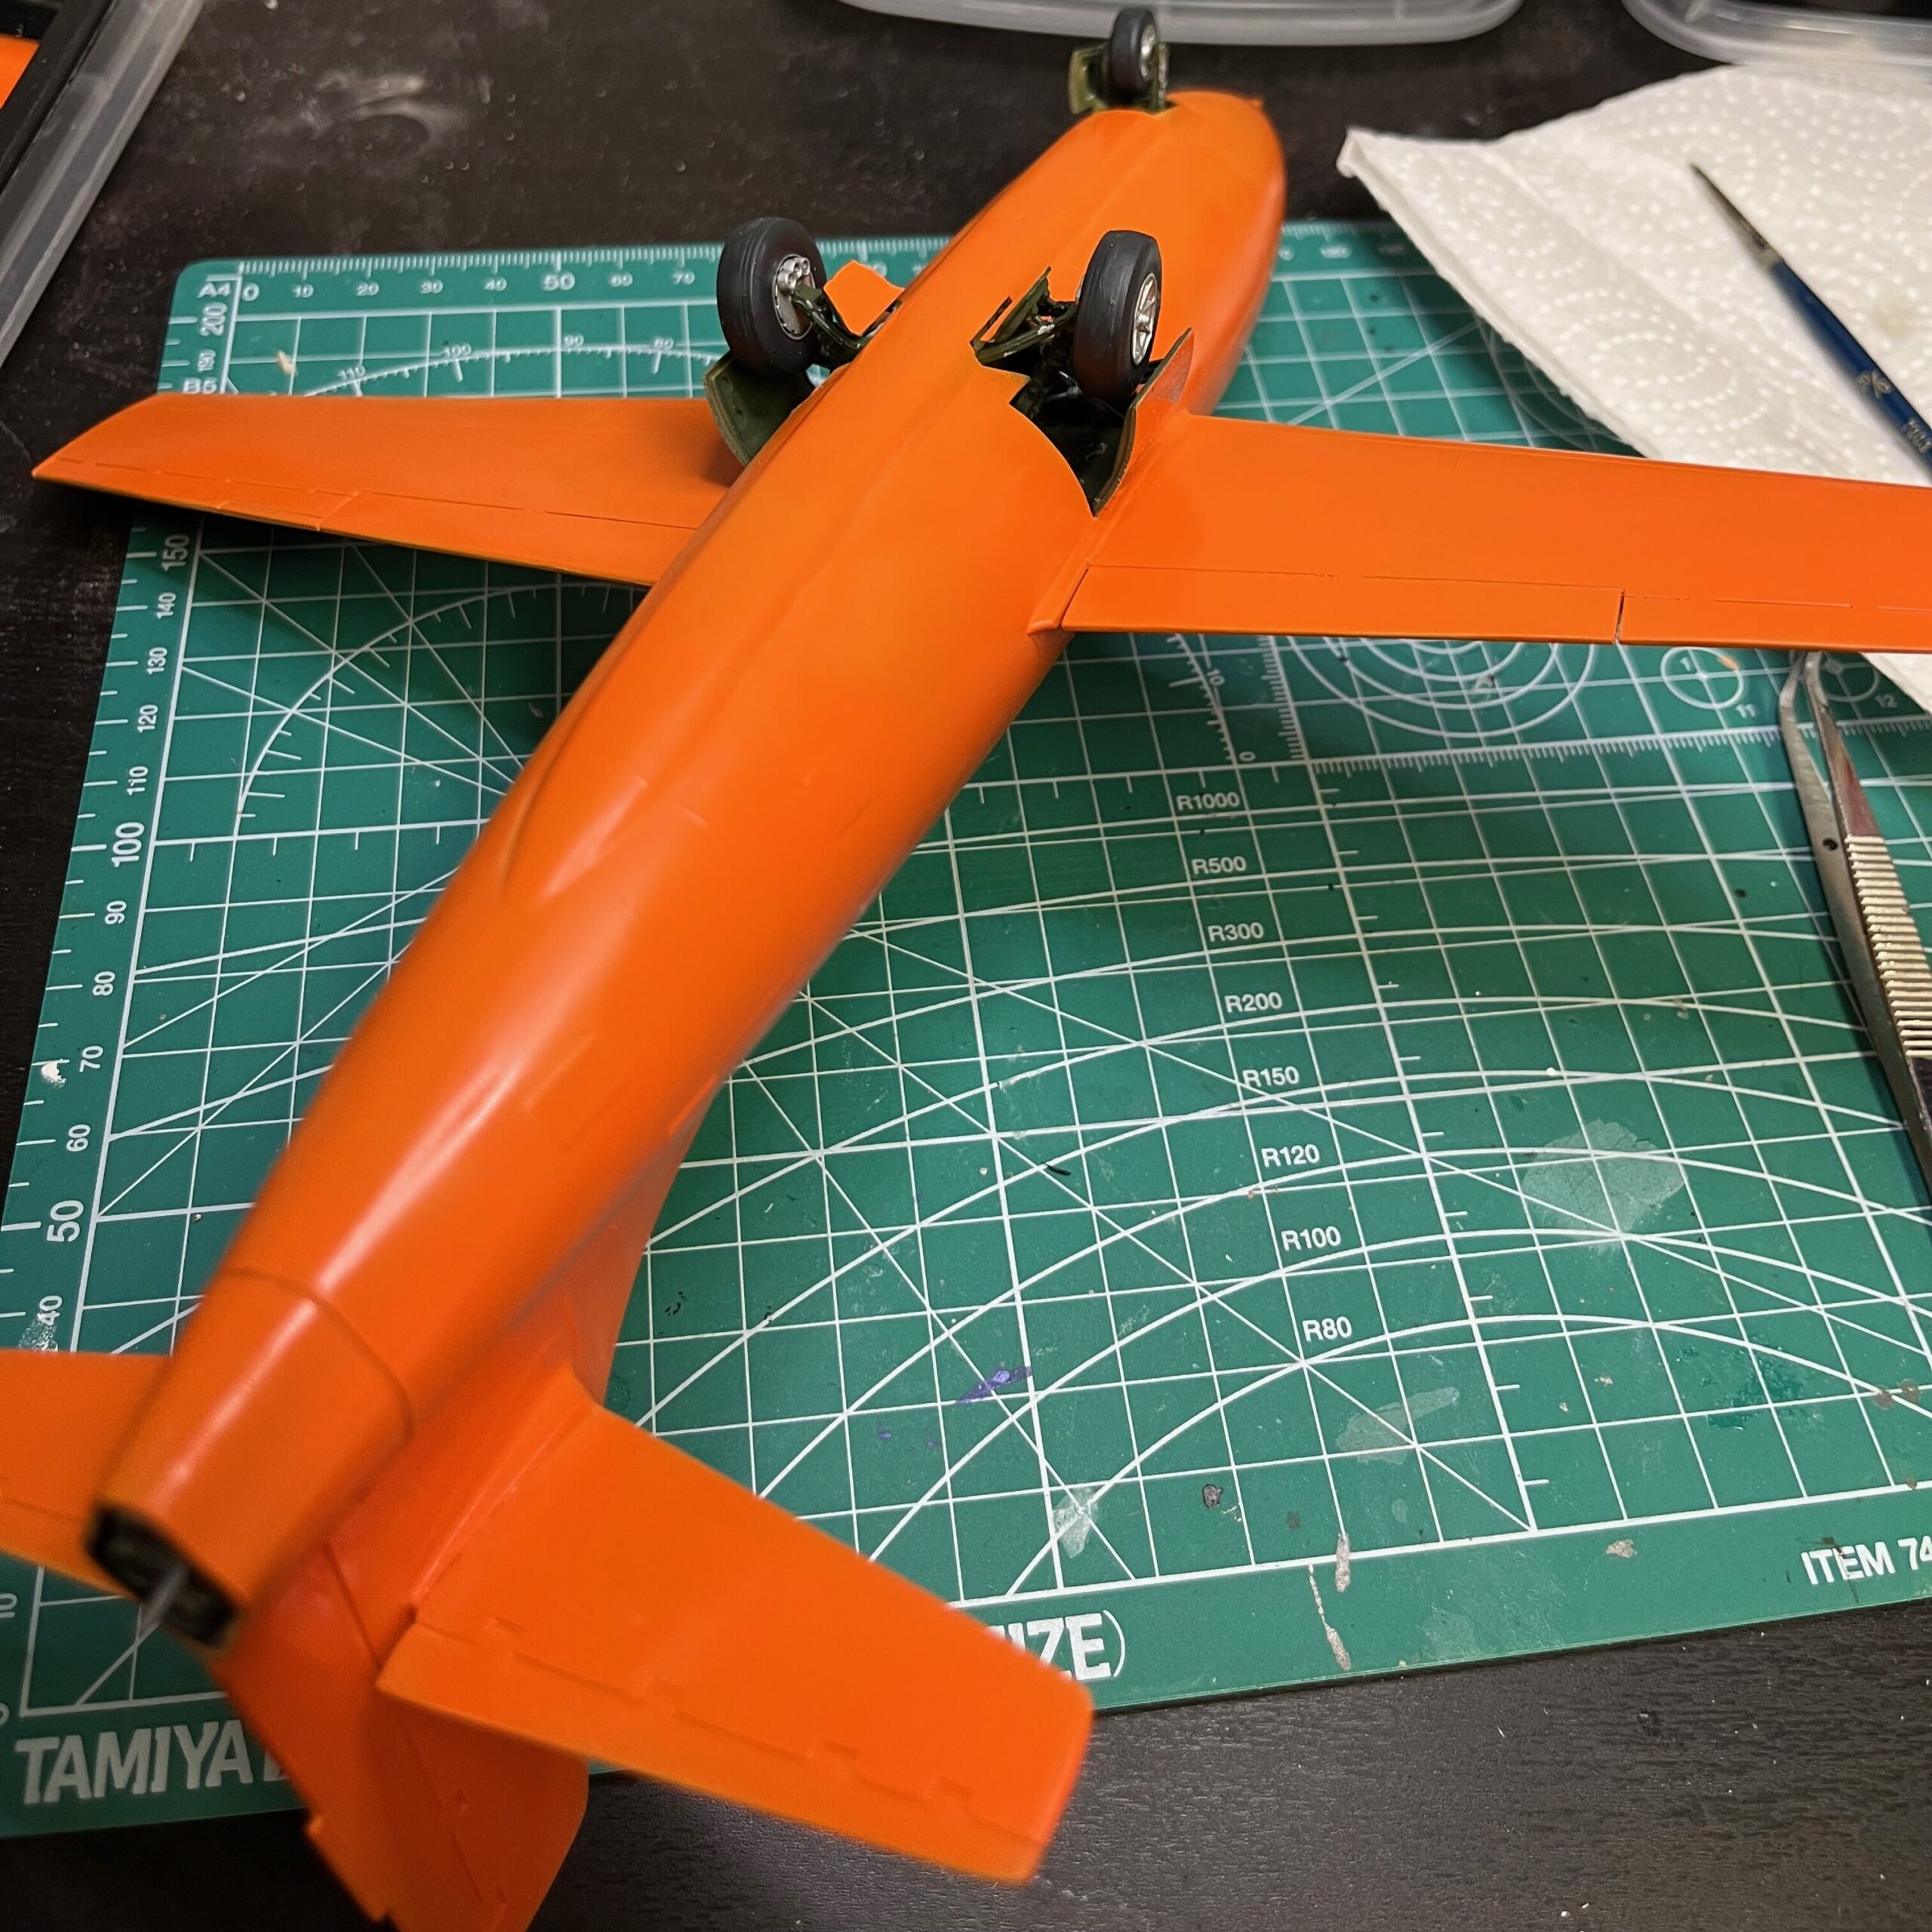
After painting, I assembled the landing gear doors and added the wheels. My plan was to put on the decals, then add the clear-coat before I did some weathering. Since this was a prototype, the weathering would be fairly minimal, reflecting the small amount of time that it would have been in use. I wanted to build to the reference model hanging in the Smithsonian and a few photos of the “Mach Buster” flight on October 14, 1947. The X-1 had flown a few times by then, but wasn’t well used.
The clear-coat would be for next weekend.
By far the most time consuming part of the painting was the canopy. I tried several different methods to mask all of the lines framing the glass in the cockpit. Multiple attempts to lay tape and then cut ended with scratching the canopy in a couple of spots, and ultimately, never getting the masks quite right. In the end, I ended up carefully laying tape against one dimension, then carefully cutting the “vertical” slats. That got me pretty close to where I wanted to be.
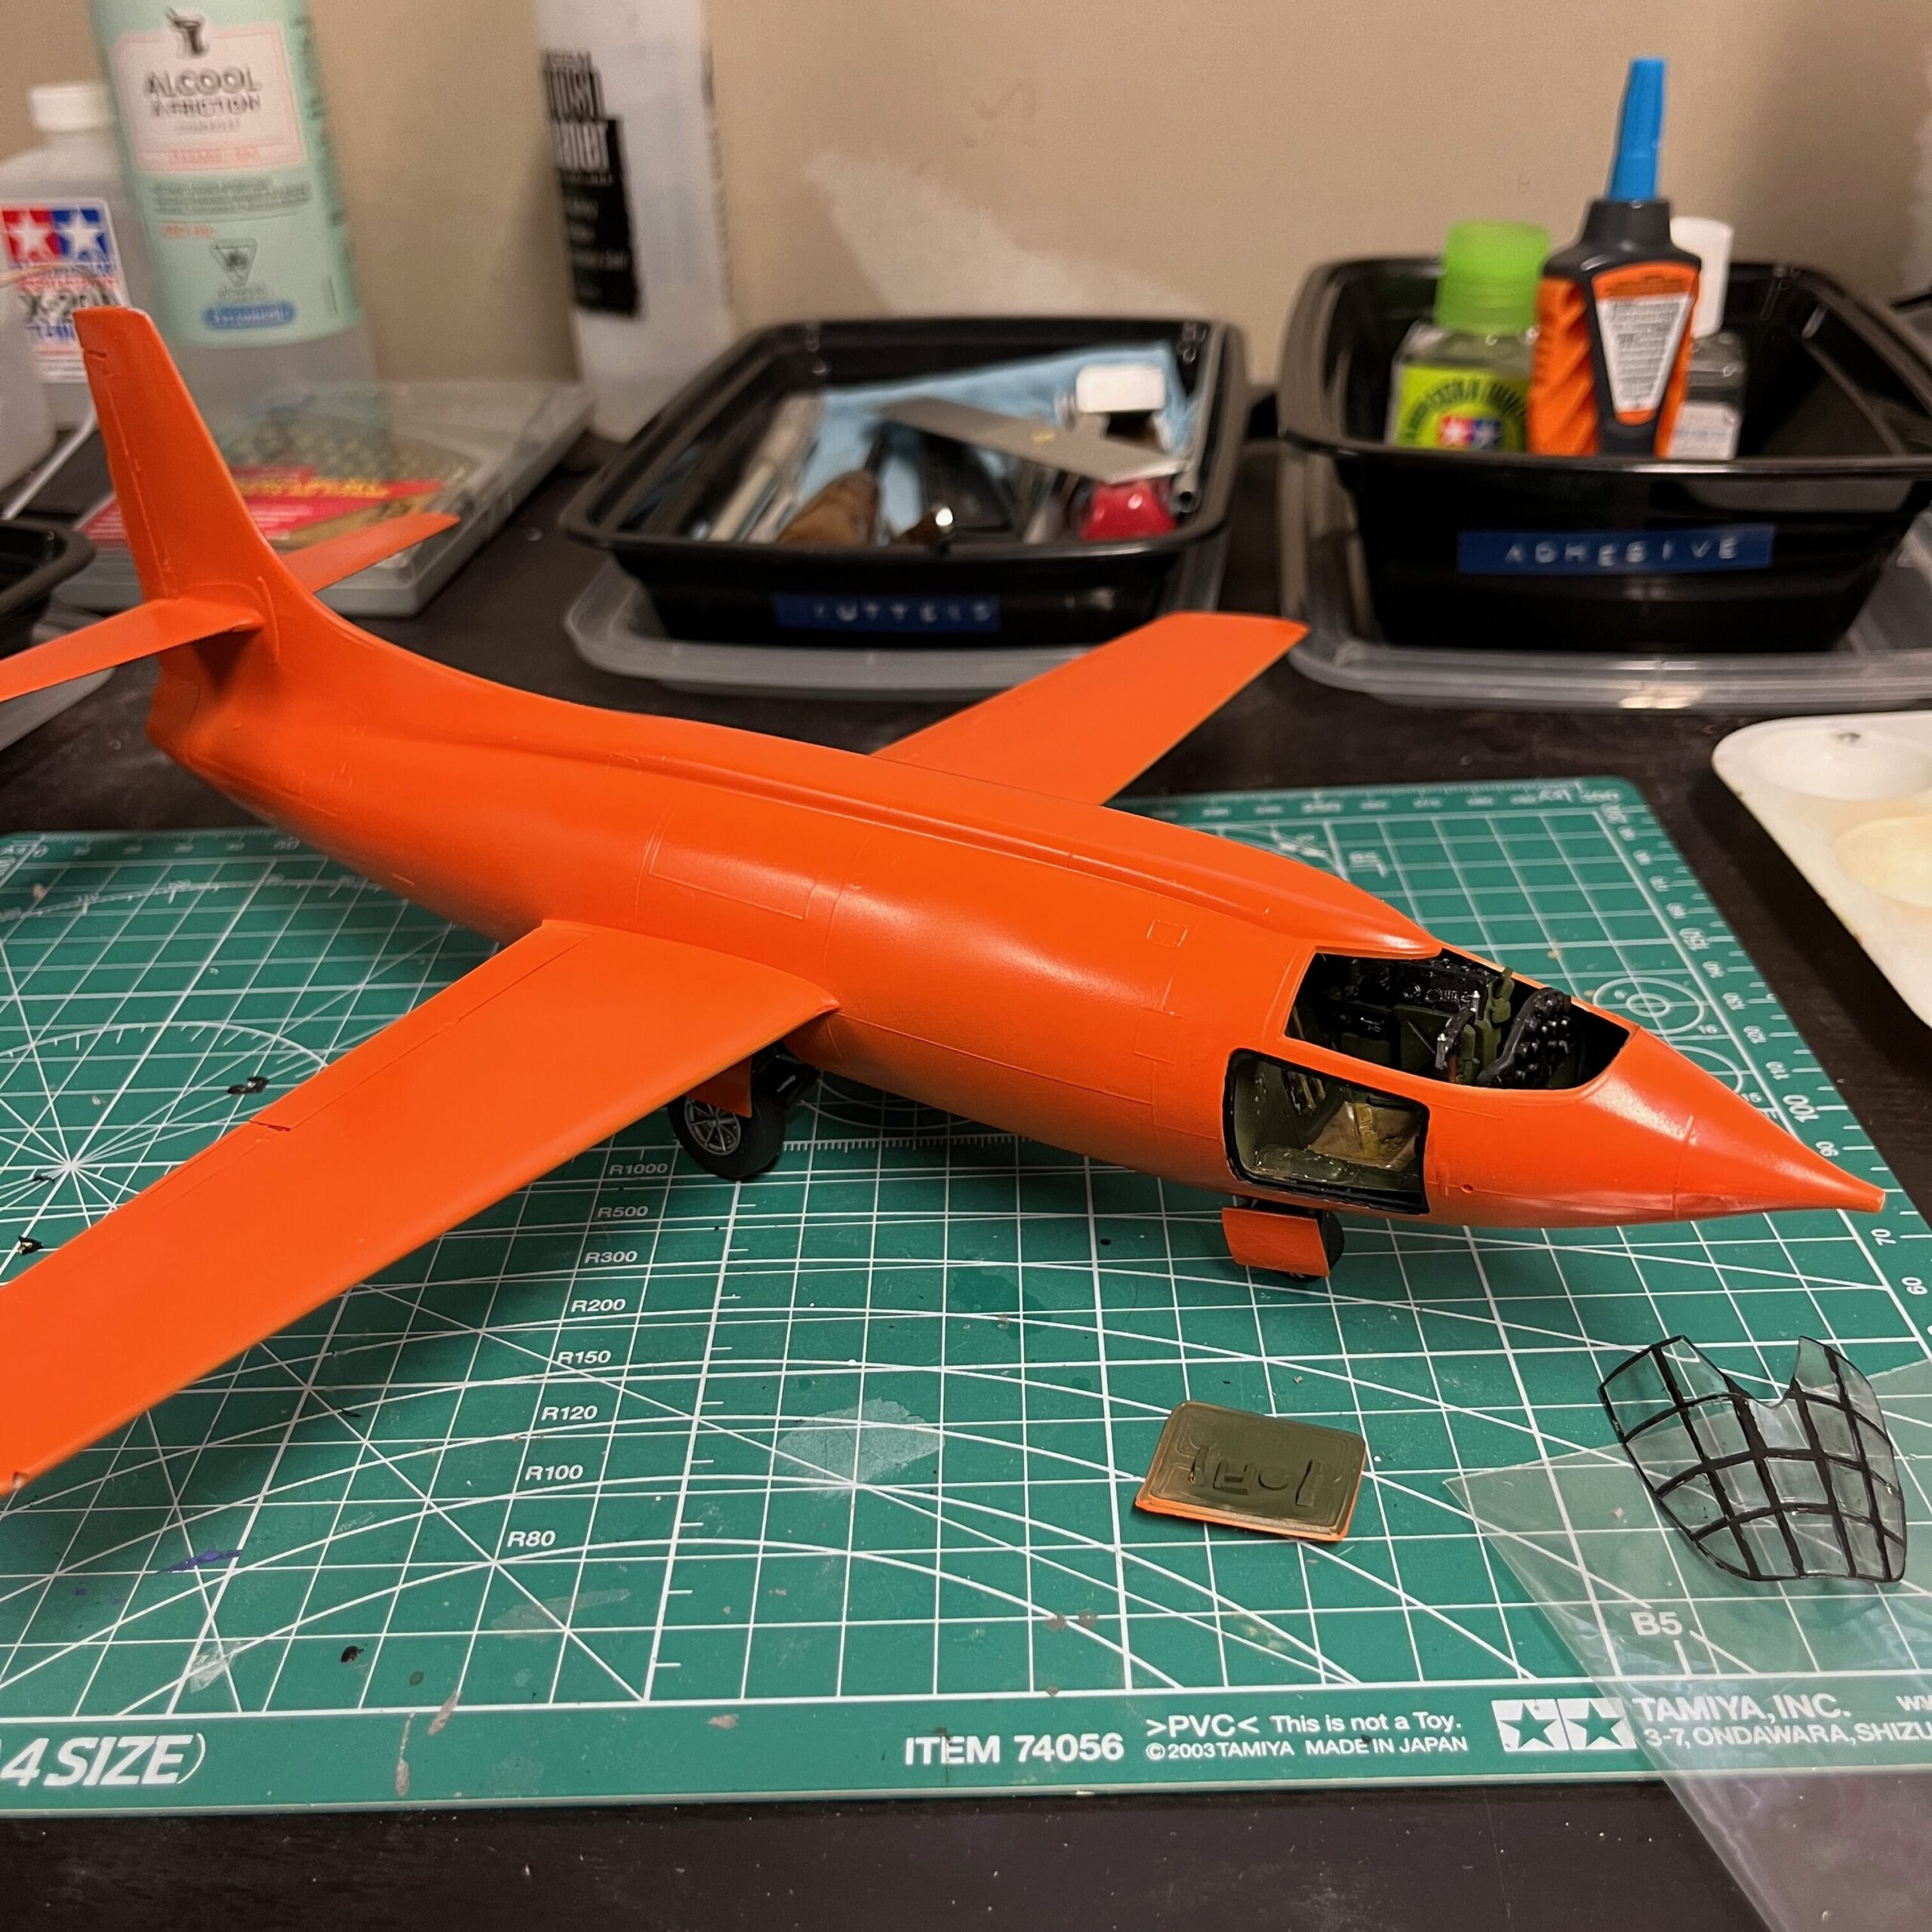
Ultimately, the paint came out okay, but it could have been better. There are places where the paint clearly had what I was going for (the nose in particular came out well, but in other places, eddies around the wings and the sides left the texture a bit off. The colour, too, wasn’t quite where I wanted it. Instead of the “search and rescue orange” of the reference photos from the Smithsonian, at this point, the model looked more like a sunburnt me colour.
There are a couple of things I could have done differently here. Perhaps less thinner in the paint would have helped with the issues around the inconsistent texture. I also feel like I need a better solution to “grip” the model while painting like this. I’m not sure what the answer is to that. The other think that I’m going to have to think about is how to better mask the cockpit. This is something that I’ve also struggled with on model cars, where there’s fine detail around the windshield, with chrome fittings or rubber seals. There has to be a better way to do this.